Midifying Jenny, Step 1: Replacing the old keyboard chip with a Teensy

This is the first post in a series of small projects for retrofitting my JEN SX-1000 monosynth with a simple and cheap MIDI interface controller. Read about the basic idea here. Today, I am designing and building the micro-controller brain of the Jenny retrofit – if you are capable of basic soldering, it should not take you more than two hours and a couple of very common electronic parts.

Continue reading

V2.0: A Teensy-based MIDI Controller

Building my own wheels for the Launchpad Pro – once again, with style.

Two weeks ago, I started a little sunday afternoon project, sucessfully building my first own MIDI controller – a pitch bend/mod wheel/midi merge device to serve as a companion to my new Launchpad Pro. Using an Arduino, a prototyping board by SparkFun, and community-made code, I succeeded with surprisingly little effort – the most time-consuming part was finding and fixing the errors I had clumsily soldered into my pathetic excuse for a MIDI interface. But it worked!

Launchpad Companion Controller in actionAs they say, the worst thing that can happen is that you succeed. The quick and easy success made me hungry for more – I started a MIDIfication project for my JEN SX-1000 monophonic synth, based on a Teensy, another microcontroller board that can be used within the Arduino development eco-system but is much better suited to MIDI/USB applications.

V2.0: A Teensy-based MIDI controller

This is actually a side project to that. I looked at my self-made controller and noticed that it is usable but not very playable – I wanted real wheels for the Launchpad, not sliders. So I decided to redo a V2.0 of the controller, based on the Teensy.

Continue reading

MIDIfying Jenny – A Call To Arms

Isn’t it about time my beloved Jenny got her own MIDI interface?

JEN SX-1000 front with ATMEGA chip

To be sure, microcontroller-based interfaces for the JEN SX-1000 do exist. Apart from the commercial CV/Gate solutions by Kenton, there is Neil Johnson’s keyboard interface design. But even if you can get hold of the PCB – a supplier in the JEN SX-1000 group on Facebook had a batch made – the design has an intimidating parts list, and takes some serious time to build.

Is it possible to do it simpler? Emboldened by my success building a small Arduino-based MIDI controller, I decided to start a midification effort that is

  • easy to do (requiring only basic soldering skills, if any)
  • easy to get (by using components that you can buy on Amazon if you have to),
  • easy to develop (using standard solutions from the Arduino community),
  • easy to schedule (because the project is divided up into little steps, each of which is a small afternoon sub-project with instant gratification),
  • easy to participate (by contributing own ideas and code for parts of the project).

I will describe the basic layout of the MIDI upgrade kit project here. Each step, i.e. each sub-project, will then be treated in a new post, depending how fast I (or the community) get them done.

Continue reading

Homebrew MIDI Companion Controller for my Launchpad Pro

I have bought a Launchpad Pro, and am still trying to figure out how to play a synthesizer with this thing. (More on this in another post.) It’s like starting over with keyboards, only with a better understanding what this is getting at. Simply great.

One thing I don’t like about the Launchpad is that it may give you velocity and per-note pressure sensitivity – provided your synth is capable of interpreting it – but takes away the traditional performance controls of a synth keyboard: the good old pitch bend and modulation wheels we have seen as our goddamn right as keyboard players ever since they were introduced with the Minimoog.

So I decided to build my own simple Launchpad Companion Controller, based on an Arduino.

Continue reading

Taming Arturia’s Beatstep: Sysex codes for programming via iPad

Arturia Beatstep in sequencer mode (animated GIF)Nice. New. Toy. Arturia’s Beatstep controller is a steal for 99 Euros – it just feels great. Large, solid pads, smooth, reassuring encoders. Did I mention there’s a 16-step sequencer included? And a CV/gate interface? Must-have. I sold my QuNexus for this.

Just like the QuNexus, it is an ideal extension for iPad music. And just like the QuNexus, Beatstep needs to be programmed via a controller program to work. At least Arturia had the common courtesy to include a Mac version of the controller software, still it is a nuisance for iPad users like me that they have to use a computer just because one key sends the wrong note and triggers the wrong event.

So I thought about building a small controller panel for TB Midi Stuff, the same app I used for my Matrix-1000 controller. A bit of work with the controller software and a MIDI monitor gave me what is needed for that: the Sysex codes to control the Beatstep’s behaviour. May be some time until I get round to building that panel, in the mean time there you are. You’ll find the very first version of my iPad Beatstep Tool for download in the TB Midi Stuff forum. No, don’t thank me, Arturia.

Anyway, here’s the MIDI command table for the Beatstep, in case you want to do your own programming.
V1.3, last update 10 November 2016, with lots of additional info by Richard Wanderlöf.

Continue reading

Change, the old way

Back in the Space Age, when they first invented MIDI, synths and drum machines used to have 8-bit processors with a measly 64k memory address range (as in 64kByte, you snotty, spoiled digital age brats). Usually that allowed them to store a couple of different presets, say: 16 or 32, so it wasn’t really a problem that the command for switching between presets – appropiately named PC, Program Change – could only transfer values between 0 and 127. (7 bit – it’s a MIDI thing.) But time moved on: Memory grew cheaper and cheaper, and machines gathered more and more preset slots. Presumably, a drum machine with 512 factory presets sold much better than its older sibling with 32 preset slots – it has always been easy to impress customers with numbers. PC still only transmitted the 0-127 range, but it became standard to use the two Midi controllers CC0 and CC32 to transmit a two-byte bank number, so now there was, in theory, the possibility to address 2^21 = 2,097,152 different presets. Everybody happy, case closed.

In theory.

Behringer FCB-1010 MIDI foot controller - PC only!

Behringer FCB-1010 MIDI foot controller – PC only!

Yet, a lot of people never bothered with this tedious CC/Bank Change business. Who ever needed more than a handful of presets on stage? To this day, you can buy quite sensible MIDI devices that don’t understand anything other than the ancient MIDI PC command, my trusted Behringer pedalboard is a case to the point. (BTW: I can recommend upgrading it with a quite ingenious unofficial firmware upgrade, which does a lot, but still does not offer Bank Change.) And this is where this story actually starts.

Did I mention how it infuriates me when modern iPad apps do not seem to know MIDI? OK, I did, and to be honest, with most of the apps, it proved to be more of a “banana software” problem – the app just needed more time with the customer to ripe. So I was not really surprised when I ran into problems with my two favourite softsynths, only a little disappointed. The all-new, all-shiny, all-mindbending Waldorf Nave app deserves to be mentioned first; using PC commands, you can only change between the sounds in the first bank of factory presets, and you cannot store anything there. Support acknowledges that this is a problem and promises, in an e-mail to me, that future releases are going to bring an “Assign preset to PC” feature.

It has not been quite that much of an issue with Sunrizer: everbody’s second-best soft synth always allowed you to save sounds to the first bank, so you could pretty much prepare what you needed. Until Beepstreet did an update that brought a new look, very Polysixish and, if you ask me, drop dead ugly. And a a new bank of presets named AI. A new first bank of sounds. Back to square one.

Sunrizer Synth, June 2013 update

The Sunrizer Bank Hack

I must admit that I wasn’t amused at all. Yet the solution is quite simple, and after letting of some steam even I saw it. This is what you should do:

  1. Store all your performance presets in a new user bank. 
  2. Connect your iPad to iTunes.
  3. Select Apps, scroll down to the section where you can transfer files to/from apps. Select Sunrizer.
  4. Find your bank of performance sounds (it’s a file called something.srb).
  5. Klick it and rename it to “AAA performance.srb”. (Alphabetically, it’s now the first bank, you see.)
  6. Sync the iPad again.
  7. On the iPad, close and restart the Sunrizer app. If you don’t know how to do this, switch off and restart the iPad.

iTunes screenshot, as describedThis simple operation makes your bank of custom presets the first bank in memory, and the first place you’ll be reaching by sending Sunrizer a PC command. I’ve tried. You still have to count presets to get to the right one – but I’m pretty confident we will cope, you and I.

There it is, a tinkerer’s legacy: Change, the old way.

Tech Hack: Alesis IO Dock with USB Hub

Update, May 2014. I’ve put the unit on eBay. And I’ve summarised lessons learned from this hack here.

The Alesis IO Dock is a great product for iPad musicians – this small hack makes it even greater. It overcomes one limitation of the IO Dock: You can’t simply hook it to a USB hub. So I decided to build in an additional hub – which allows me to hook up additional class-compliant interfaces like my M-Audio Axiom master keyboard, and power them via the hub.

Yes, it works. No, it hasn’t been thoroughly tested yet. So try at your own risk.

The hacked IO Dock

The hack isn’t too sophisticated or demanding. Yet there are a couple of things we need to discuss before going to the step-by-step description. I’ve also tried to answer some questions that might arise in the FAQ.

What we’re doing:

We’re smuggling the USB hub into the connection between the iPad and the IO dock. (The video explains why.)

What you need:

  • A USB hub. Edit, 4-Jan-2012:  After giving it some more consideration I think that you might start with a normal hub rather than a powered one. (I used a powered hub Belkin F5U404.) This has certain limitations, though. Why? USB knows two basic types of port power – normal USB ports are supposed to deliver a 5V supply current of up to 100mA. That is enough to power simple interfaces and USB sticks. It is not enough to charge your phone, or to power a USB master keyboard.  So using a hub without power supply would normally mean that the iPad is not properly charged – but the way the iPad charges is actually hard-wired in the IO Dock’s iPad connector, so the iPad will charge even without a powered hub. (It is connected to the USB port’s input rather than to its output anyway).  IMPORTANT: As we will be using the IO Dock’s power supply, there are some limits to what we can drive with our hub. Please: See the FAQ. And I’ll have a more thorough look at the IO Dock’s power supply circuitry soon.
  • The hub’s connector cable. These cables have a flat A-type USB plug to go into your computer, and usually a micro-USB B-type plug like the ones for charging your phone (if you don’t have an iPhone, that is). We are going to cut up this cable and configure it to supply and interface the hub within the IO dock.
  • 2x 1.27mm 2mm grid pinstripe connectors – one 6-pin male, one 6-pin female. If you can, get connector strips with turned sockets; you can use them as plug and as female connector, like these ones. The original connector is like this one: [sample]
    EDIT, 19-Aug-13: Corrected the “these ones” link to RS Components. Also see FAQ section.  EDIT, 10-Sep-14: Modelmakers may look in their boxes for JST PH connectors (thanks Wolfgang!)
  • A small 100uF/6.3V capacitor – or something along these lines – as a buffer for the hub’s power supply. If you haven’t already, see the FAQ.
  • Basic soldering tools and skills. 
  • A Dremel tool to cut out a hole for the additional USB ports in the IO Dock.
  • Glue to fix the hub within the housing – I used a run-of-the-mill hot glue gun.
  • A class-compliant USB device for testing. (What’s that? See the FAQ.)
  • Approximately 2 hours to do it.

Me with a surgical mask and a Dremel tool

Not really a project for the aspiring Evil Mad Scientist – there’s hardly any rocket science involved – but especially the Dremel brought out my inner Walter White.

So let’s get started!

Continue reading

Reise in die digitale Frühneuzeit

Ach, die ollen 8-Bit-Maschinen! Mir wärmen sie das Herz, weil sie mich an meine Kindheit erinnern – mit welchen retronostalgischen Gefühlen wohl die heute Jungen den primitiven Netzwelten von StudiVZ und Facebook nachtrauern werden? – und außerdem: Mit 8 Bit, ein paar MHz Taktfrequenz und wenigen KByte (Ja! Kilobyte, nicht Mega-!) kann man eine Menge anstellen, wie jeder Arduino-Bastler bezeugen kann.

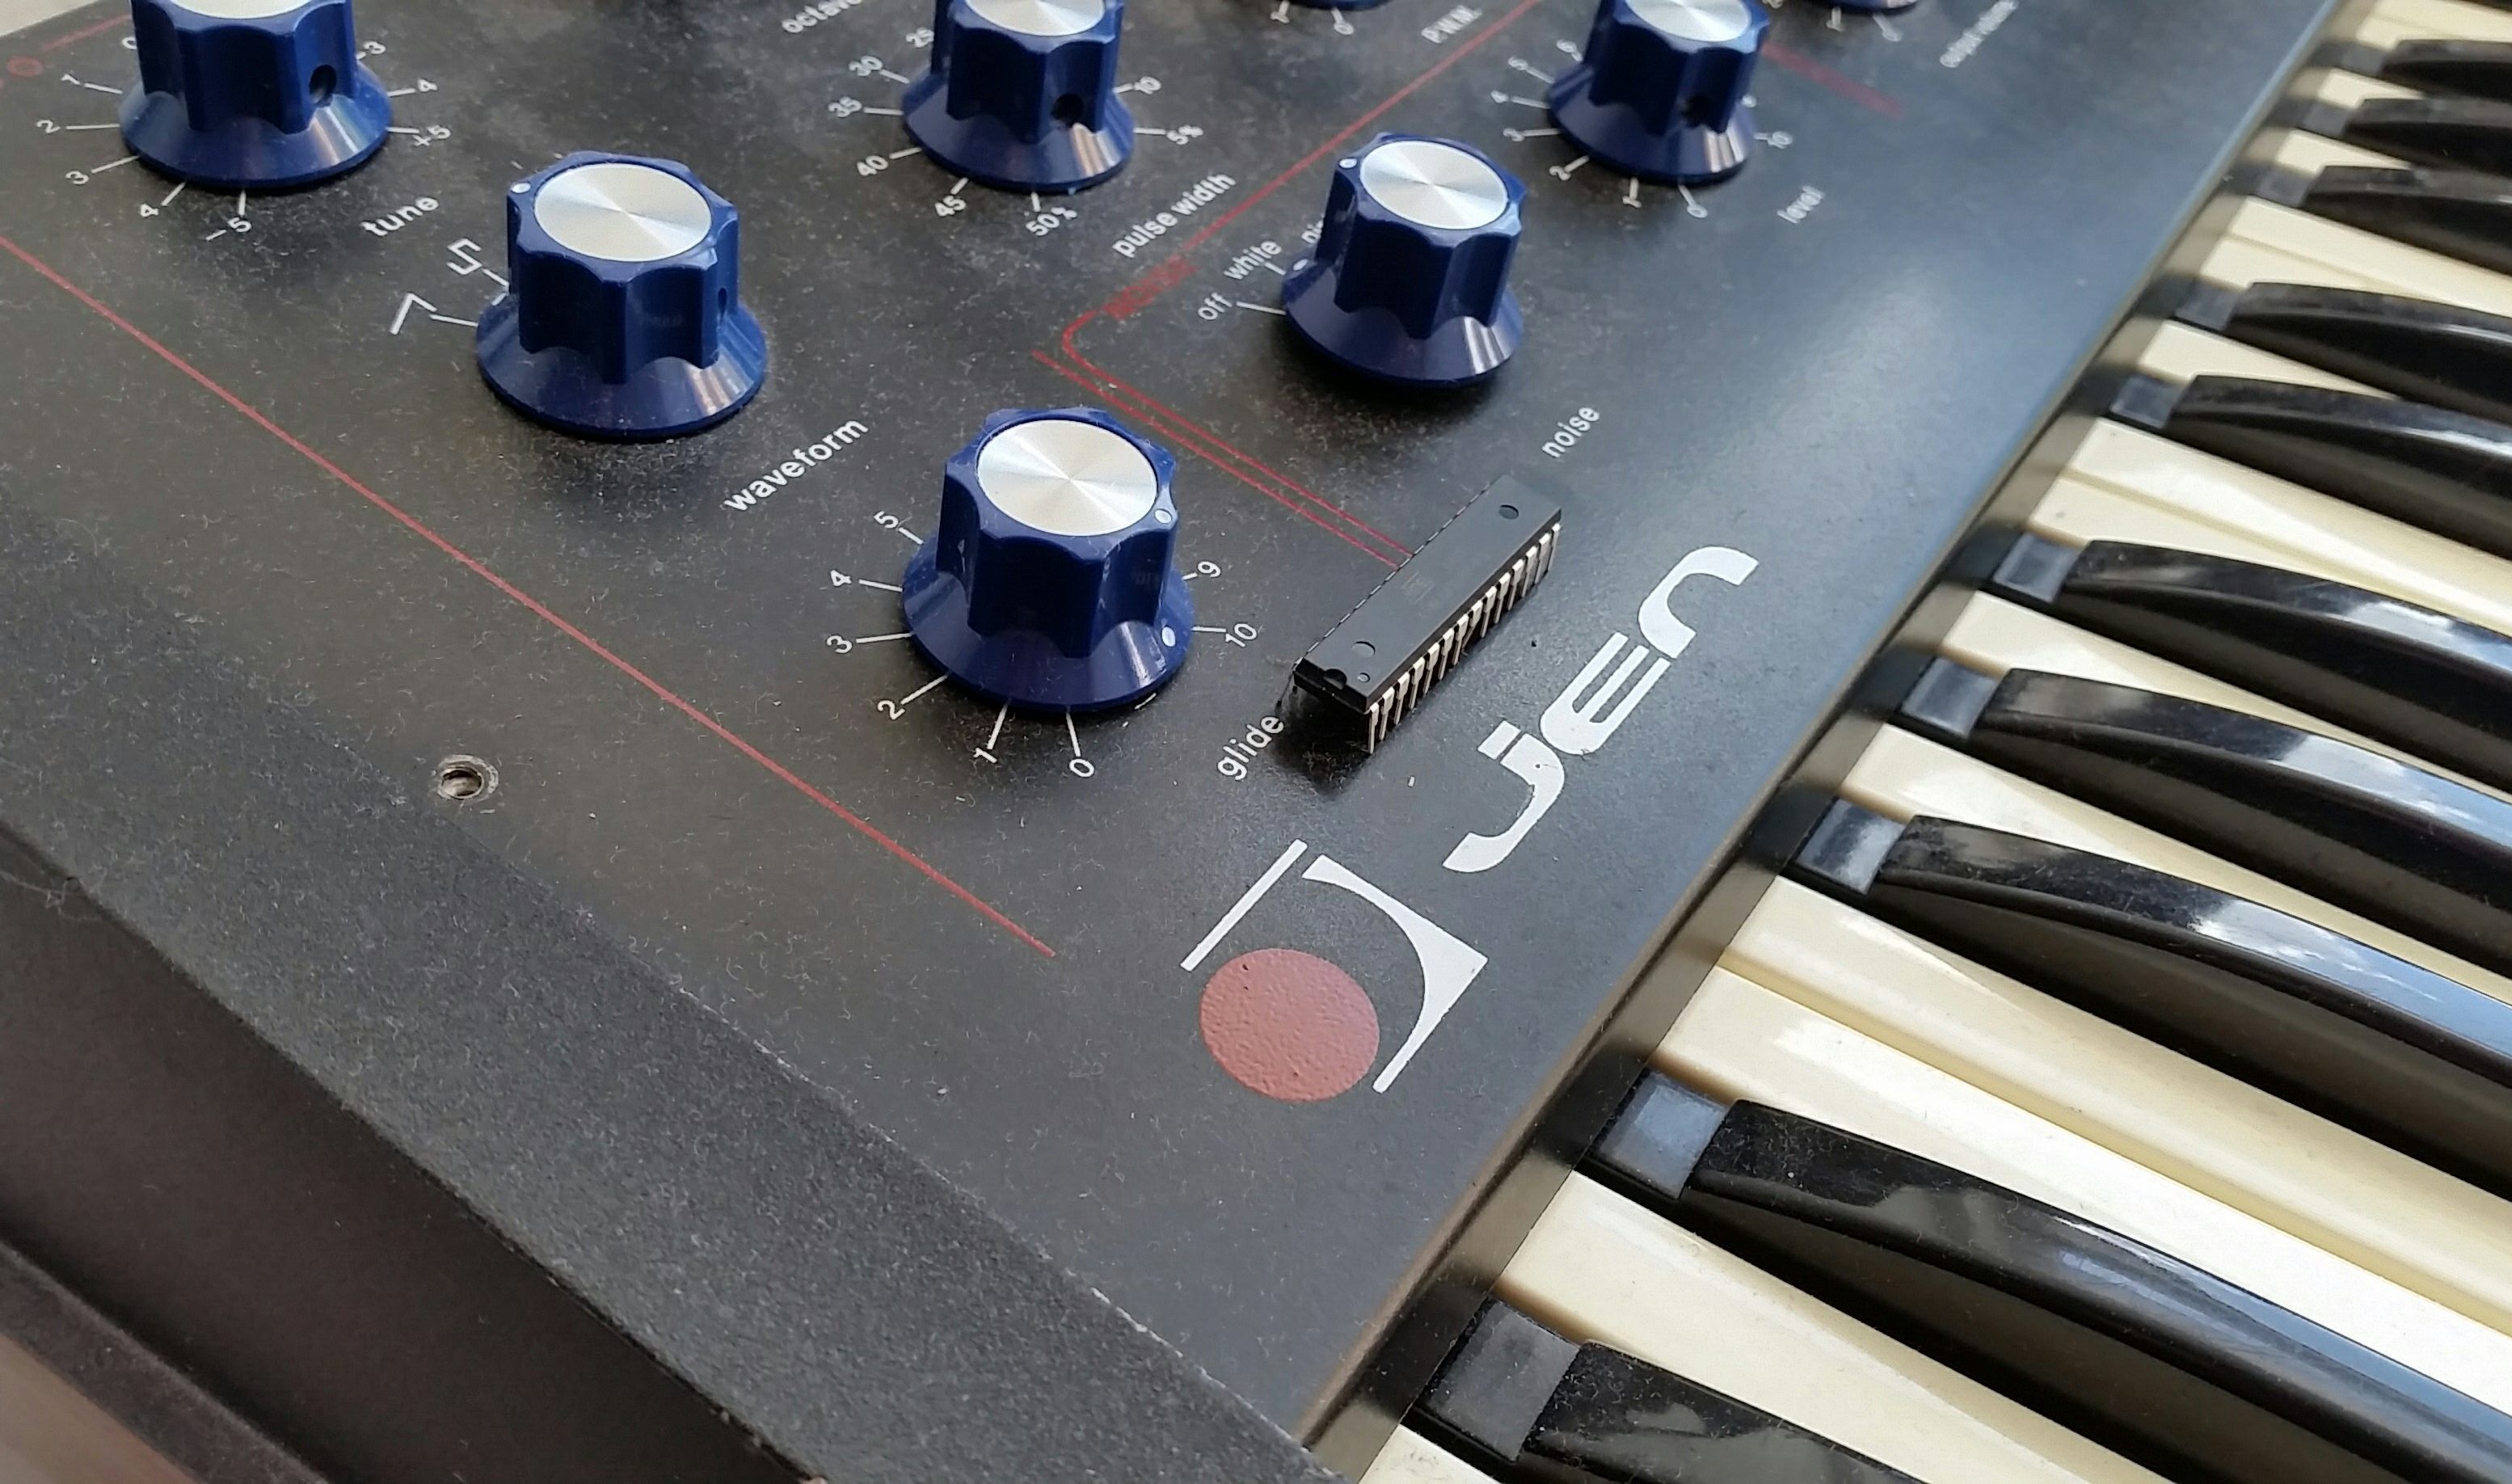
Zum Beispiel: Musik machen. Nicht, dass ich je ein begnadeter Keyboarder (oder Sänger oder gar, Gott bewahre, Gitarrist) gewesen wäre – aber dennoch lacht mein Herzelein darüber, dass die neue Wohnung Platz genug bietet, das Keyboard wieder aufzubauen. Das piece de resistance ist dabei das 155cm lange 88-Tasten-Masterkeyboard mit gewichteter Klaviatur – ein Produkt der Musikschrauberfirma Doepfer, von der ich das Gerät einst als Bausatz erworben habe. Das ist fast zwanzig Jahre her, und dennoch – dafür kann man Doepfer gar nicht hoch genug loben – dauerte es keine zwei Stunden, bis ich eine Antwort auf meine Supportfragen zu dem Gerät hatte. Vivat, Doepfer! (Von daher kann ich nur jedem, der ein Masterkeyboard sucht, einen Blick auf den Nachfolger meines LMK3 zu werfen – das Gerät ist verdammt wertstabil, technisch, musikalisch und emotional.)

Krachmacherecke: Keyboard und Rack

Krachmacherecke: Masterkeyboard Doepfer LMK3 ohne eigene Klangerzeugung, die passiert in dem kleinen Rack: ein analog-fetter Oberheim Matrix 1000 (ca. 1990) und ein E-Mu ESI4000 Sampler mit hysterisch-historischer SCSI-Wechselfestplatte Iomega JAZ. Ein analoger Rackmischer und ein moderner USB-Soundadapter von M-Audio vervollständigen die Spielecke.

In letzter Zeit waren meine Liebste und ich anderweitig kreativ; jetzt ist die Kleine zuhause und ich bin es auch – mit Urlaub und immer wieder kleinen Ruhepausen, in denen die Mädels schlafen und ich basteln kann. Was in diesem Fall heißt: erst einmal wieder die alte Technik zusammenstöpseln – ein modernes USB-Audio-Interface von M-Audio sorgt für den Anschluss ans 21. Jahrhundert, analog wie digital.

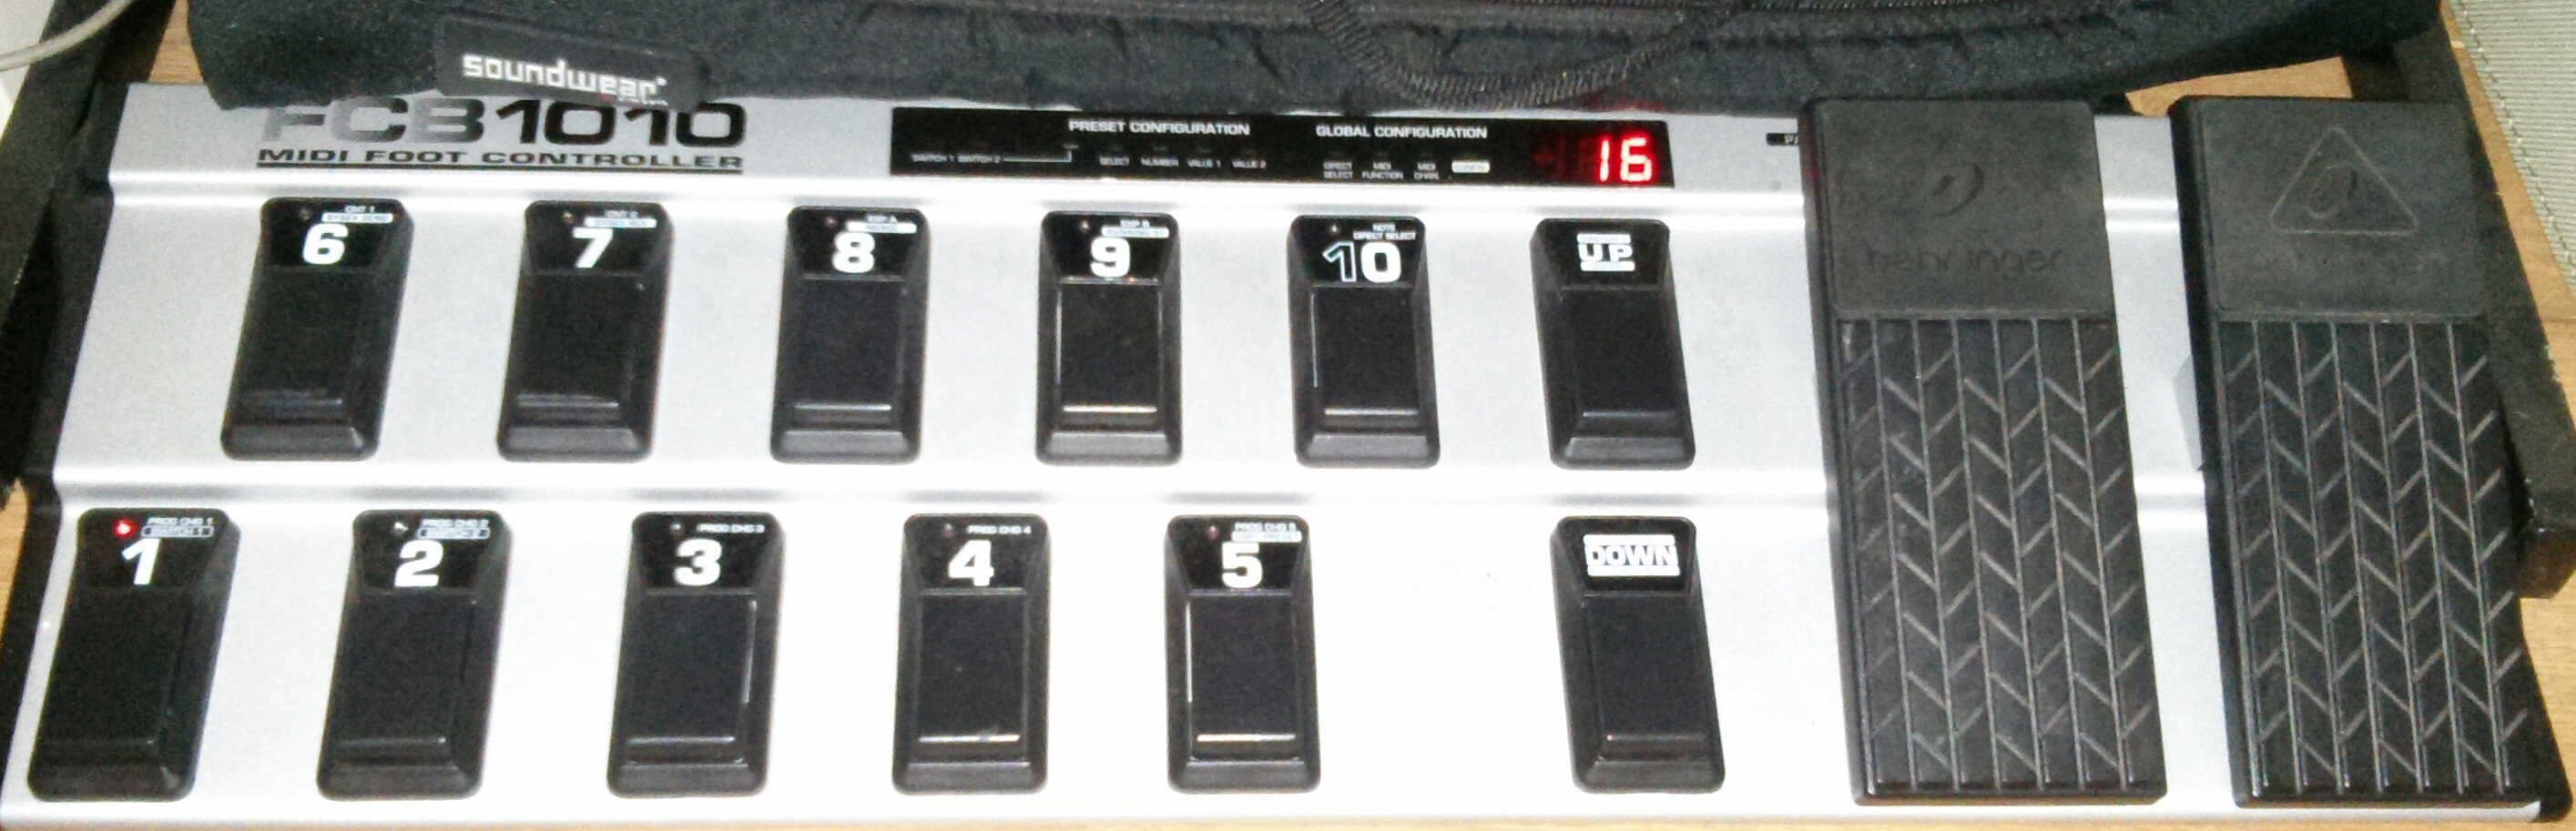
Allerdings tauchen auch die bösen Geister der Vergangenheit wieder auf: Midi! Was für ein grausamer Murks von Schnittstelle! Für die historisch Unbewanderten: ein serieller Bus mit einer Datenrate von 38,25 kbit/s, was Anfang der Achtziger mal echt viel war. Schlimmer ist die merkwürdige Topographie: so eine Art Ring mit Darmschlingen und Polypen. Entweder man stöpselt ein Gerät in den Datenfluss, so dass es jedes einzelne Datenbyte erst selbst einmal anschauen und weiterreichen muss. Was bei der niedrigen Datenrate schnell zu hörbaren Verzögerungen führt und eine Menge Ärger bereit hält. Oder man nutzt alternativ den elektrisch durchgeschleiften Eingang, über den jetzt wiederum das angeschlossene Gerät nicht kommunizieren kann, also auch keine Einstelldaten rückmelden – das heißt praktisch: entweder man verdrahtet die Maschinen so, dass man sie vom Computer aus steuern kann, oder so, dass man sie live spielen kann. Puh.

Auch an anderen Stellen rückt mir die technische Frühneuzeit nahe. Der Sampler, immerhin ein Gerät, das nahe zu diesem Jahrtausend entstanden ist, holt sich die Daten für seinen 128MB-Hauptspeicher von einer SCSI-Wechselfestplatte. SCSI? Ja, da war mal was. In der frühesten Variante – und das ist die, die hier zum Einsatz kommt – ein 8 Bit breiter Parallelbus für maximal 7 Slaves an einem Master. Das antiquarische JAZ-Wechselfestplattenlaufwerk von Iomega klingt wie ein kleiner Düsenjäger und fasst gerade mal 2GB pro Medium, was jetzt nicht so dramatisch ist: mehr als maximal 9GB pro Speichermedium bewältigt die Firmware der Musikmaschine sowieso nicht.

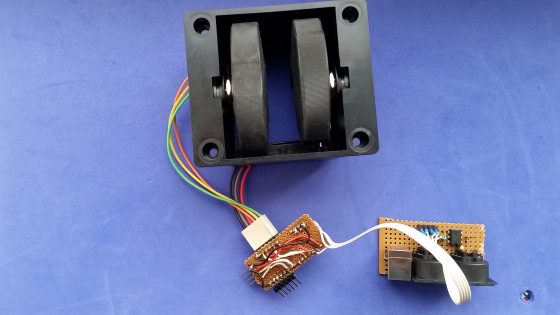
Netter Gedanke: warum den alten Kram nicht durch moderneren Flash-Speicher ersetzen? Schöne Idee, allerdings teuer und umständlich. Erst mal braucht man einen SCSI-auf-IDE-Adapter, an den man dann wiederum einen CF-Karten-Adapter anschließen kann (eine IDE-auf-USB- oder gar SCSI-auf-USB-Lösung zum Anschluss von Speichersticks scheint es nicht zu geben). Damit ist man zwar die wackelige und lärmige alte Hardware los, aber auch über hundert Euro – und dafür gibt es dann schon fast einen konkurrenzfähigen Sampler in Software. Auch das wäre also eher der Nostalgie geschuldet als der Praxis – und diesen Trieb kann ich durch eine ungleich simplere Bastelei kanalisieren: den Sampler um sein internes Floppy-(!)-Laufwerk erleichtern und das JAZ-Drive ins Gerät einbauen. So wie Andrew Martens es mustergültig vorgemacht hat.

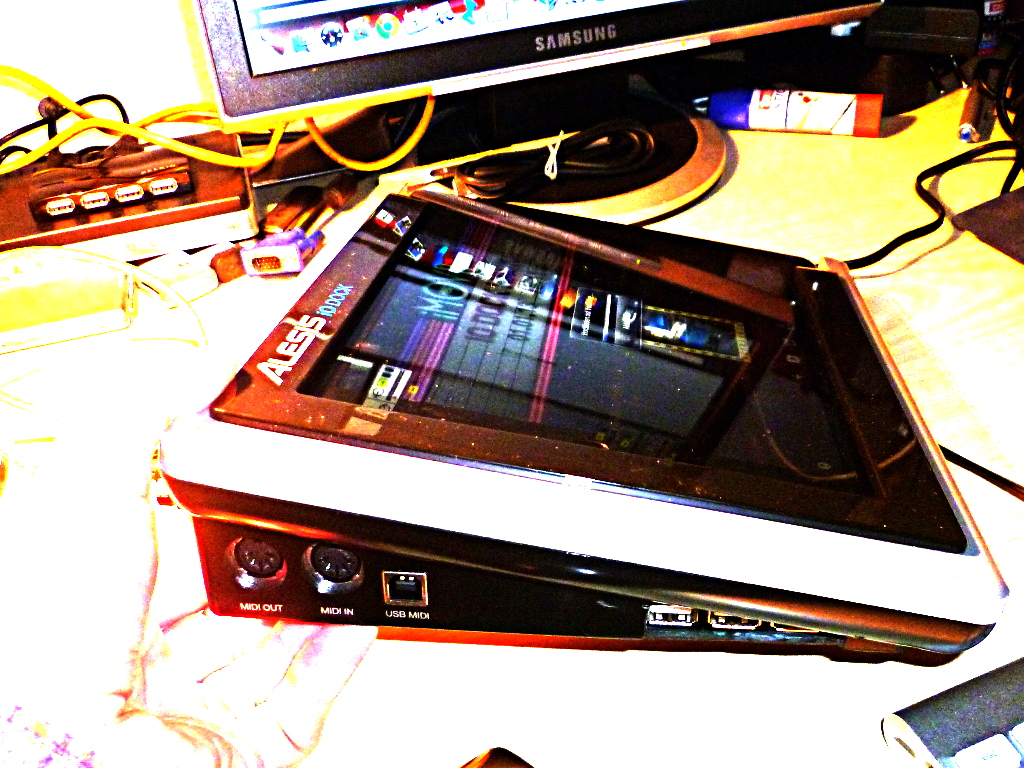
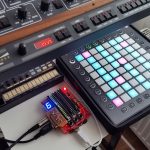
Eine Sache aus dem 21. Jahrhundert will ich der Spielecke aber doch gönnen: einen Musikrechner mit echtzeitfähiger Steuerung via Touchscreen, als Musiker-DJ-Allroundmaschine. Mit preiswerten Formbauteilen. Aber dazu später mehr.
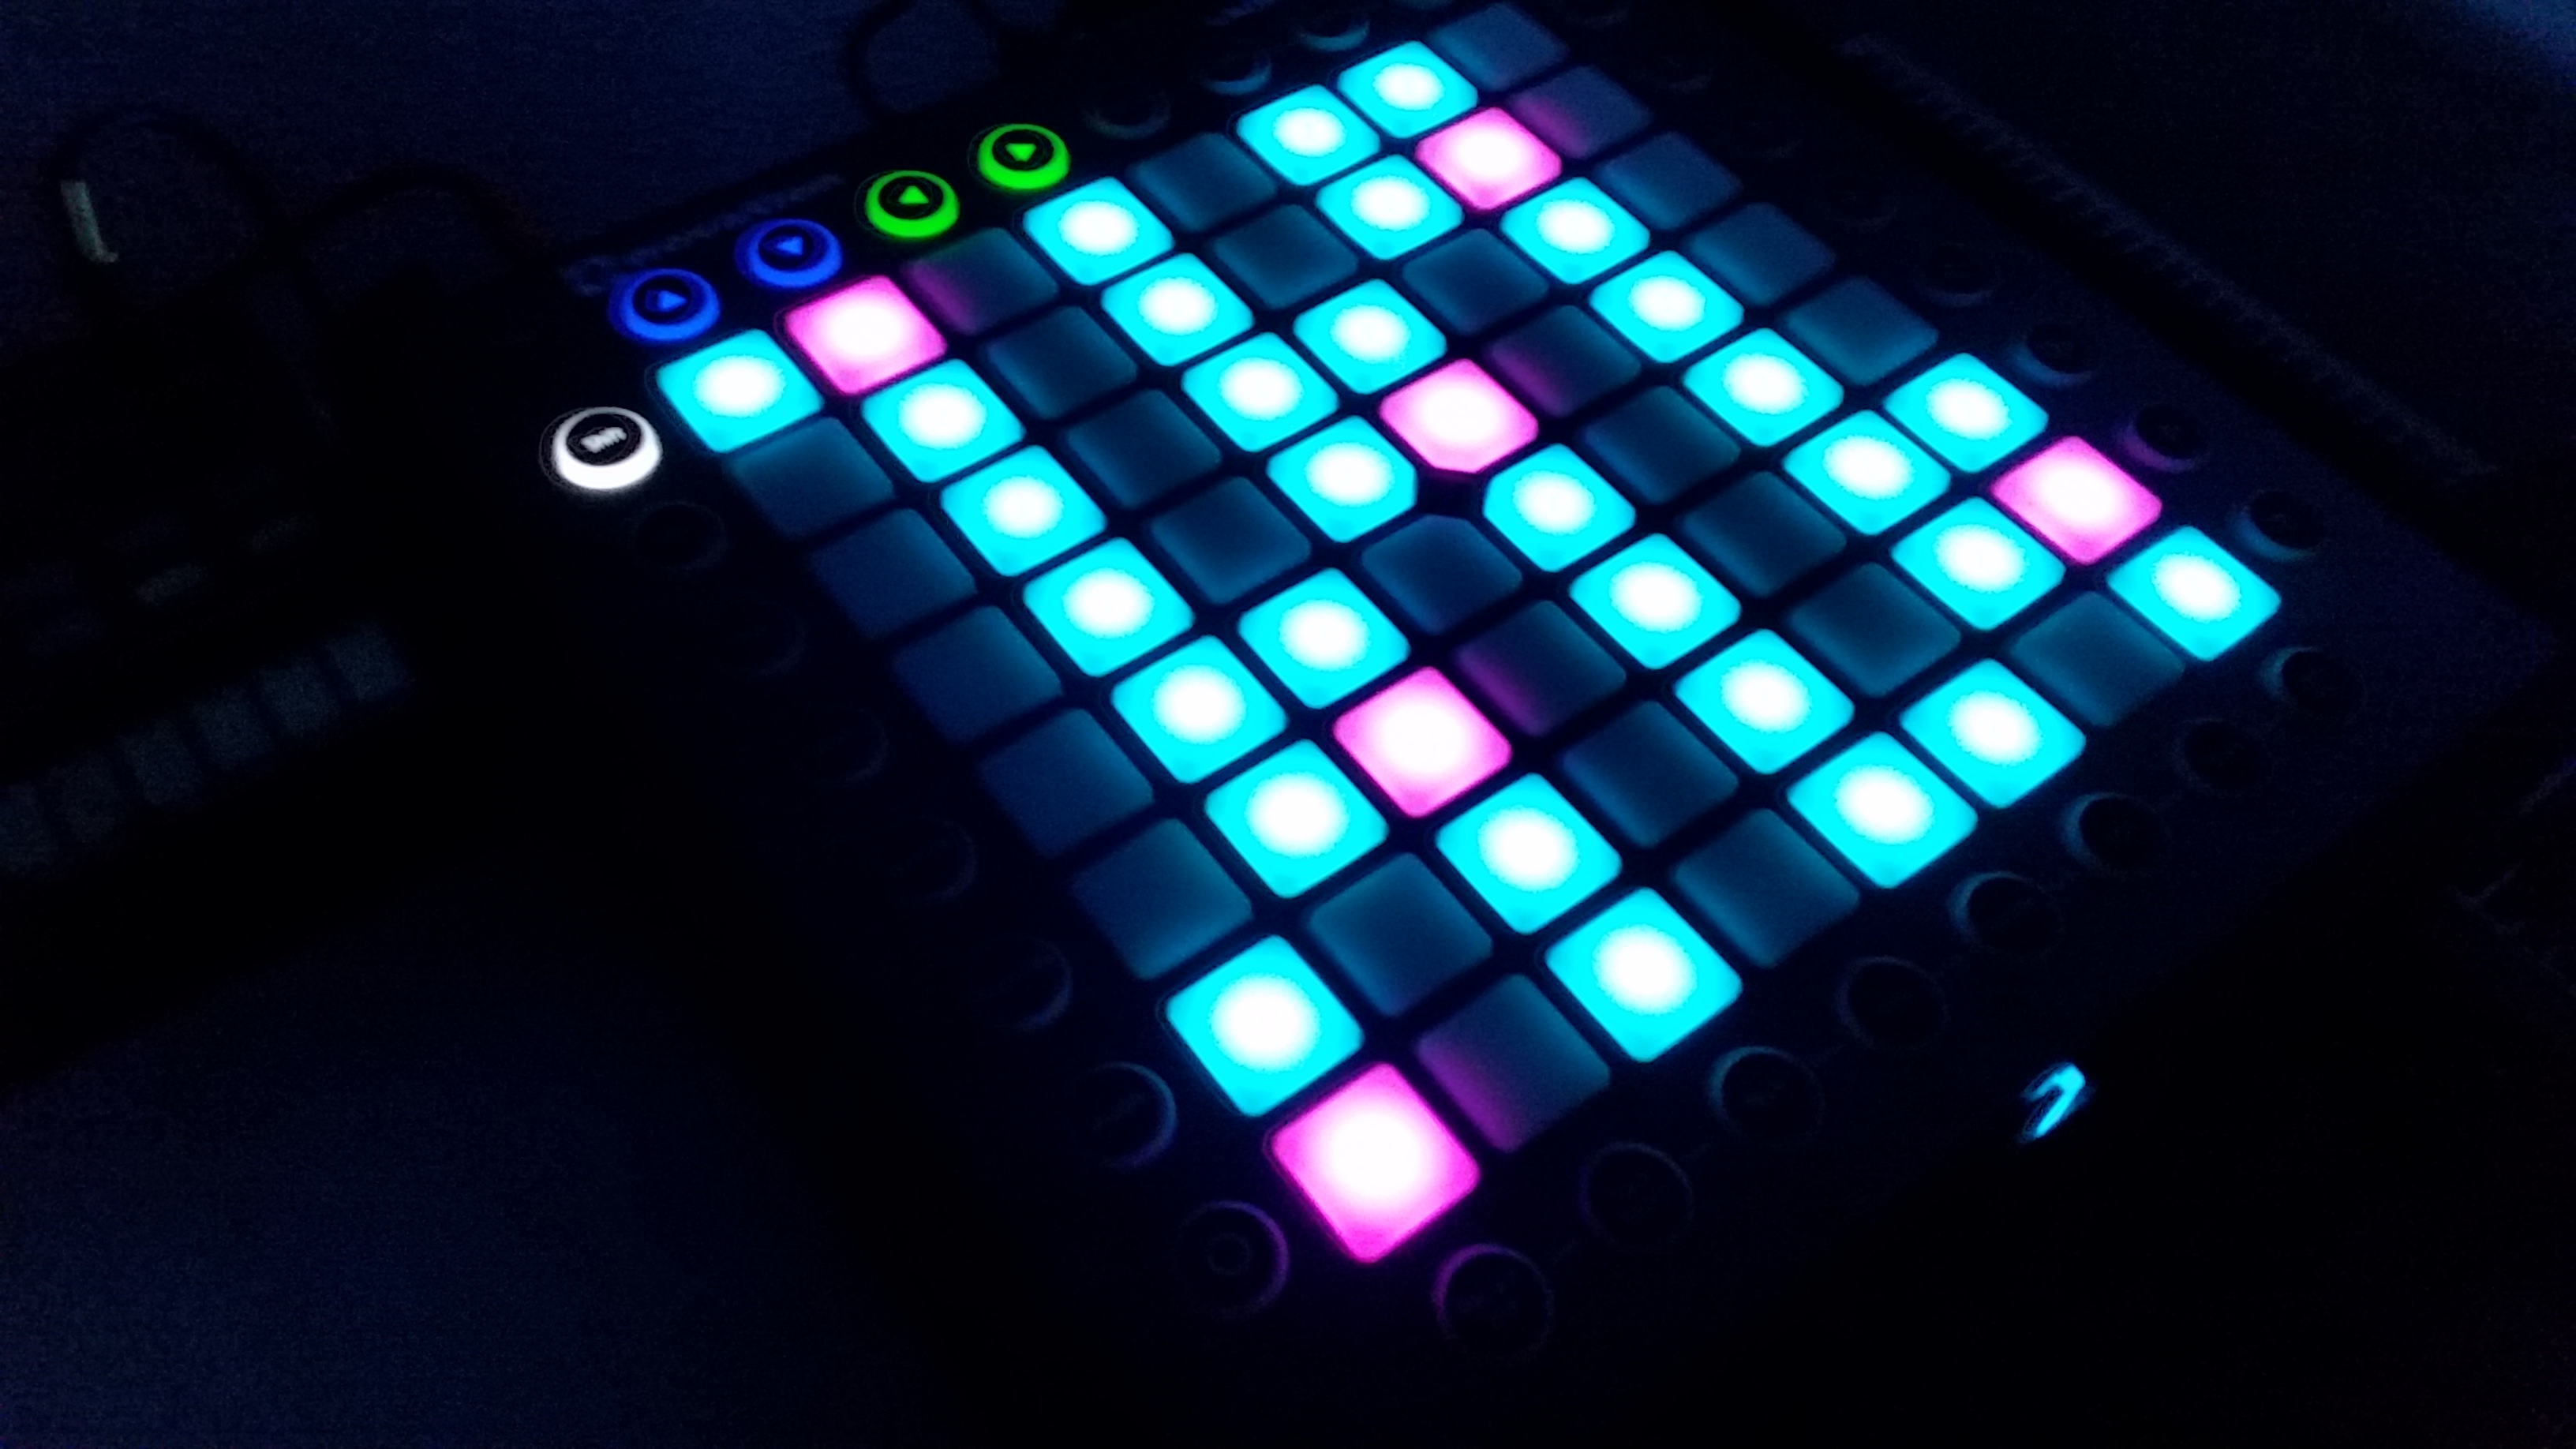