Okay, it’s dodgy, but aren’t keytars just?
Continue readingTurning the R3 into my holiday keytar.
7
Okay, it’s dodgy, but aren’t keytars just?
Continue reading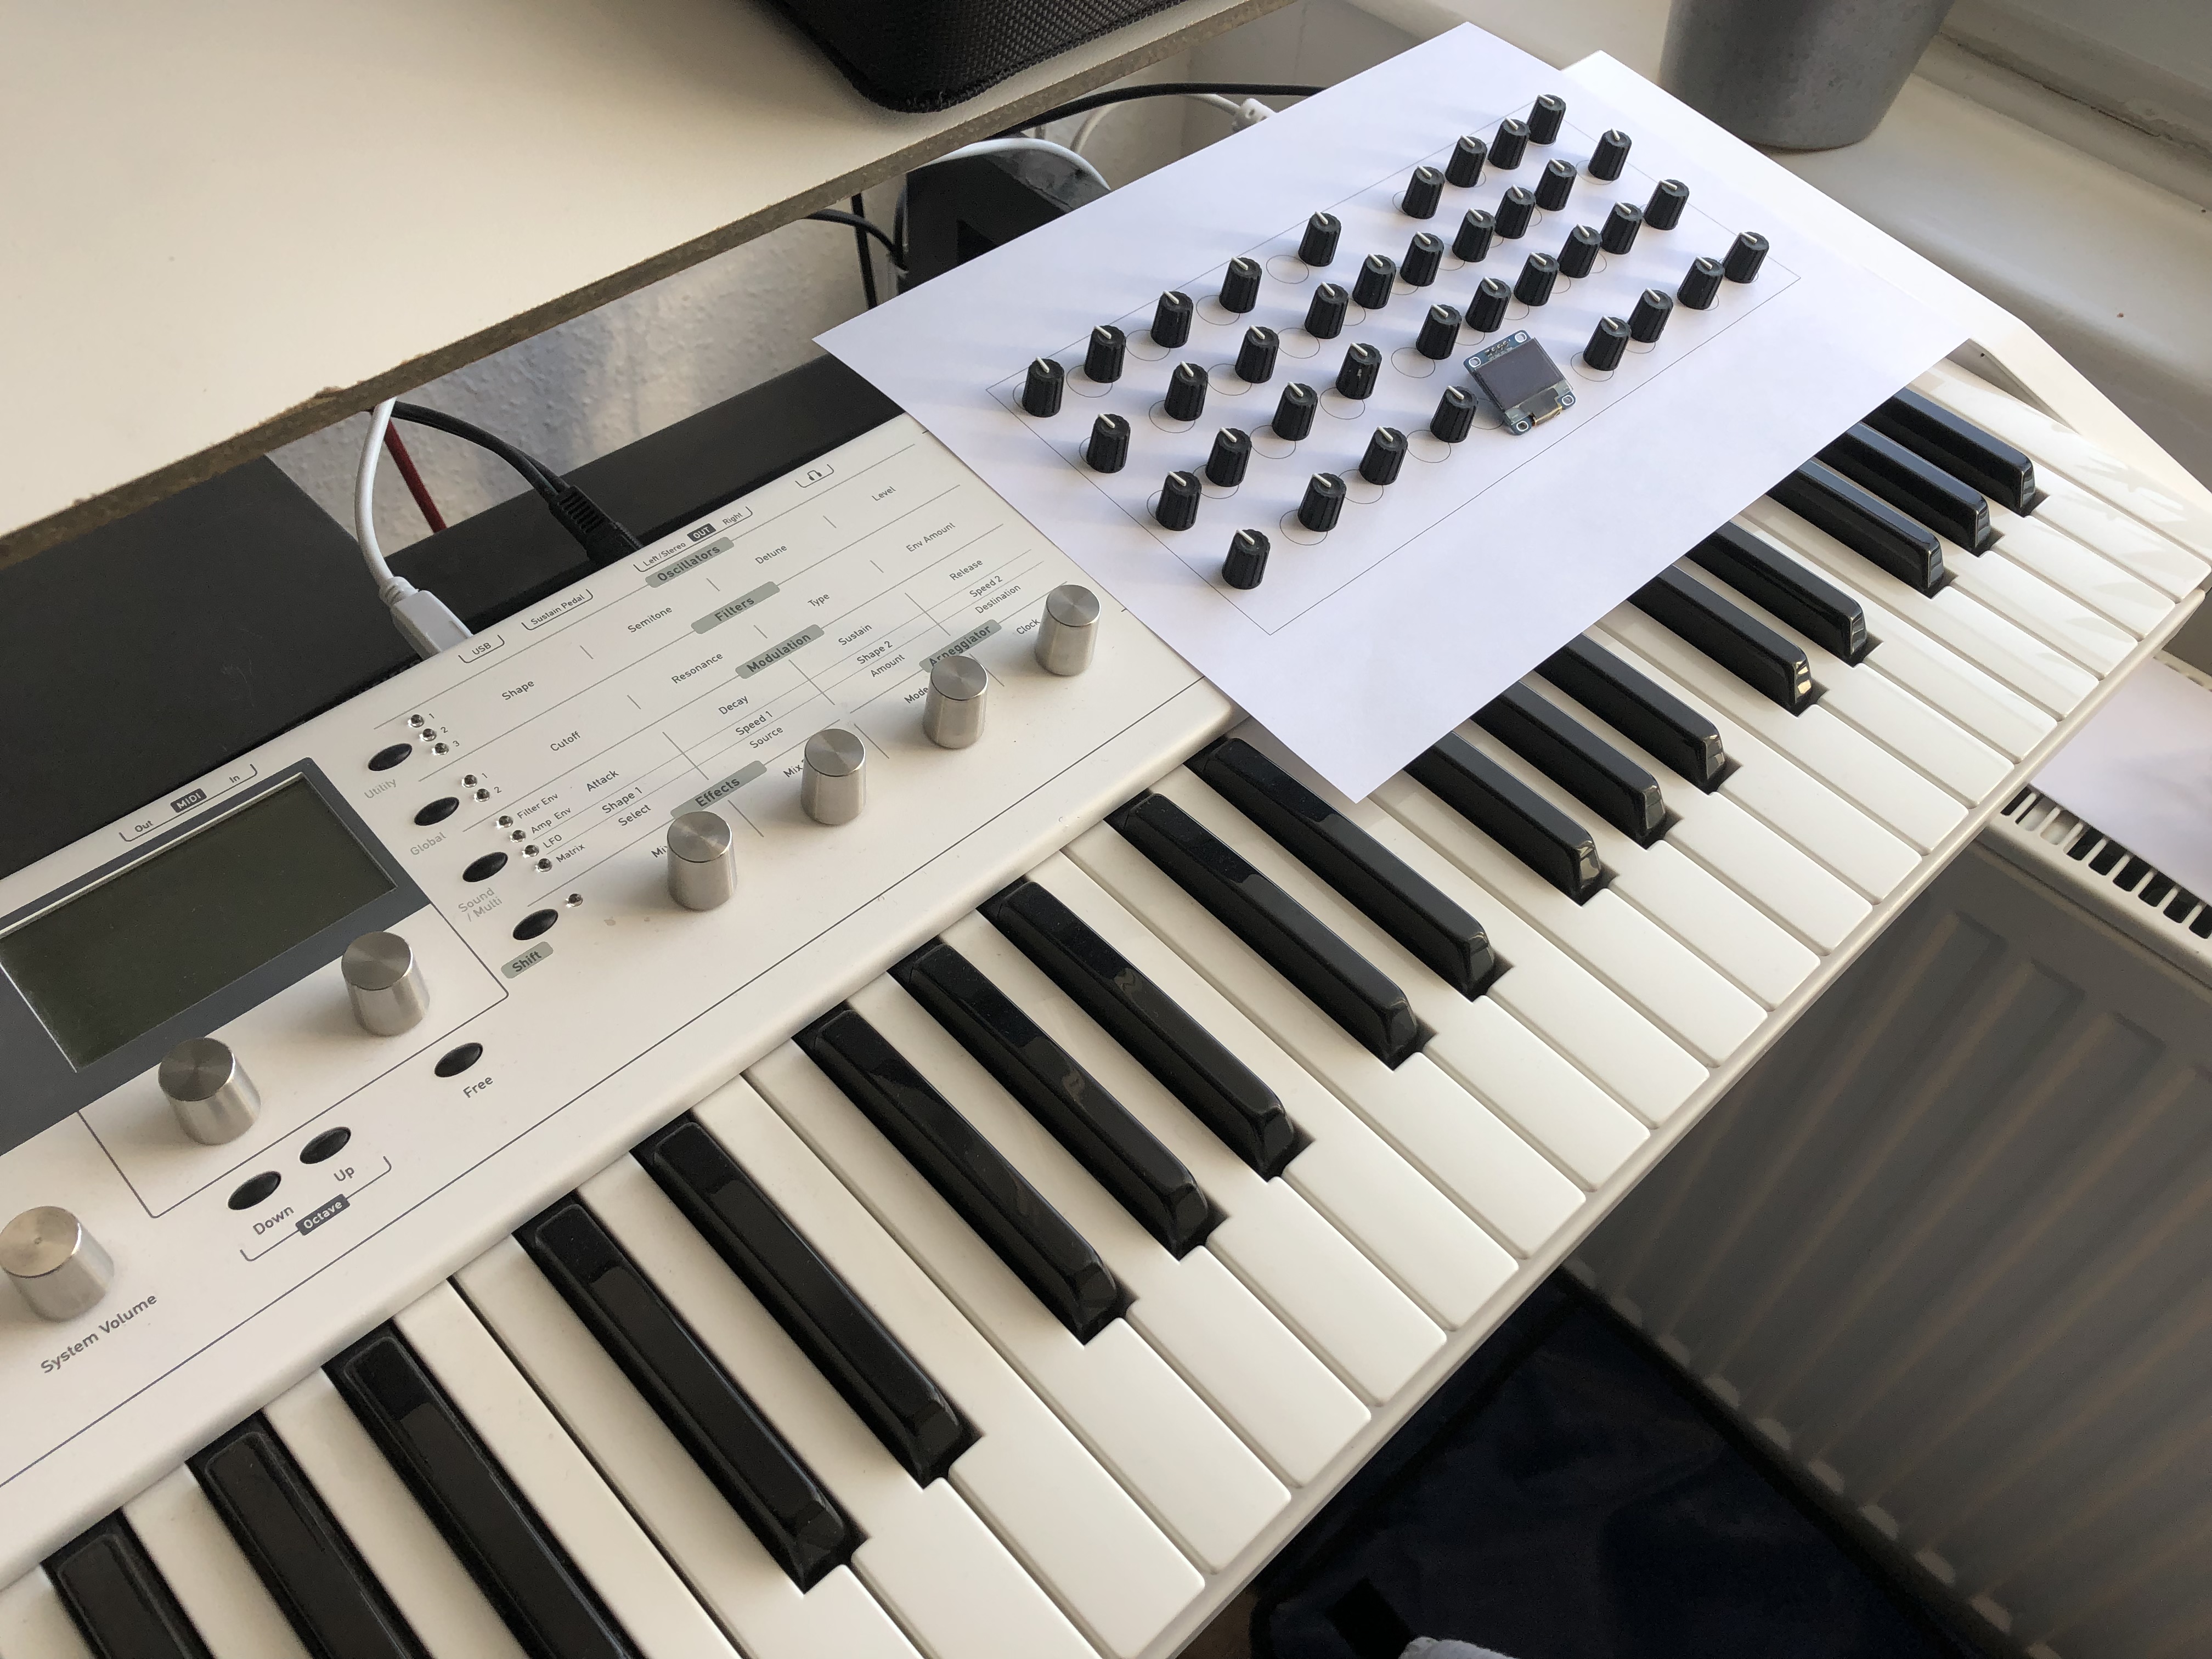
This is just a wet dream so far – a knobby controller integrated into the Blofeld. The layout being- ah, let’s call it inspired – by the Hartmann 20 that is, essentially, a Sledge in an expensive coat. (The Sledge is, essentially, a Blofeld with knobs.)
Behold: the Frankenfeld!
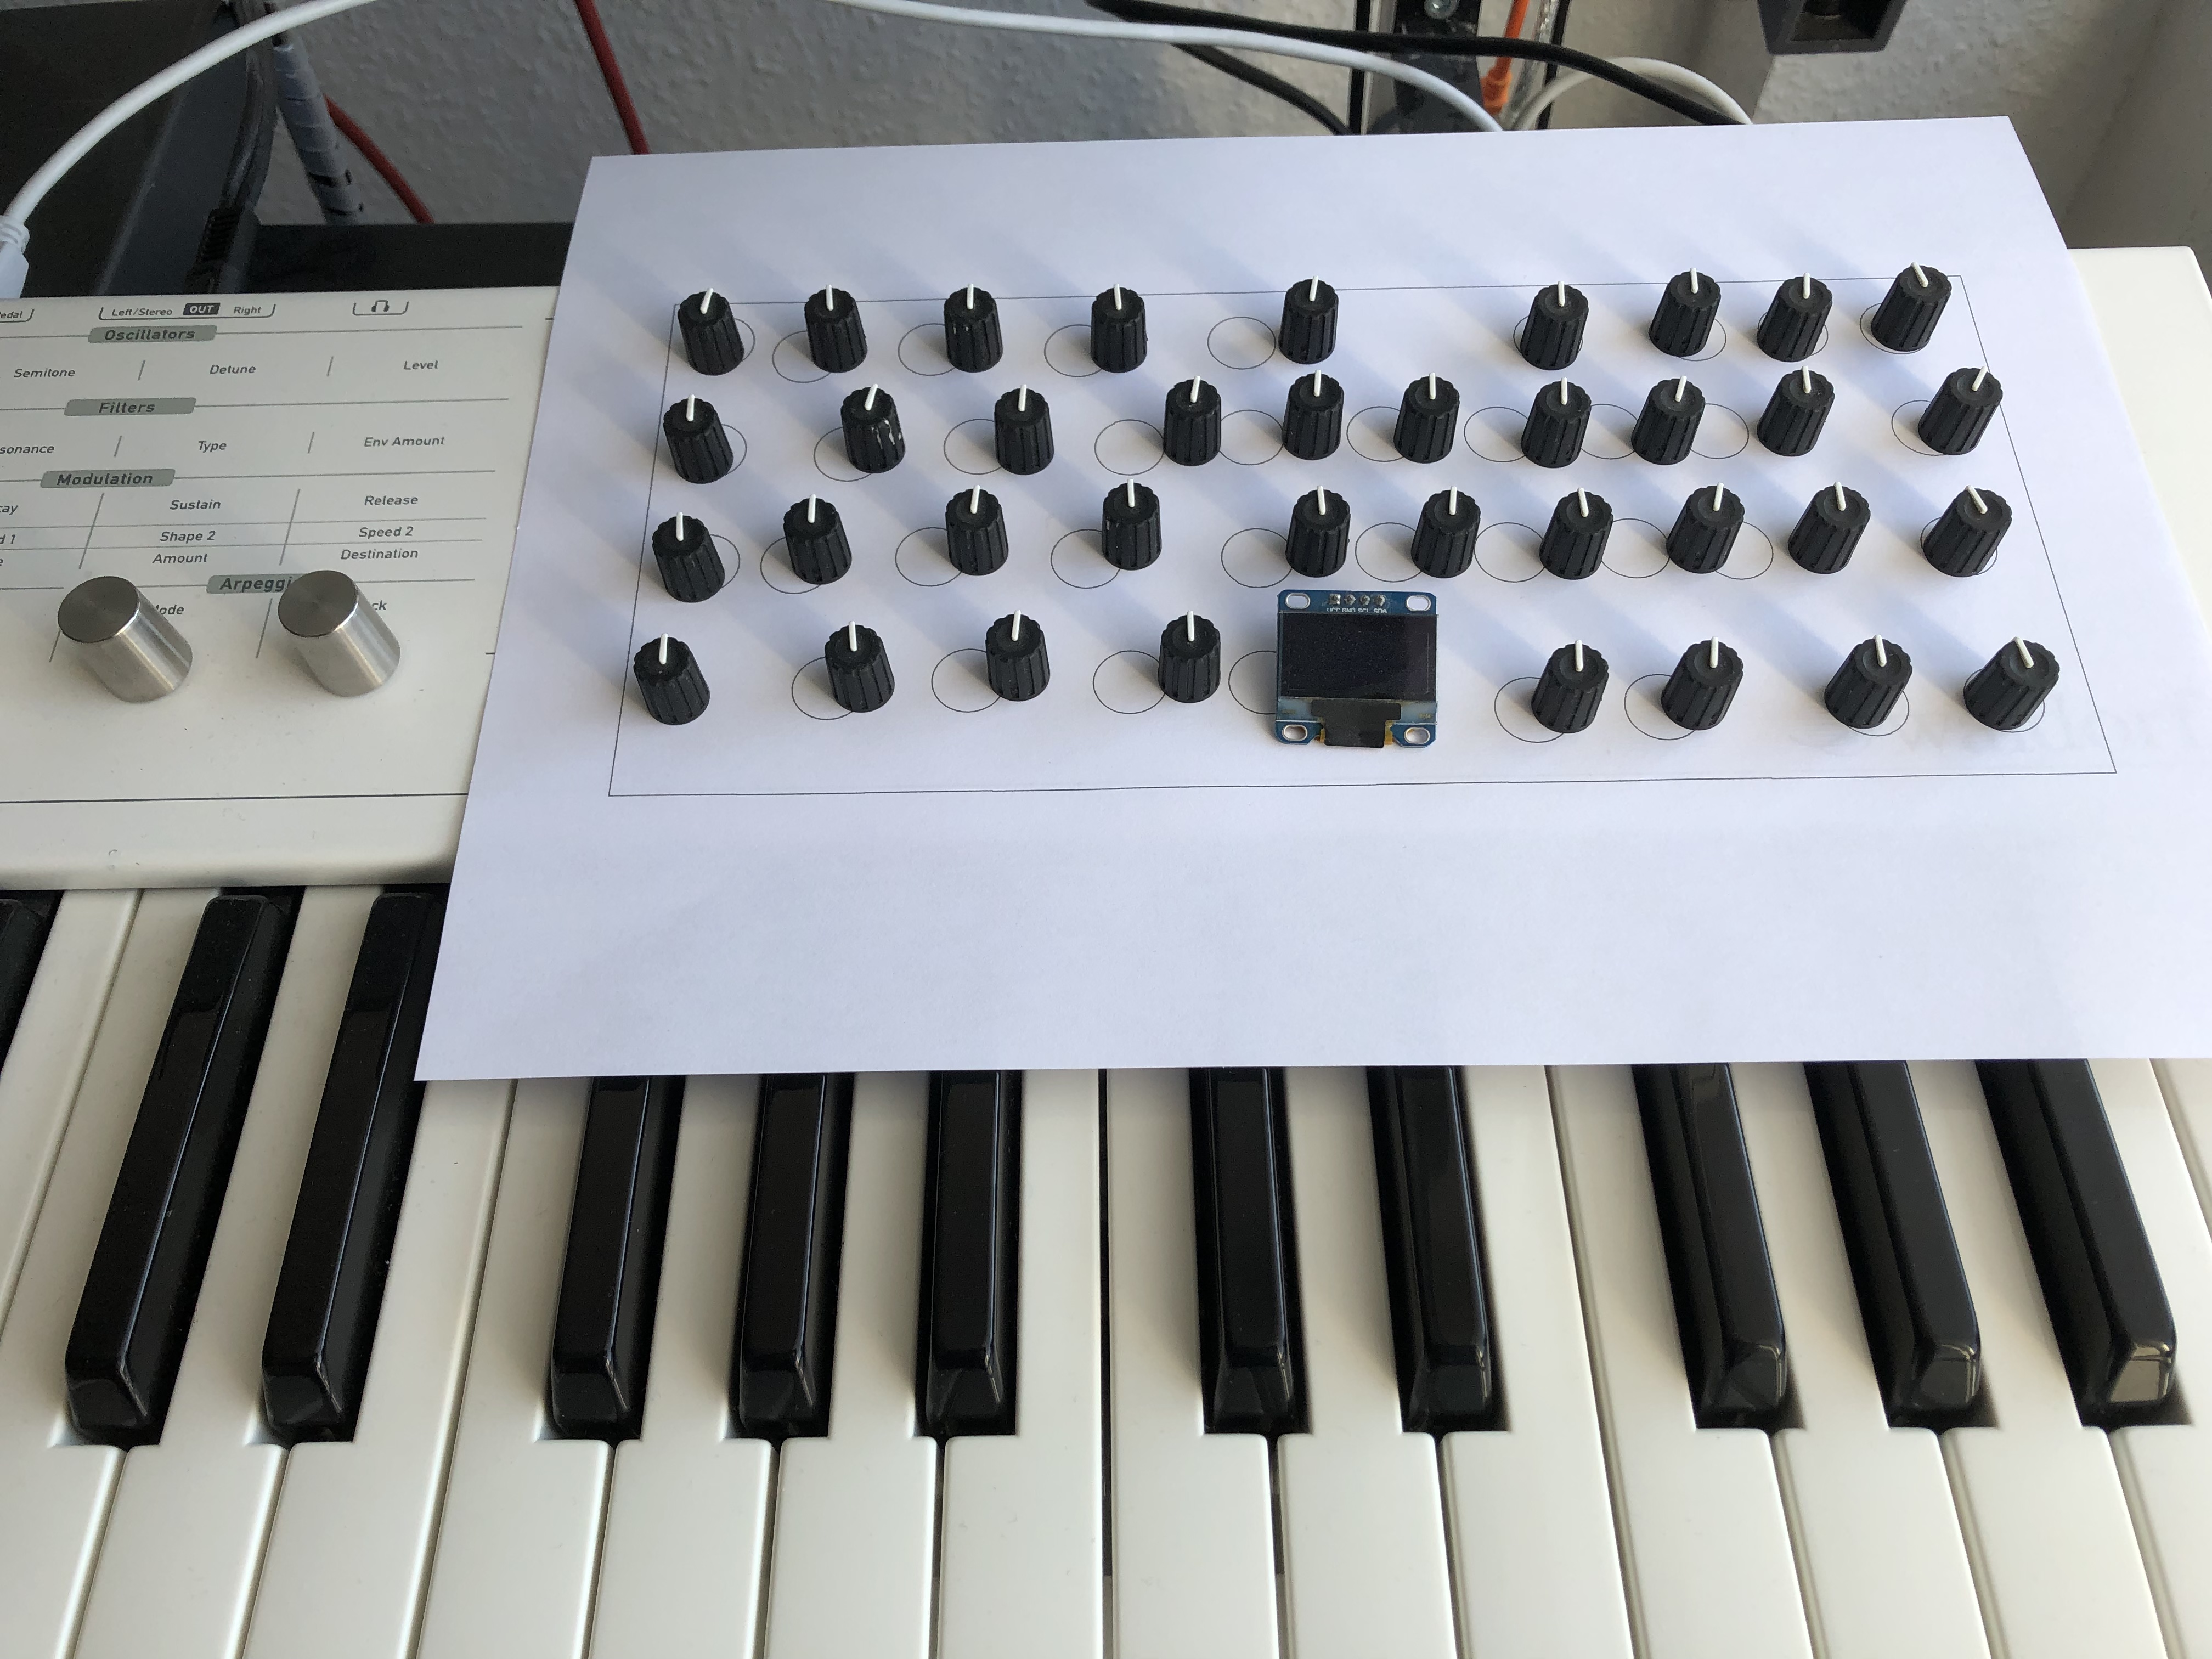
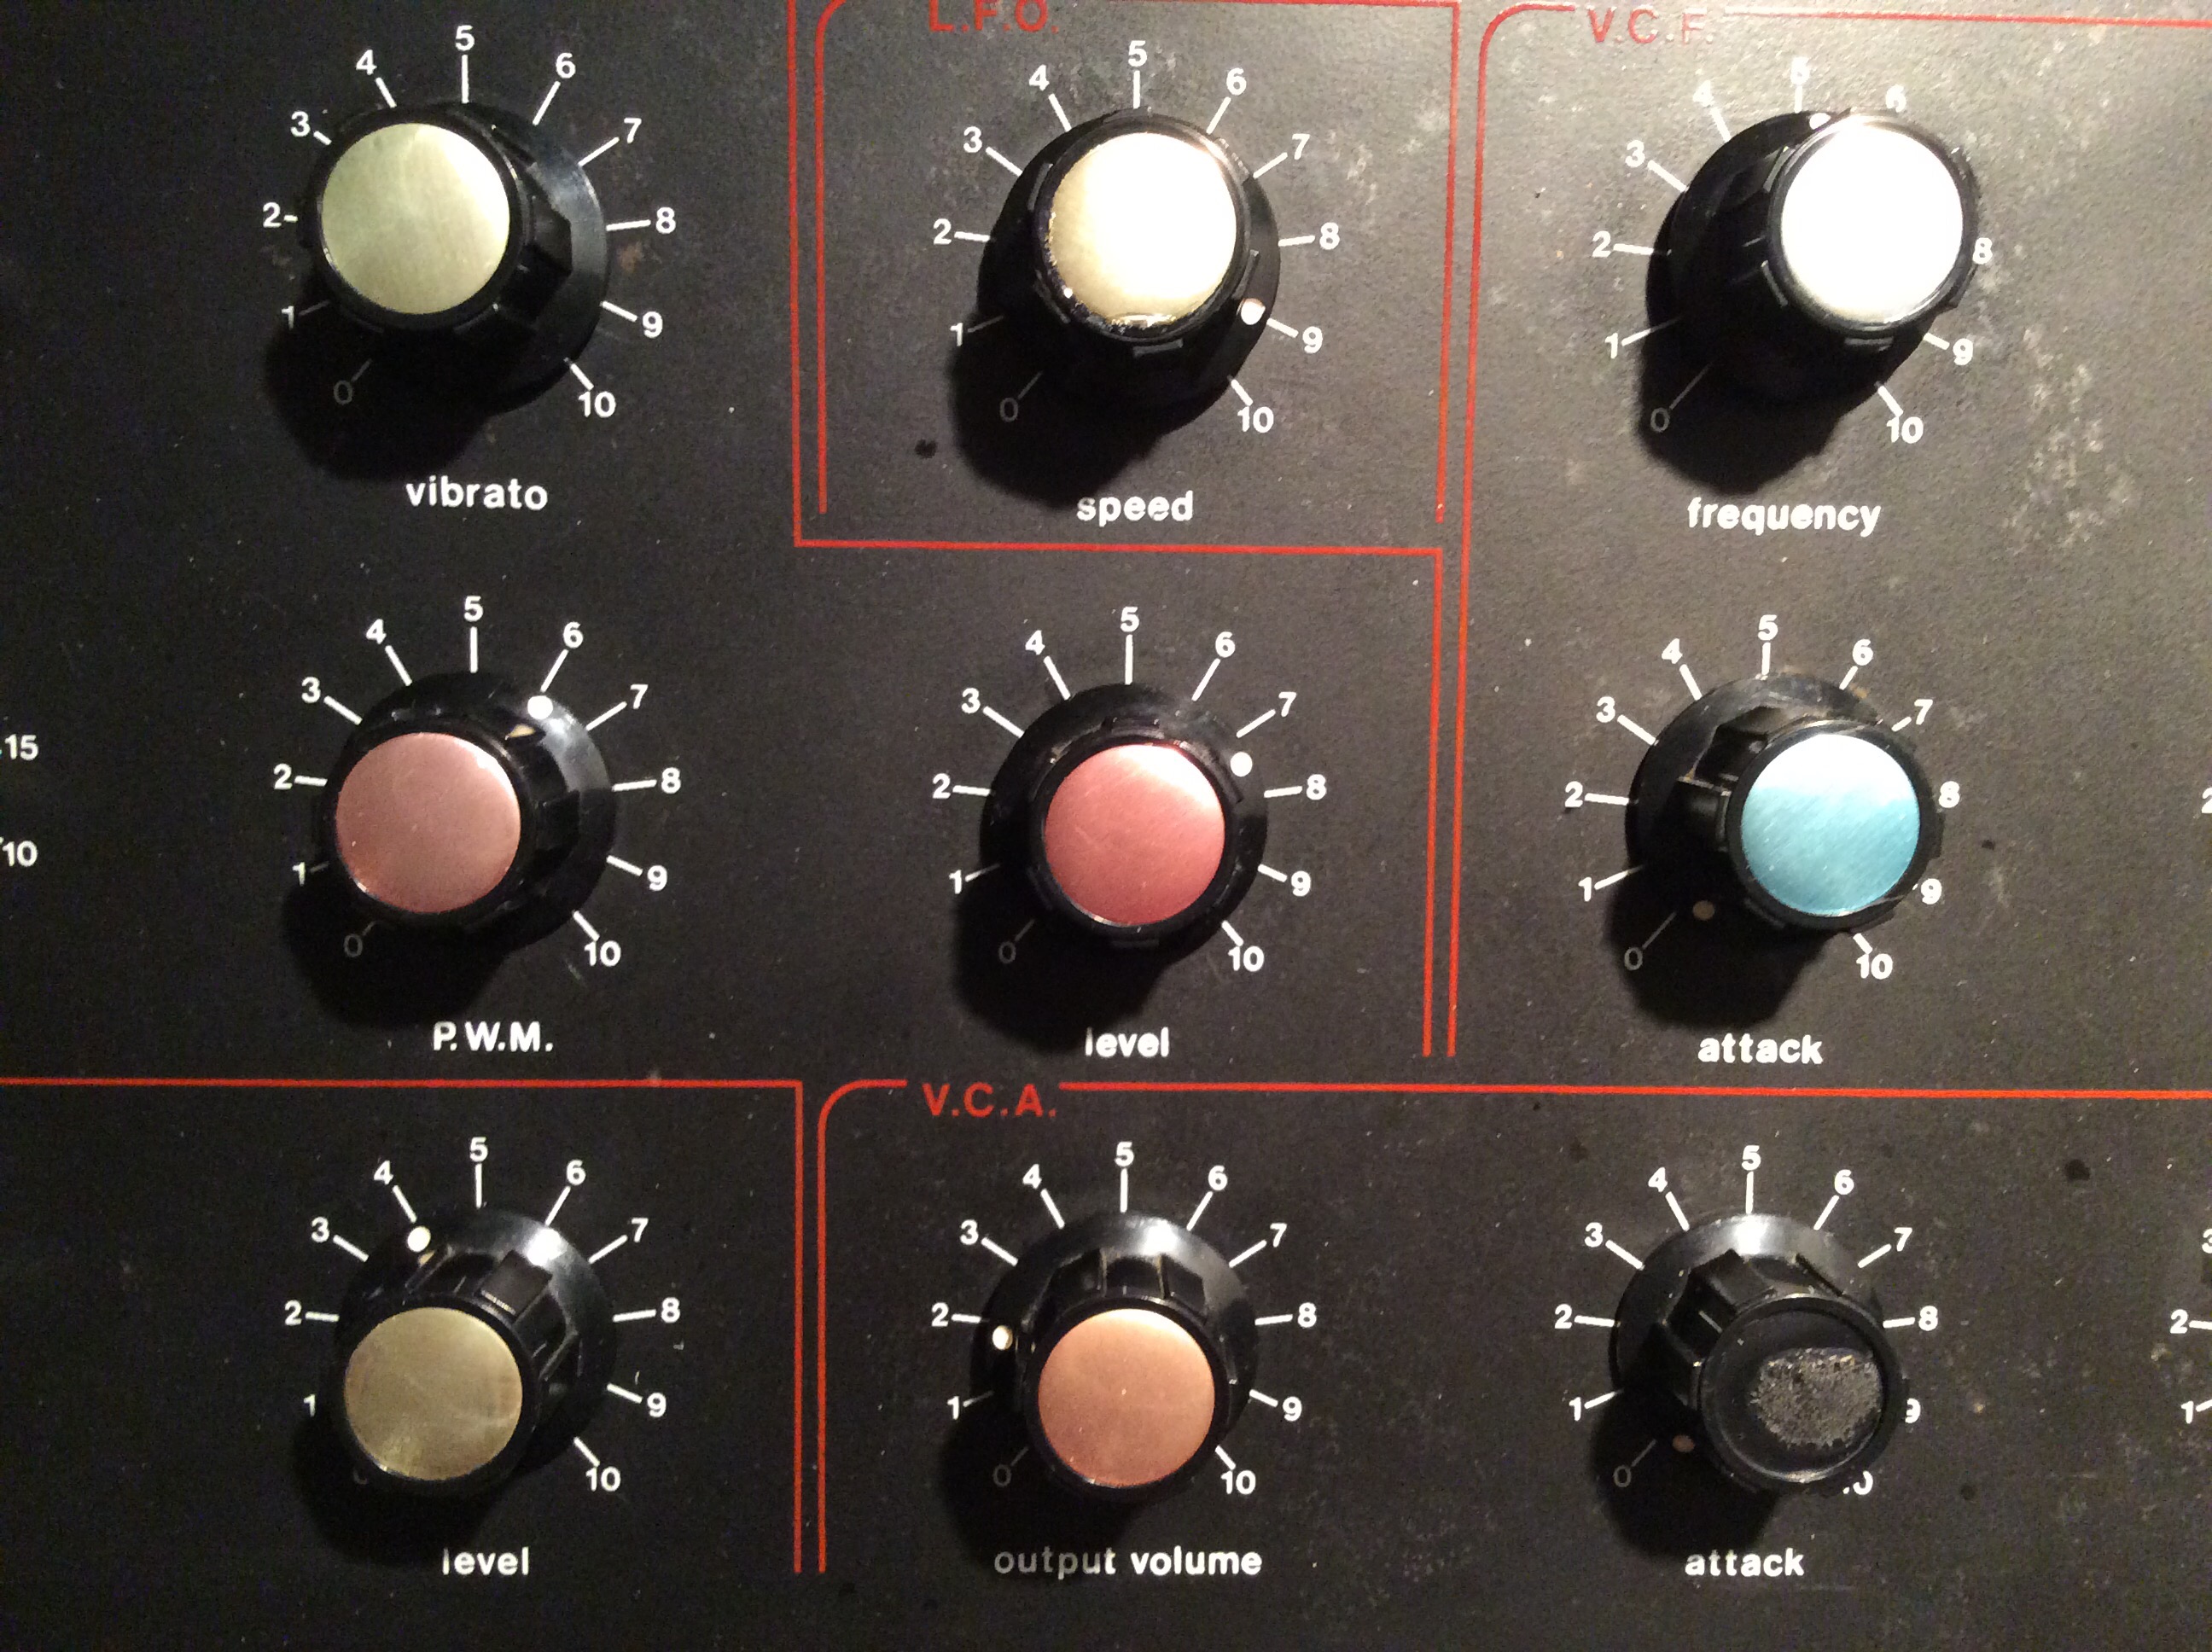
Continue readingThis is the first post in a series of small projects for retrofitting my JEN SX-1000 monosynth with a simple and cheap MIDI interface controller. Read about the basic idea here. Today, I am designing and building the micro-controller brain of the Jenny retrofit – if you are capable of basic soldering, it should not take you more than two hours and a couple of very common electronic parts.
…and my sweet Lord, does it make her shine!
Nothing fancy here. After inserting the booster/overdrive in between VCO and filter section, I took another of those lovely Musikding.de kits for a phaser, built it, drilled some holes into Jenny’s housing and fitted it.
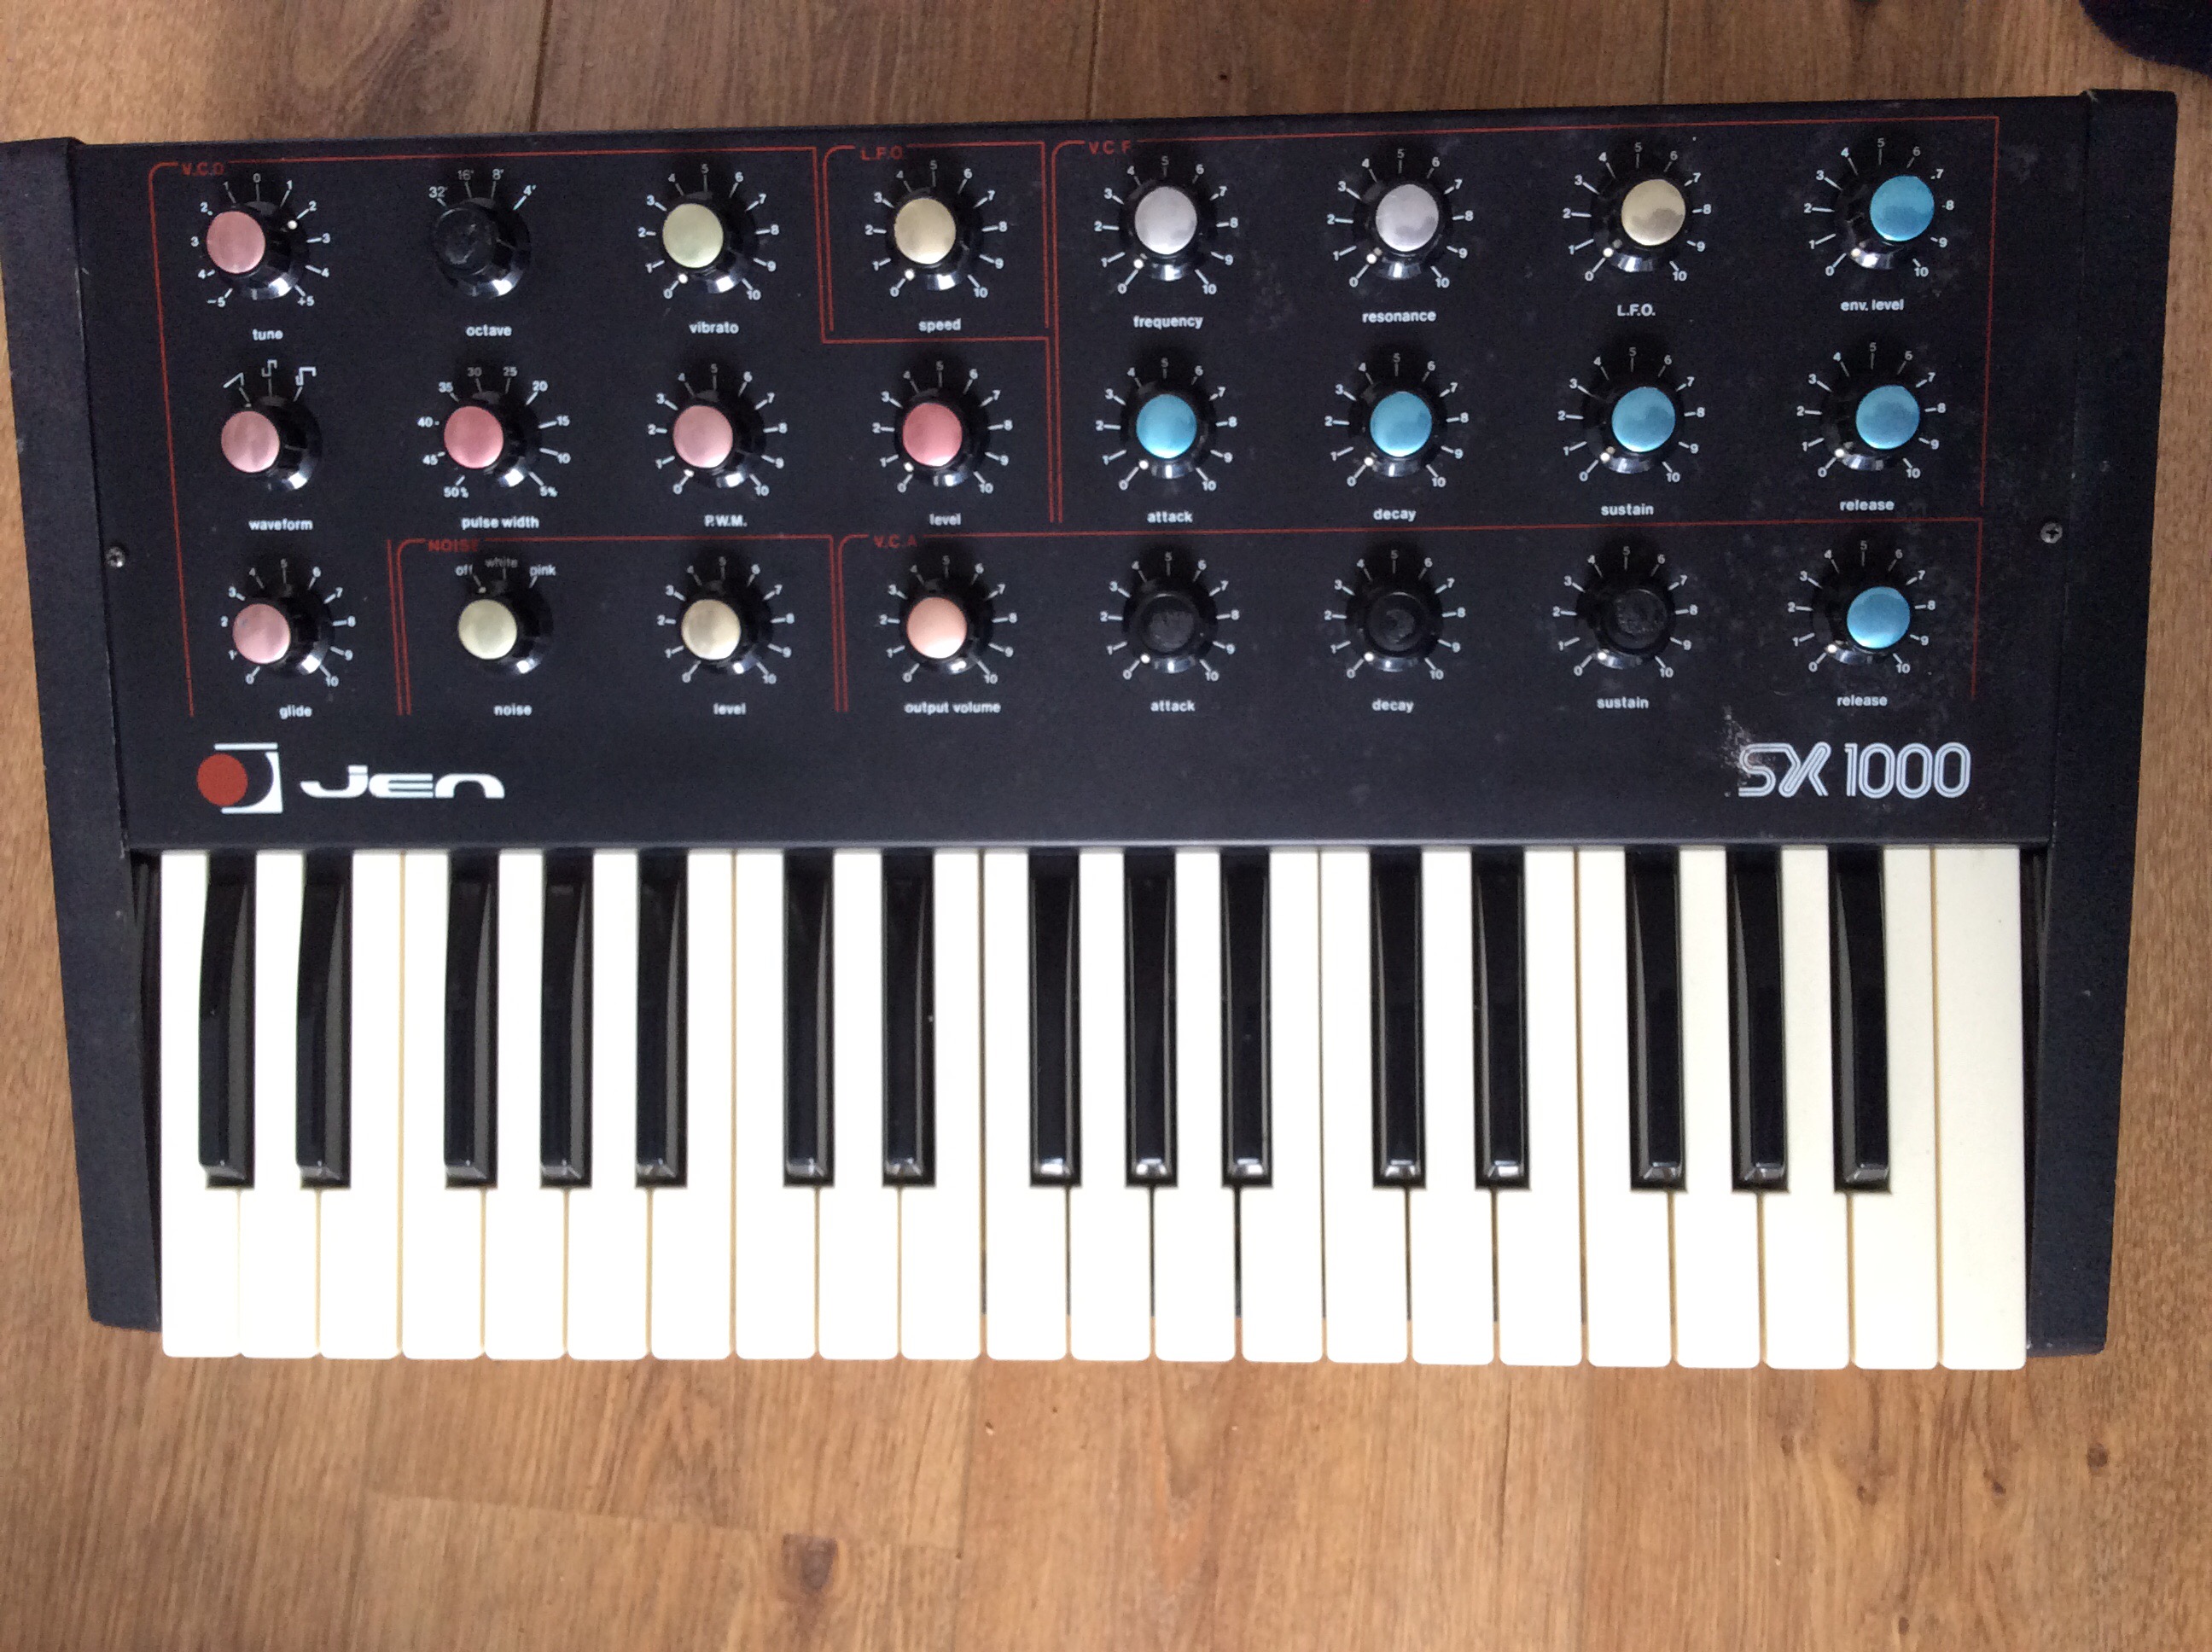
 I have been using Jenny as a bass synth recently, and I am quite impressed by the quantities of life and fun this old machine is adding to the mix. She doesn’t do that much in terms of tonal range, but what she does, she does well.
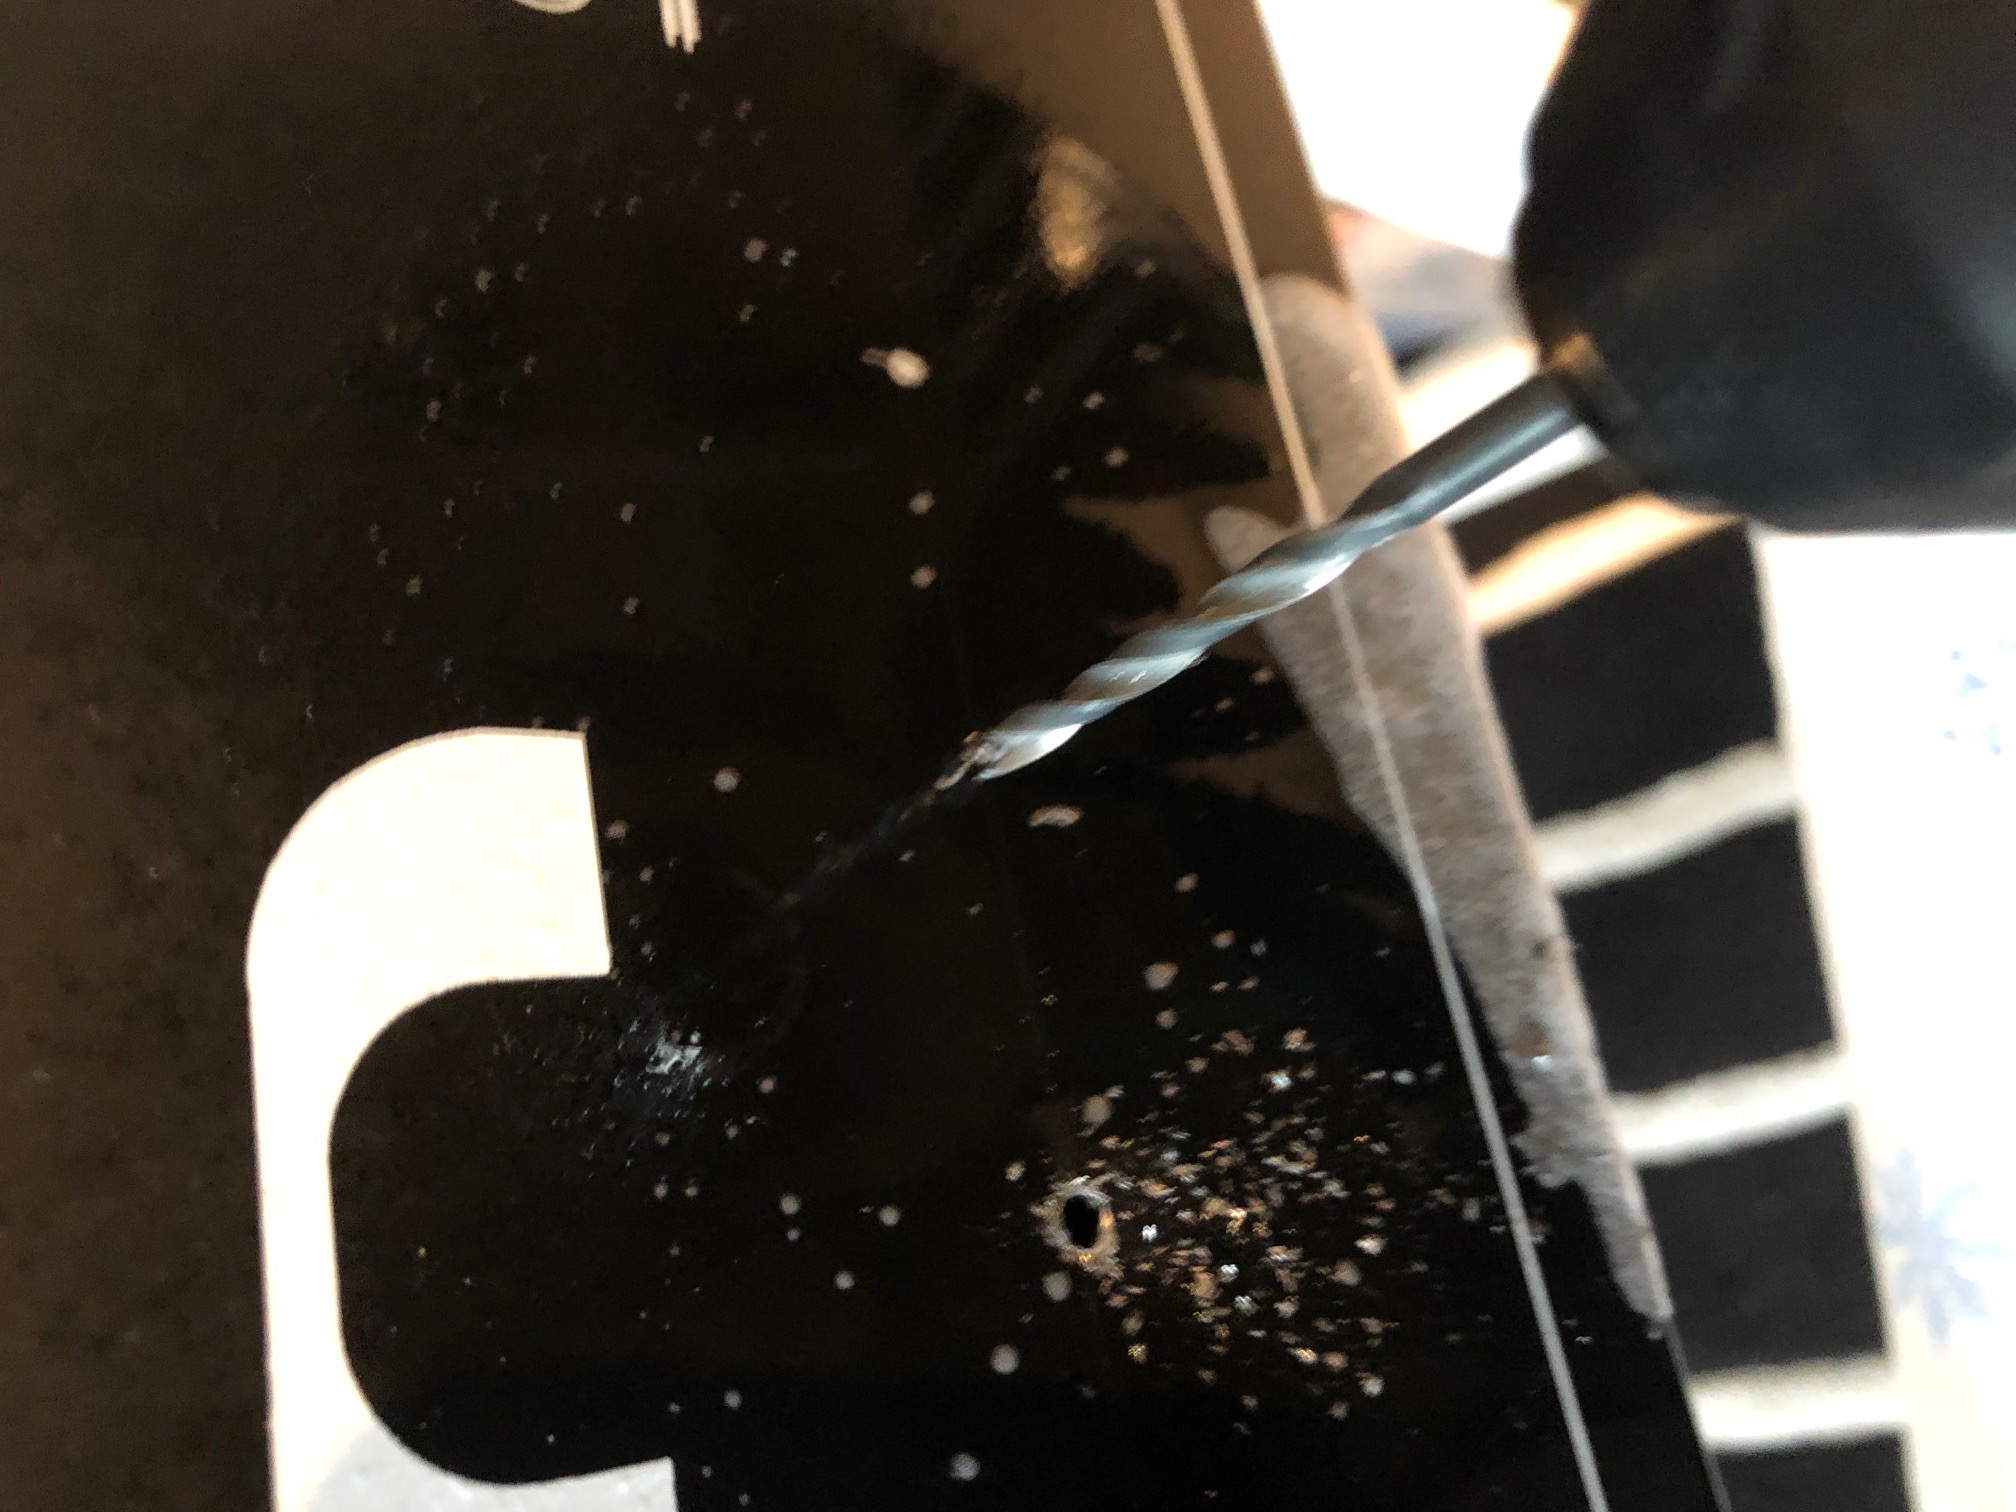
I rediscovered an old trick when drilling metal: use a bit of alcohol, not on the person drilling, but on the surface you want to drill. And don’t go too fast. 
Giving my JEN SX-1000 a bit of additional low growl by adding a pre-filter overdrive.
A nice little addition: Insert a booster circuit kit where the coupling capacitor between oscillator and the filter used to be. Come on, you’ll have to take out that damn capacitor anyway. And it sounds really nice, punching through the mix (samples below) – especially in combination with the sub-oscillator mod.
I do admit that you might think that this is a superfluous mod. After all, when you drive this circuit – any circuit – into overdrive and into clipping, the resulting wave form will, gradually, start to resemble a square wave.
But I could do it, so I did it. And I like it. So let’s get started.
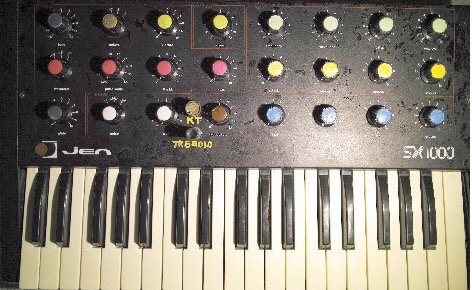
This JEN SX-1000 belongs to Stéphane in France, who wrote to tell me of the three mods he did. I have never seen two of them before – a Tremolo control, and variable filter tracking. Which would make Gordon Reid very, very happy.
So here is Stéphane’s letter:
“Hello, here are some modifications for the Jen synthetone SX1000. Nothing is disconnected. Components are added.”
Pretty straightforward, this one: Replace the JEN SX-1000‘s fixed power cable with an IEC socket. (Like weird German words? You’ll love this: In German, this thing is called a “Kaltgerätestecker”, more precisely, a “Kaltgeräte-Steckverbinderbuchse”, which translates to “Cold unit connector socket”. Don’t ask me.)

No problems here apart from cutting a hole for the socket; I used steel drills to mark the corners of the cutout and then cut the steel with my Dremel tool. Lots of metal dust but fast, and it did the job precisely.
A word on Jenny’s power supply: It’s extremely oldschool – a transformer and a diode bridge generating +/-18VDC, two 7812 regulators generating +12V and -12V, and another 7805 regulator generating the +5V supply rail from the 12V. If you would like your JEN to be a bit more eco-friendly I’d advise replacing those regulators by the 2931CT low-dropout type, but apart from that, there’s hardly any reason to look at the power supply – it’s rather solid and possibly not your primary concern if the synth does not work.
Is it possible to retrofit an Alesis IO Dock II with an internal USB hub, just like I did with my IO Dock 1? TL;DR: Some have tried and failed – seems like Alesis deliberately switched the code for this hack off.

This photo was sent to me by Blek in the Czech Republic who asked that very same question. He has taken a look inside his IO Dock II and noted that it features an all-new PCB, so my original hack won’t work. And of course there is no guarantee that the prerequisite for the original hack is still implemented in the IO Dock II: the ability to function not only as a USB bus host for the iPad, but as a USB bus slave device, with the iPad working as the bus master.
The good news is: It is simple to give it a go, as Alesis took extra care to label the locations of the USB bus signals:
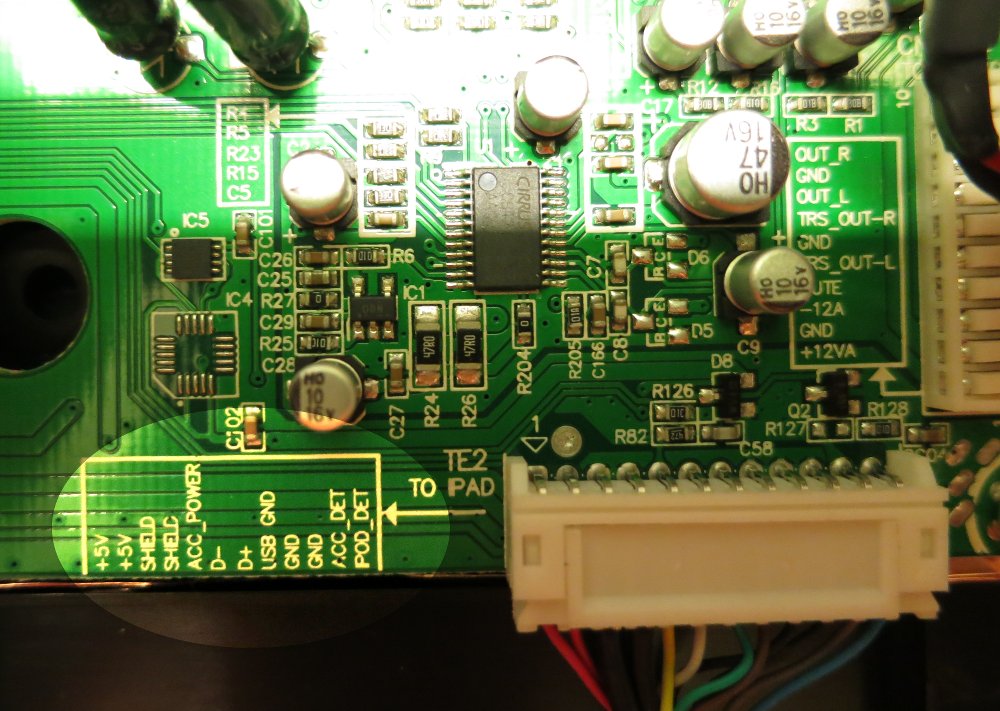
So here is what you do to try it:
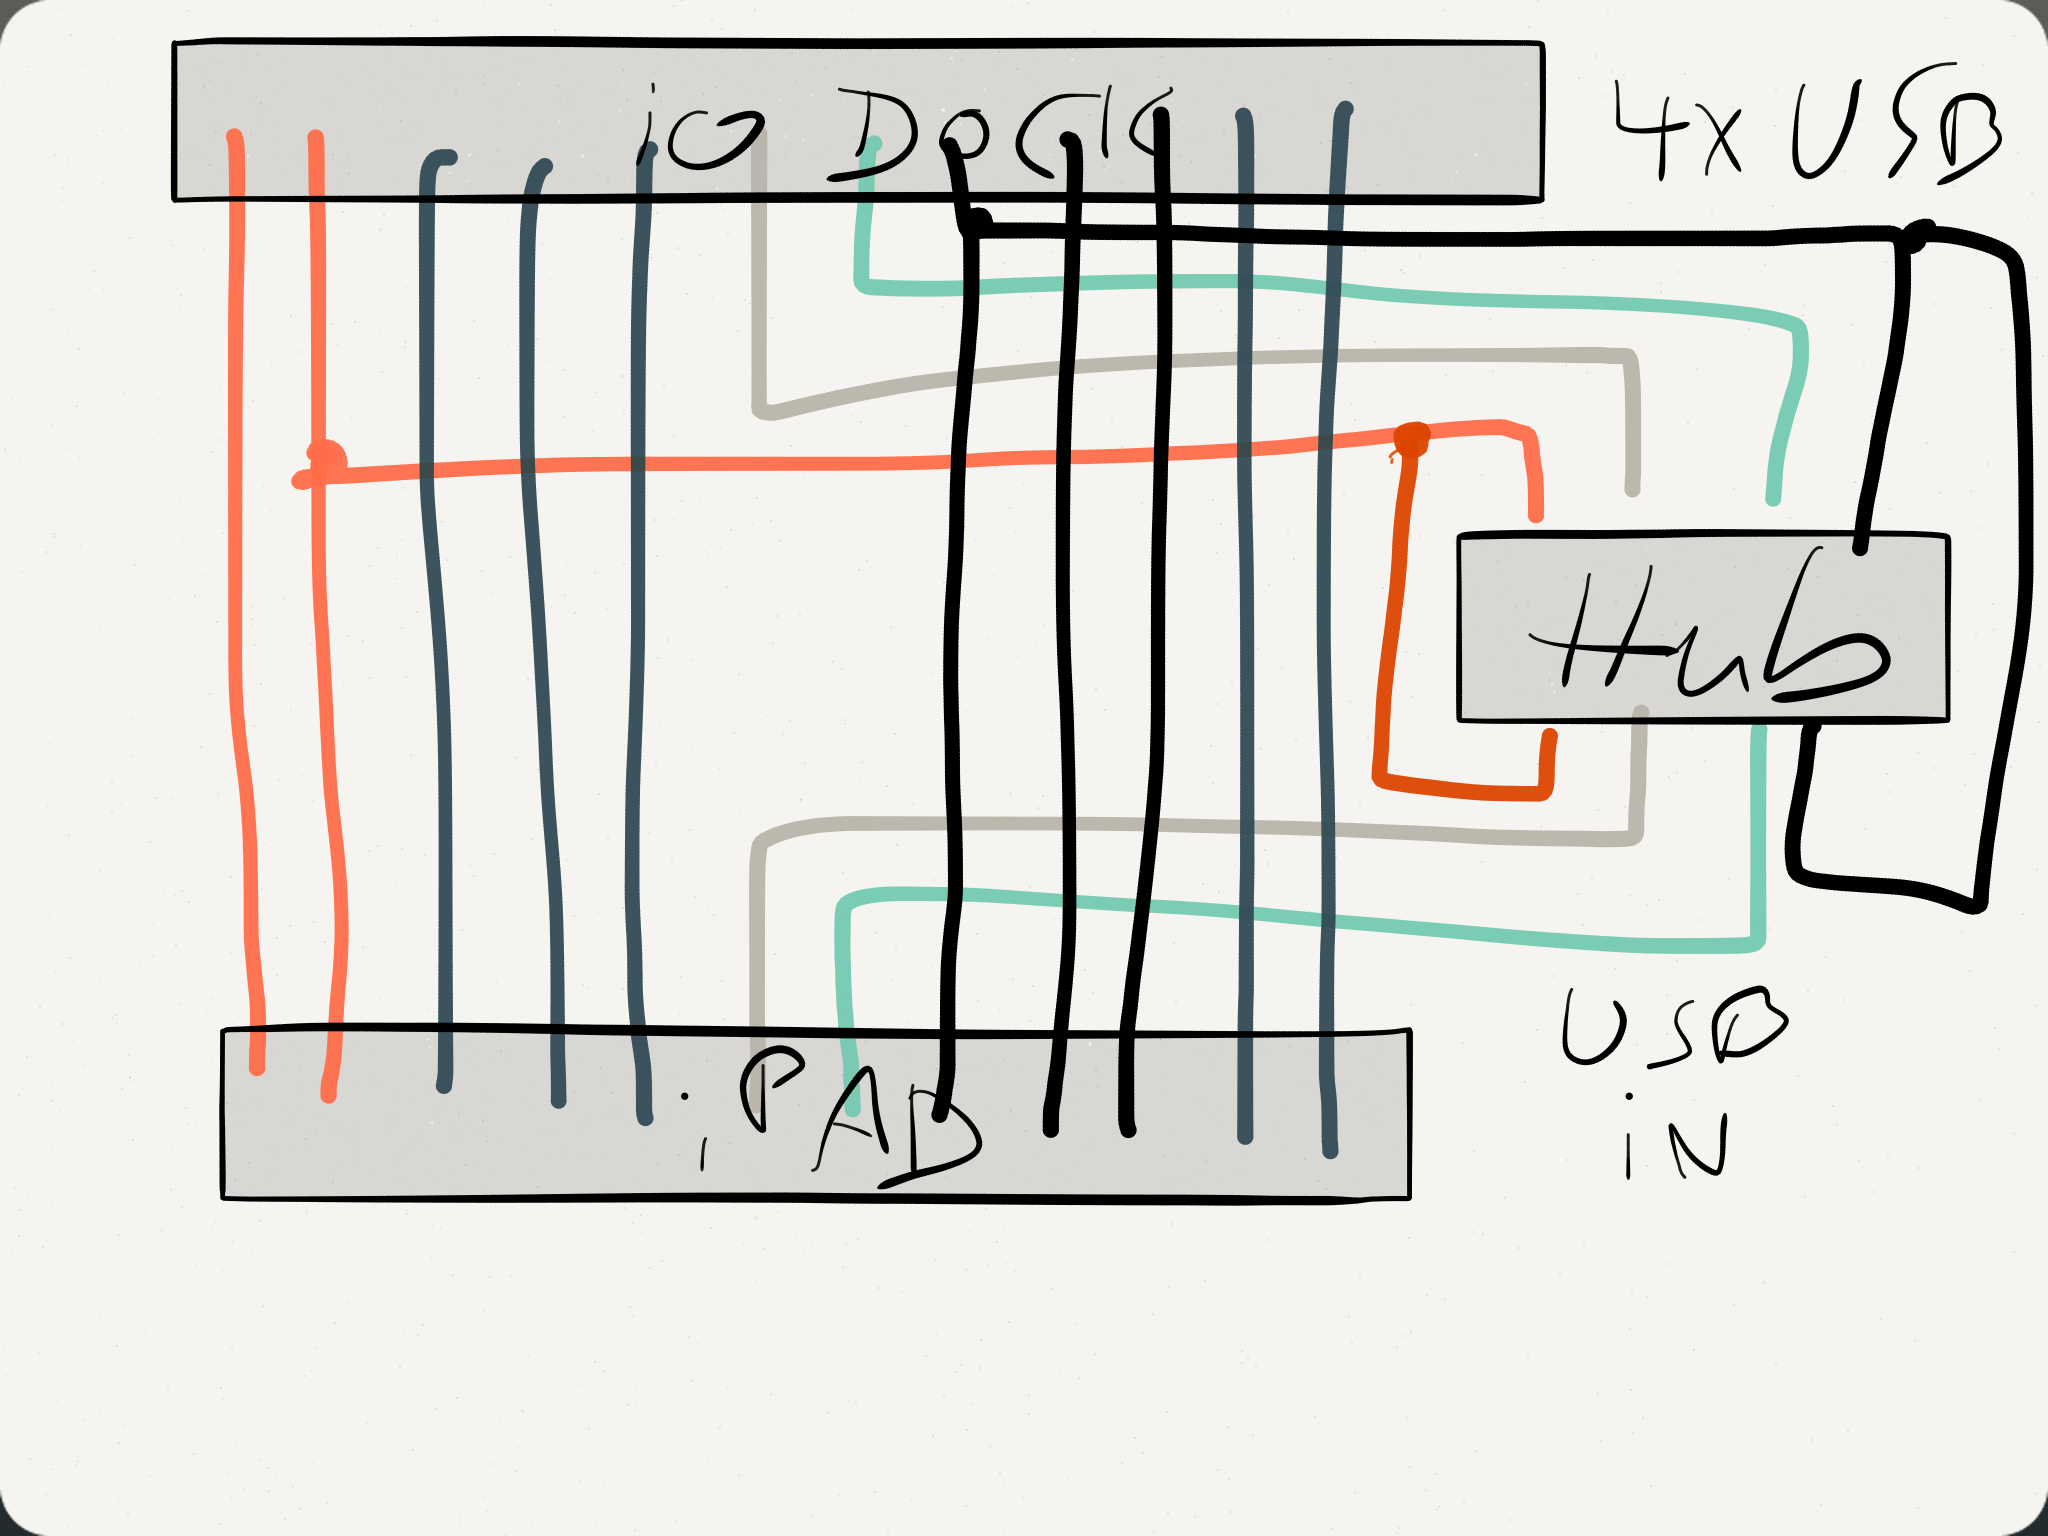
Wiring the USB hub connector: Once again, the trick is having the iPad work as USB host rather than as a slave device, and the IO Dock as the slave rather than as the host. Use your hub’s connector cable, cut in half, and solder the color-coded wires to the connectors as shown.
Just to be sure:
It’s worth giving it a try, isn’t it?
Thanks to Blek for allowing me to use his pictures.
Let’s start with some good news: Jenny‘s here to stay with me, so I can start some serious modding. The single VCO and the filter design make it hard for her to growl credibly, so I tried to make her bark and her bite a bit tougher, using bits and gates from my basement supplies: adding a sub-oscillator, and pre-filter overdrive.
The sub-oscillator is simple and has been done by many great modders: You add a divider circuit to produce a one-octave (or two-octave) square-wave sub-oscillator and feed the signal to the unused “Off” terminal of the noise selector switch (over a 100k resistor so that the sub-osc signal is not overly loud). So now when the noise generators are switched off you can use the noise dial to add some deepness.
An Italian beauty, fallen on hard times – starting her career as a budget singer, forced out of business, living in a basement for more than a dozen years – and come to my house by accident. Now I am trying to get her back in shape – and to make her voice fuller than it has ever been. Her full name is JEN SX-1000 Synthetone, but she is affectionately known as Jenny.