Isn’t it about time my beloved Jenny got her own MIDI interface?
To be sure, microcontroller-based interfaces for the JEN SX-1000 do exist. Apart from the commercial CV/Gate solutions by Kenton, there is Neil Johnson’s keyboard interface design. But even if you can get hold of the PCB – a supplier in the JEN SX-1000 group on Facebook had a batch made – the design has an intimidating parts list, and takes some serious time to build.
Is it possible to do it simpler? Emboldened by my success building a small Arduino-based MIDI controller, I decided to start a midification effort that is
- easy to do (requiring only basic soldering skills, if any)
- easy to get (by using components that you can buy on Amazon if you have to),
- easy to develop (using standard solutions from the Arduino community),
- easy to schedule (because the project is divided up into little steps, each of which is a small afternoon sub-project with instant gratification),
- easy to participate (by contributing own ideas and code for parts of the project).
I will describe the basic layout of the MIDI upgrade kit project here. Each step, i.e. each sub-project, will then be treated in a new post, depending how fast I (or the community) get them done.
Project basics
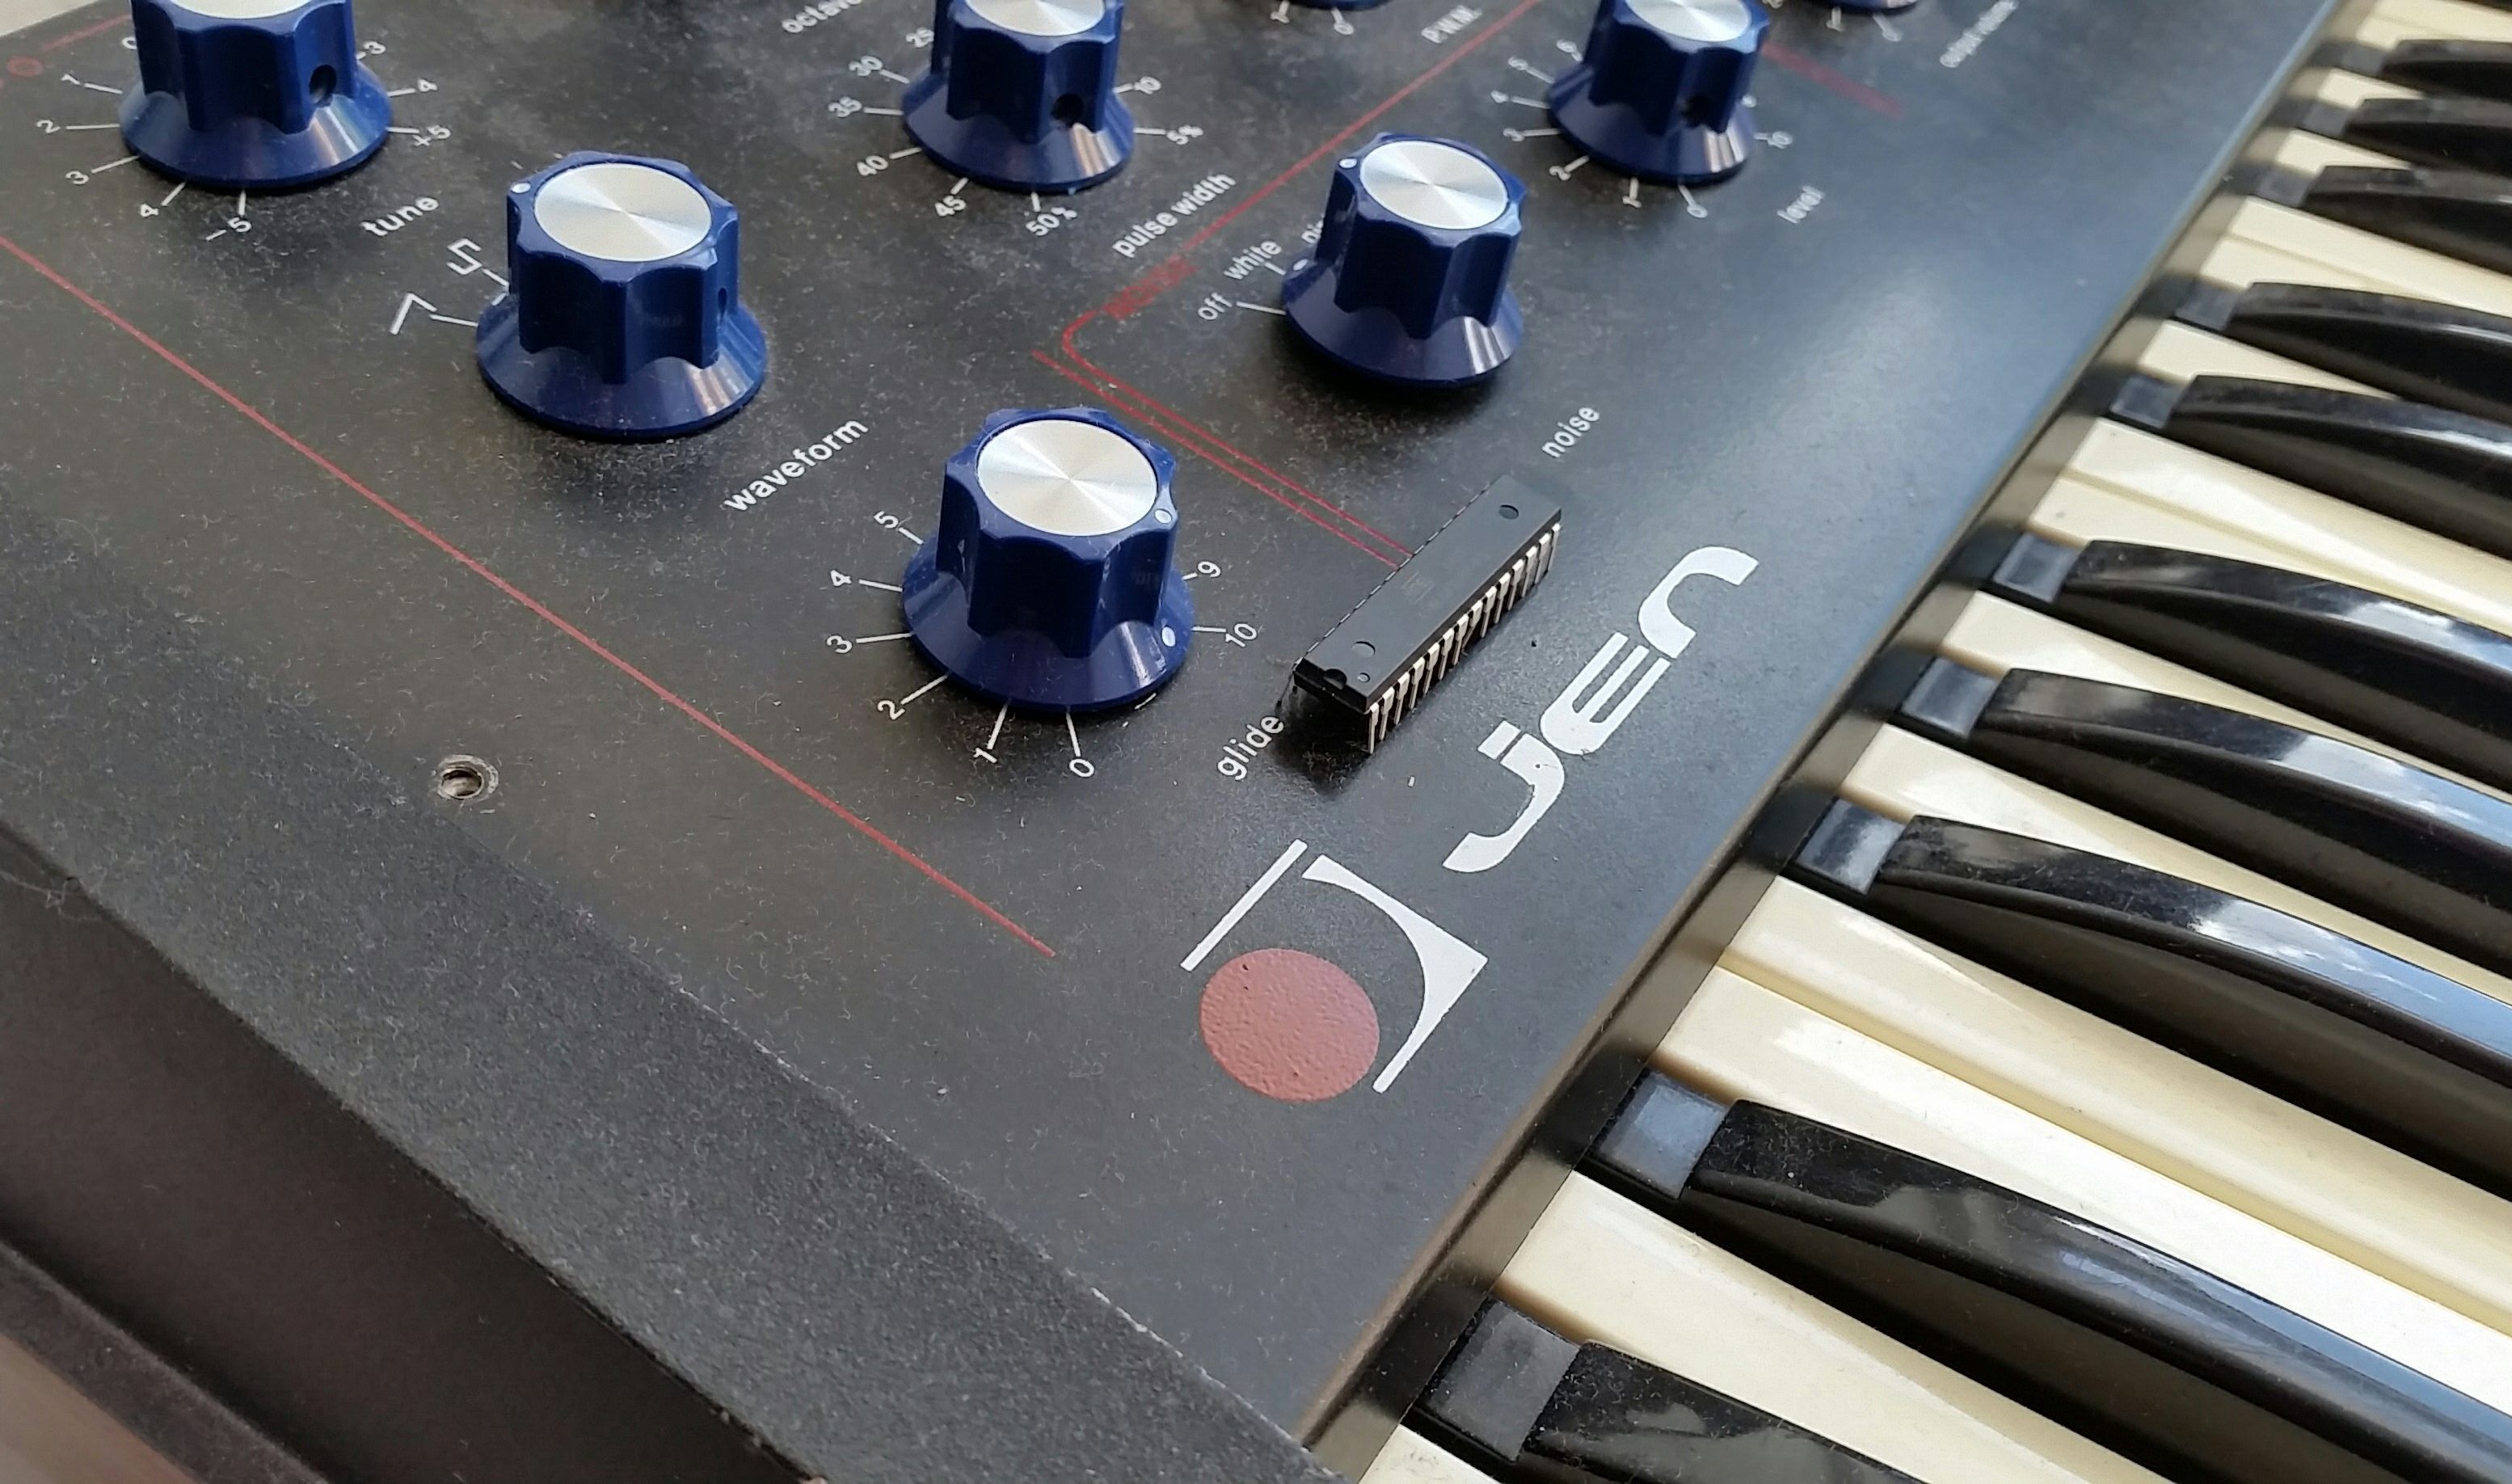
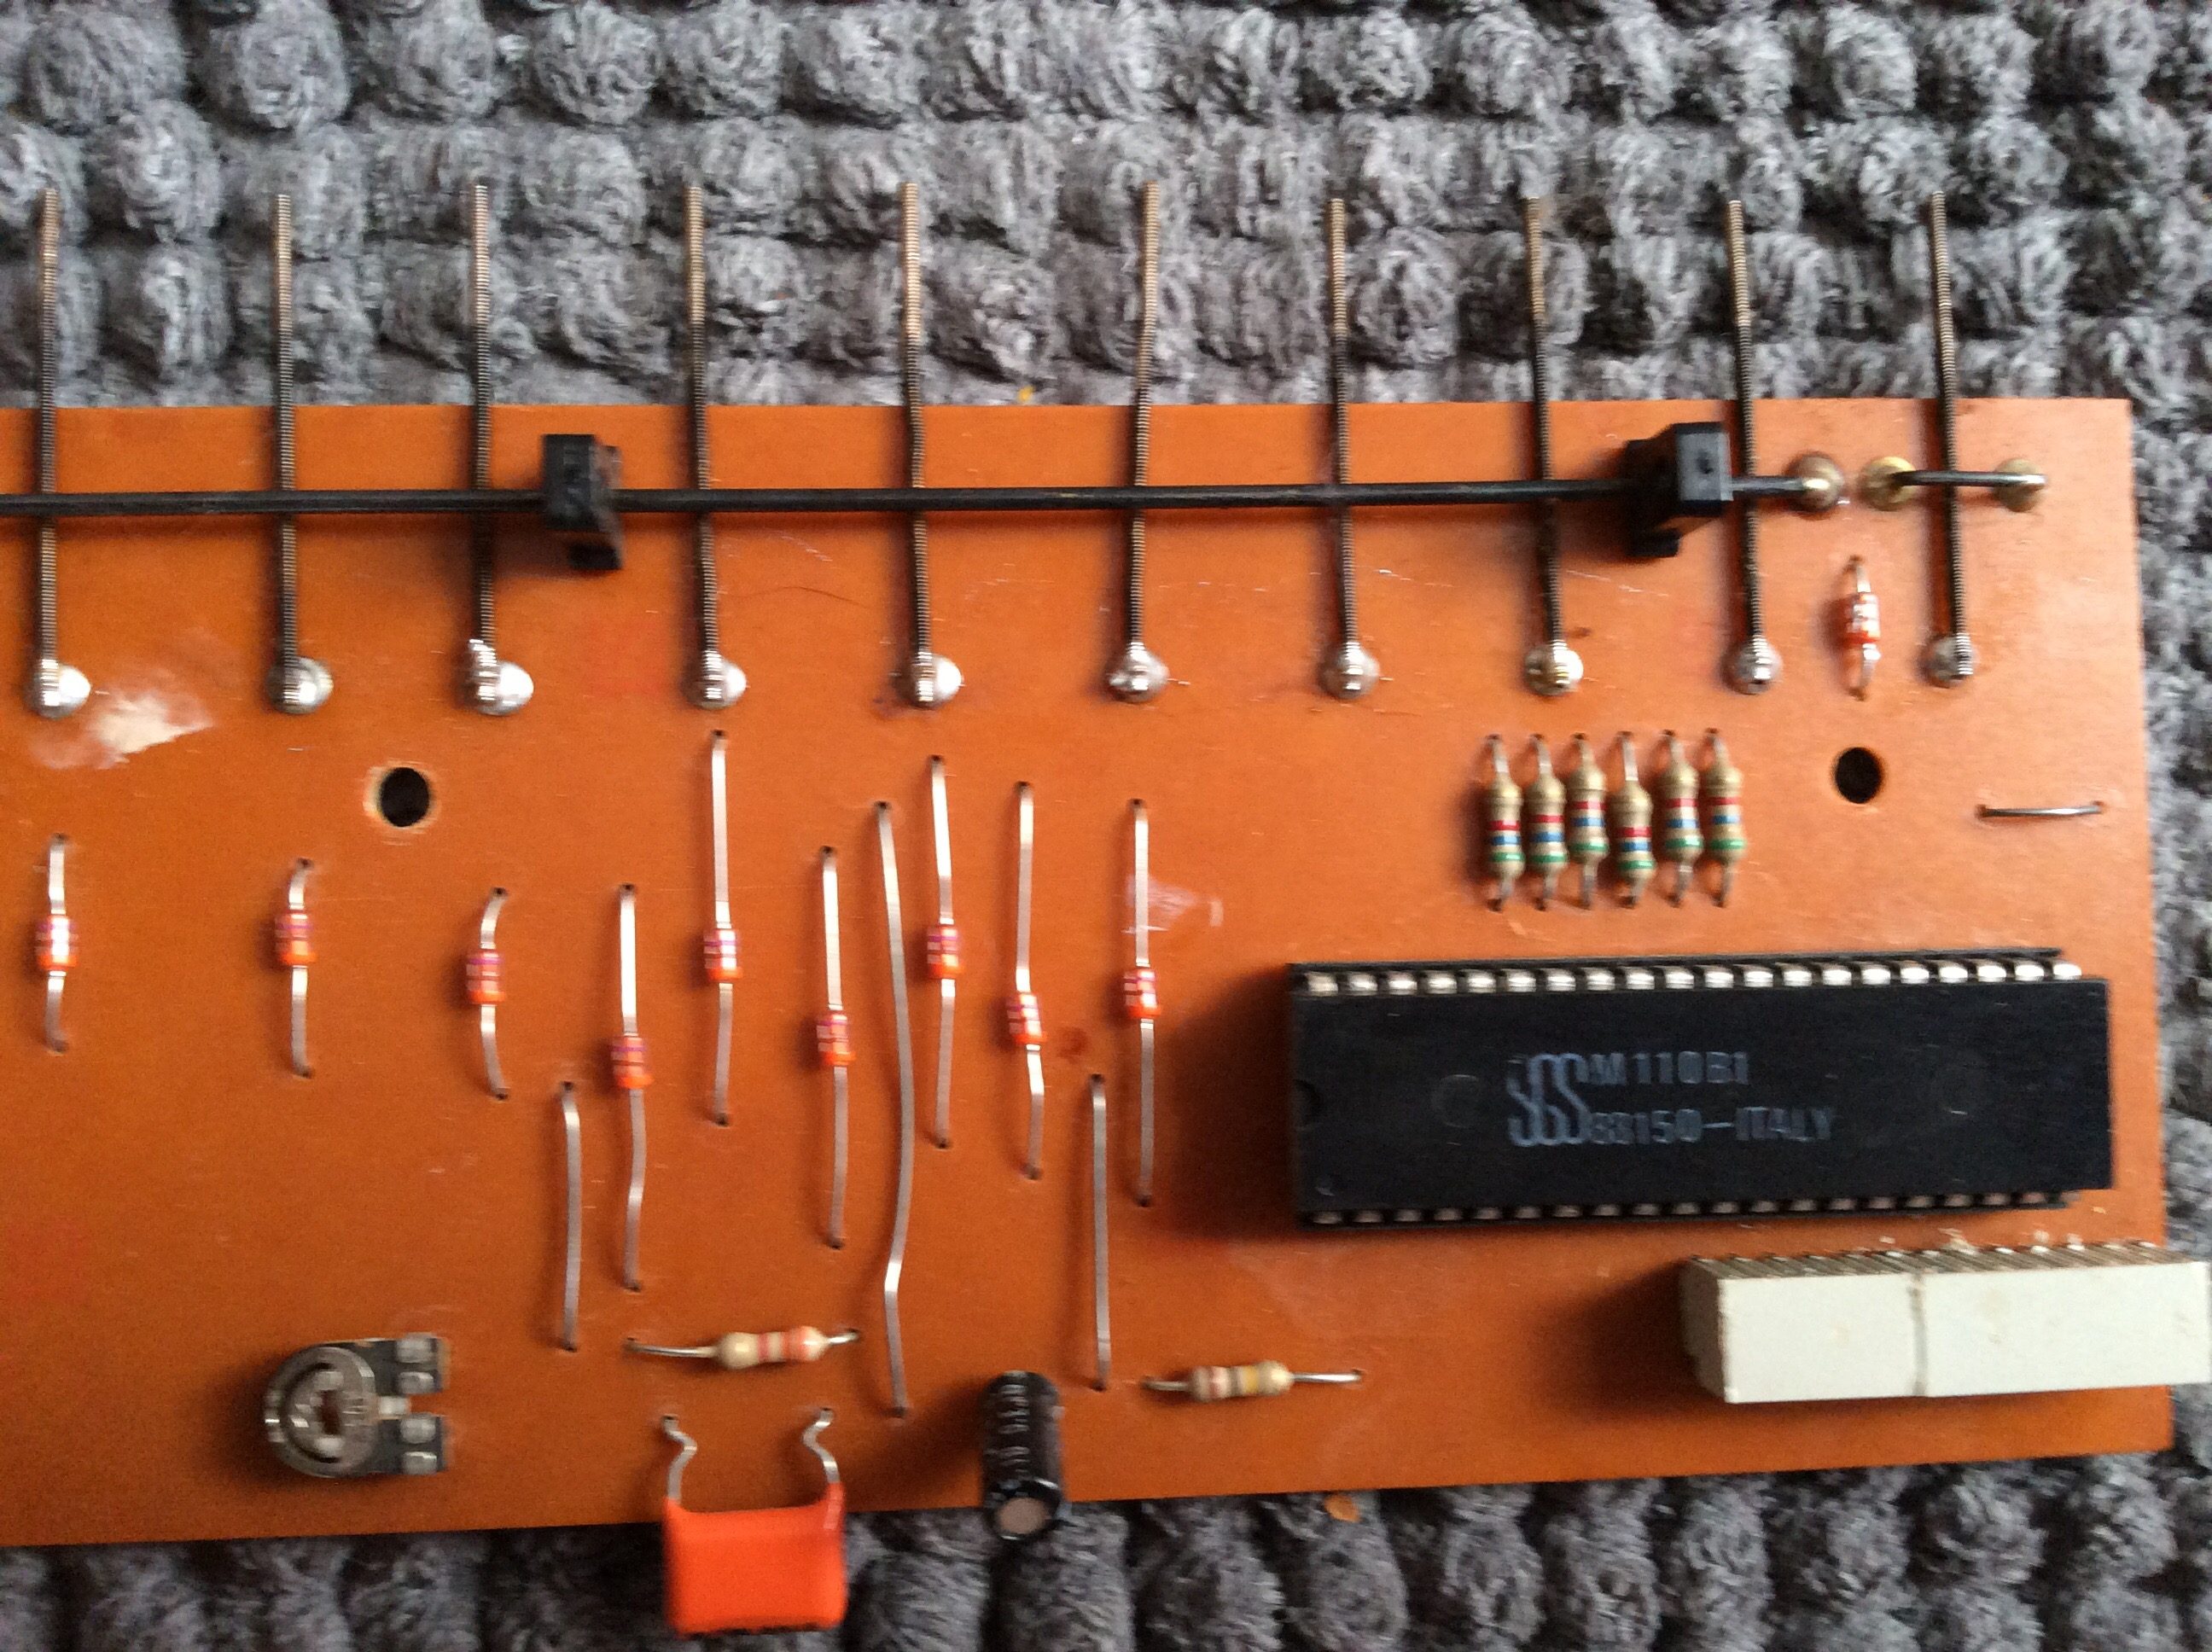 The idea is to start with a slide-in replacement for a socketed component, the M110 keyboard scanner chip. You remove the chip from its socket and replace it with the home-made upgrade kit – that means that if you can find someone to build you the kit, the target is that you need to do no soldering at all for the first steps.
The project is kept simple by using a Teensy, a compact and versatile Atmel-based microcontroller costing about 20€. The Teensy is a close relative to the Arduinos so that you can take advantage of libraries and tools developed by the very active Arduino community, but it is more powerful than Arduinos and costs less than even the humblest of them – and it has many, many, many I/O pins.
Interface components like the MIDI In/Out and USB sockets, or a small display, are on daughter boards. The daughter board concept leaves room for extensions – with an I/O board, you can have the microcontroller take over parts or all of Jenny’s control signals and dials – although you will have to do quite a bit of soldering for that. How much you want to convert to digital depends on you.
Although you need to drill the occasional hole into Jenny’s steel casing, the basic idea is that the mod should change the synthesizer as little as possible – Jenny shall remain the eternal 70s beauty she has always been.
MIDIfying Jenny – the plan
My step-by-step plan for MIDI-modding and enhancing Jenny:
- Replace the M110 chip with a Teensy microcontroller. The Teensy is no slot-in replacement, but the interface board is simple. It should take about two hours to make. (I’ve made a preliminary design.)
- Write the basic tone generator software to take over the M110’s task. Its task is simple and humble: Scan the keyboard, and divide the JEN’s master clock to generate the tone corresponding to the most recent key pressed.
- Add the MIDI interface: the traditional two DIN-5 sockets with opto-couplers, resistors, and diodes, on a small daughter board fixed to the rear of Jenny, including two buttons that can be used for setting parameters later on. The software now gets the ability to send and receive Note On/Note Off commands.
- Add USB MIDI. This is a simple reconfiguration and software enhancement task, as our interface board is already prepared for USB, and the Teensy can easily be reconfigured to act as a USB MIDI device.
- Add the Portamento functionality: Read the Glide potentiometer, and change the output frequency with the speed indicated by the Glide setting.
- Have the Teensy output a VCF tracking voltage. I hope that this can be done without too much analog interfacing circuitry. (This is kind of a research step for the analog interface board outlined below.)
Up to now, we have just substituted old technology for newer, digital technology – now it is time to make use of its advantages:
- Add a “Legato Portamento” function to toggle between the kind of behaviour you are used from Jenny – every keypress re-triggers the envelopes – and Legato mode, i.e. no retriggering of the envelopes. Implement “Last note priority” and “First note priority” modes, and maybe Jenny’s traditional “Leftmost note priority” as well.
- Build a small analog interface board with 8 inputs and 8 outputs. This may later be used to control central parameters like the VCO, filter frequency and resonance, PWM, and LFO frequency. Although 8 outputs are not enough to control every analog signal in the synth, my intuition is that this is enough for me (and maybe most other people) in the first step.
- Add Pitch Bend functionality – have the software interpret MIDI Pitch Bend signals and tweak the Tune knob to make it easy to use them as a pitch controller
- Add Autotune functionality – keep the lovely discrete TTL oscillator as the synth’s central clock but enable the Teensy to set it to the correct tuning.
- Software enhancement: Keeping the control button pressed enables a Program mode allowing you to set parameters like the MIDI Channel, or keyboard mode, via pressing keys
- Add a small I2C-controlled OLED display to show what is happening
- Software enhancement: repurposing the Portamento button as a Shift control – pressing the button while operating the controls enables 2nd-level functions. For starters, let’s take the Glide control – Shift-Glide controls Legato On/Off. All parameters are stored in EEPROM now.
- Build a 4051-based multiplexer/demultiplexer board with 32 analog/digital inputs and 32 outputs for full MIDI control of the instrument.
- Prepare the software for full parameter control and presets, allowing MIDI CC control of any of the 32 output values of the demultiplexer. EEPROM presets allow you to store and recall sounds.
After that, it’s legwork – every single of Jenny’s 24 dials has to be modded for Teensy control. It’s up to you if you need each and every of Jenny’s controls midified – but if you spend the time and effort, it should be no problem now.
The final result is a JEN SX-1000 keeping its vintage appearance and sound but partially or fully controllable via MIDI – and with some small but useful enhancements like Legato, Autotune.
A full conversion would also allow to do future expansions in software – additional envelope generators and LFOs are thinkable, without complicating the simple machine too much. Think of it: A second LFO, and its influence on VCO, PWM, and VCF, could be controlled by using the original LFO controls with a Shift button.
Verwandte Artikel:
- Midifying Jenny, Step 1: Replacing the old keyboard chip with a Teensy (Sunday, 6. January 2019; Schlagworte: Arduino, Jen SX-1000, Löten, Midi, Modding, Retro, Synthesizer, Teensy)
- Taming Arturia’s Beatstep: Sysex codes for programming via iPad (Saturday, 22. November 2014; Schlagworte: Arturia Beatstep, iPad, Midi, programming, Sysex, TB Midi Stuff, tool)
- V2.0: A Teensy-based MIDI Controller (Thursday, 14. September 2017; Schlagworte: Arduino, Launchpad Pro, Midi, MIDI Controller, MIDI Merge, OLED, OLED library, Pitch Bend, scale2x, Teensy)
Hi there, I’m trying to build something similar to create a programmable polysynth from a Crumar trilogy. I want to read in all the front panel controls and generate CV controls for the synth and store them in memory locations. How are you progressing?
Unfortunately, not at all. I could not even find the time to do the cpu step yet. I’m sorry.
Ouch! Do you know the DC pîn is a current driver and used to create the saw in conjunction with the square outputs? This is not just for the VCF tracking. Good luck!