I have bought a Launchpad Pro, and am still trying to figure out how to play a synthesizer with this thing. (More on this in another post.) It’s like starting over with keyboards, only with a better understanding what this is getting at. Simply great.
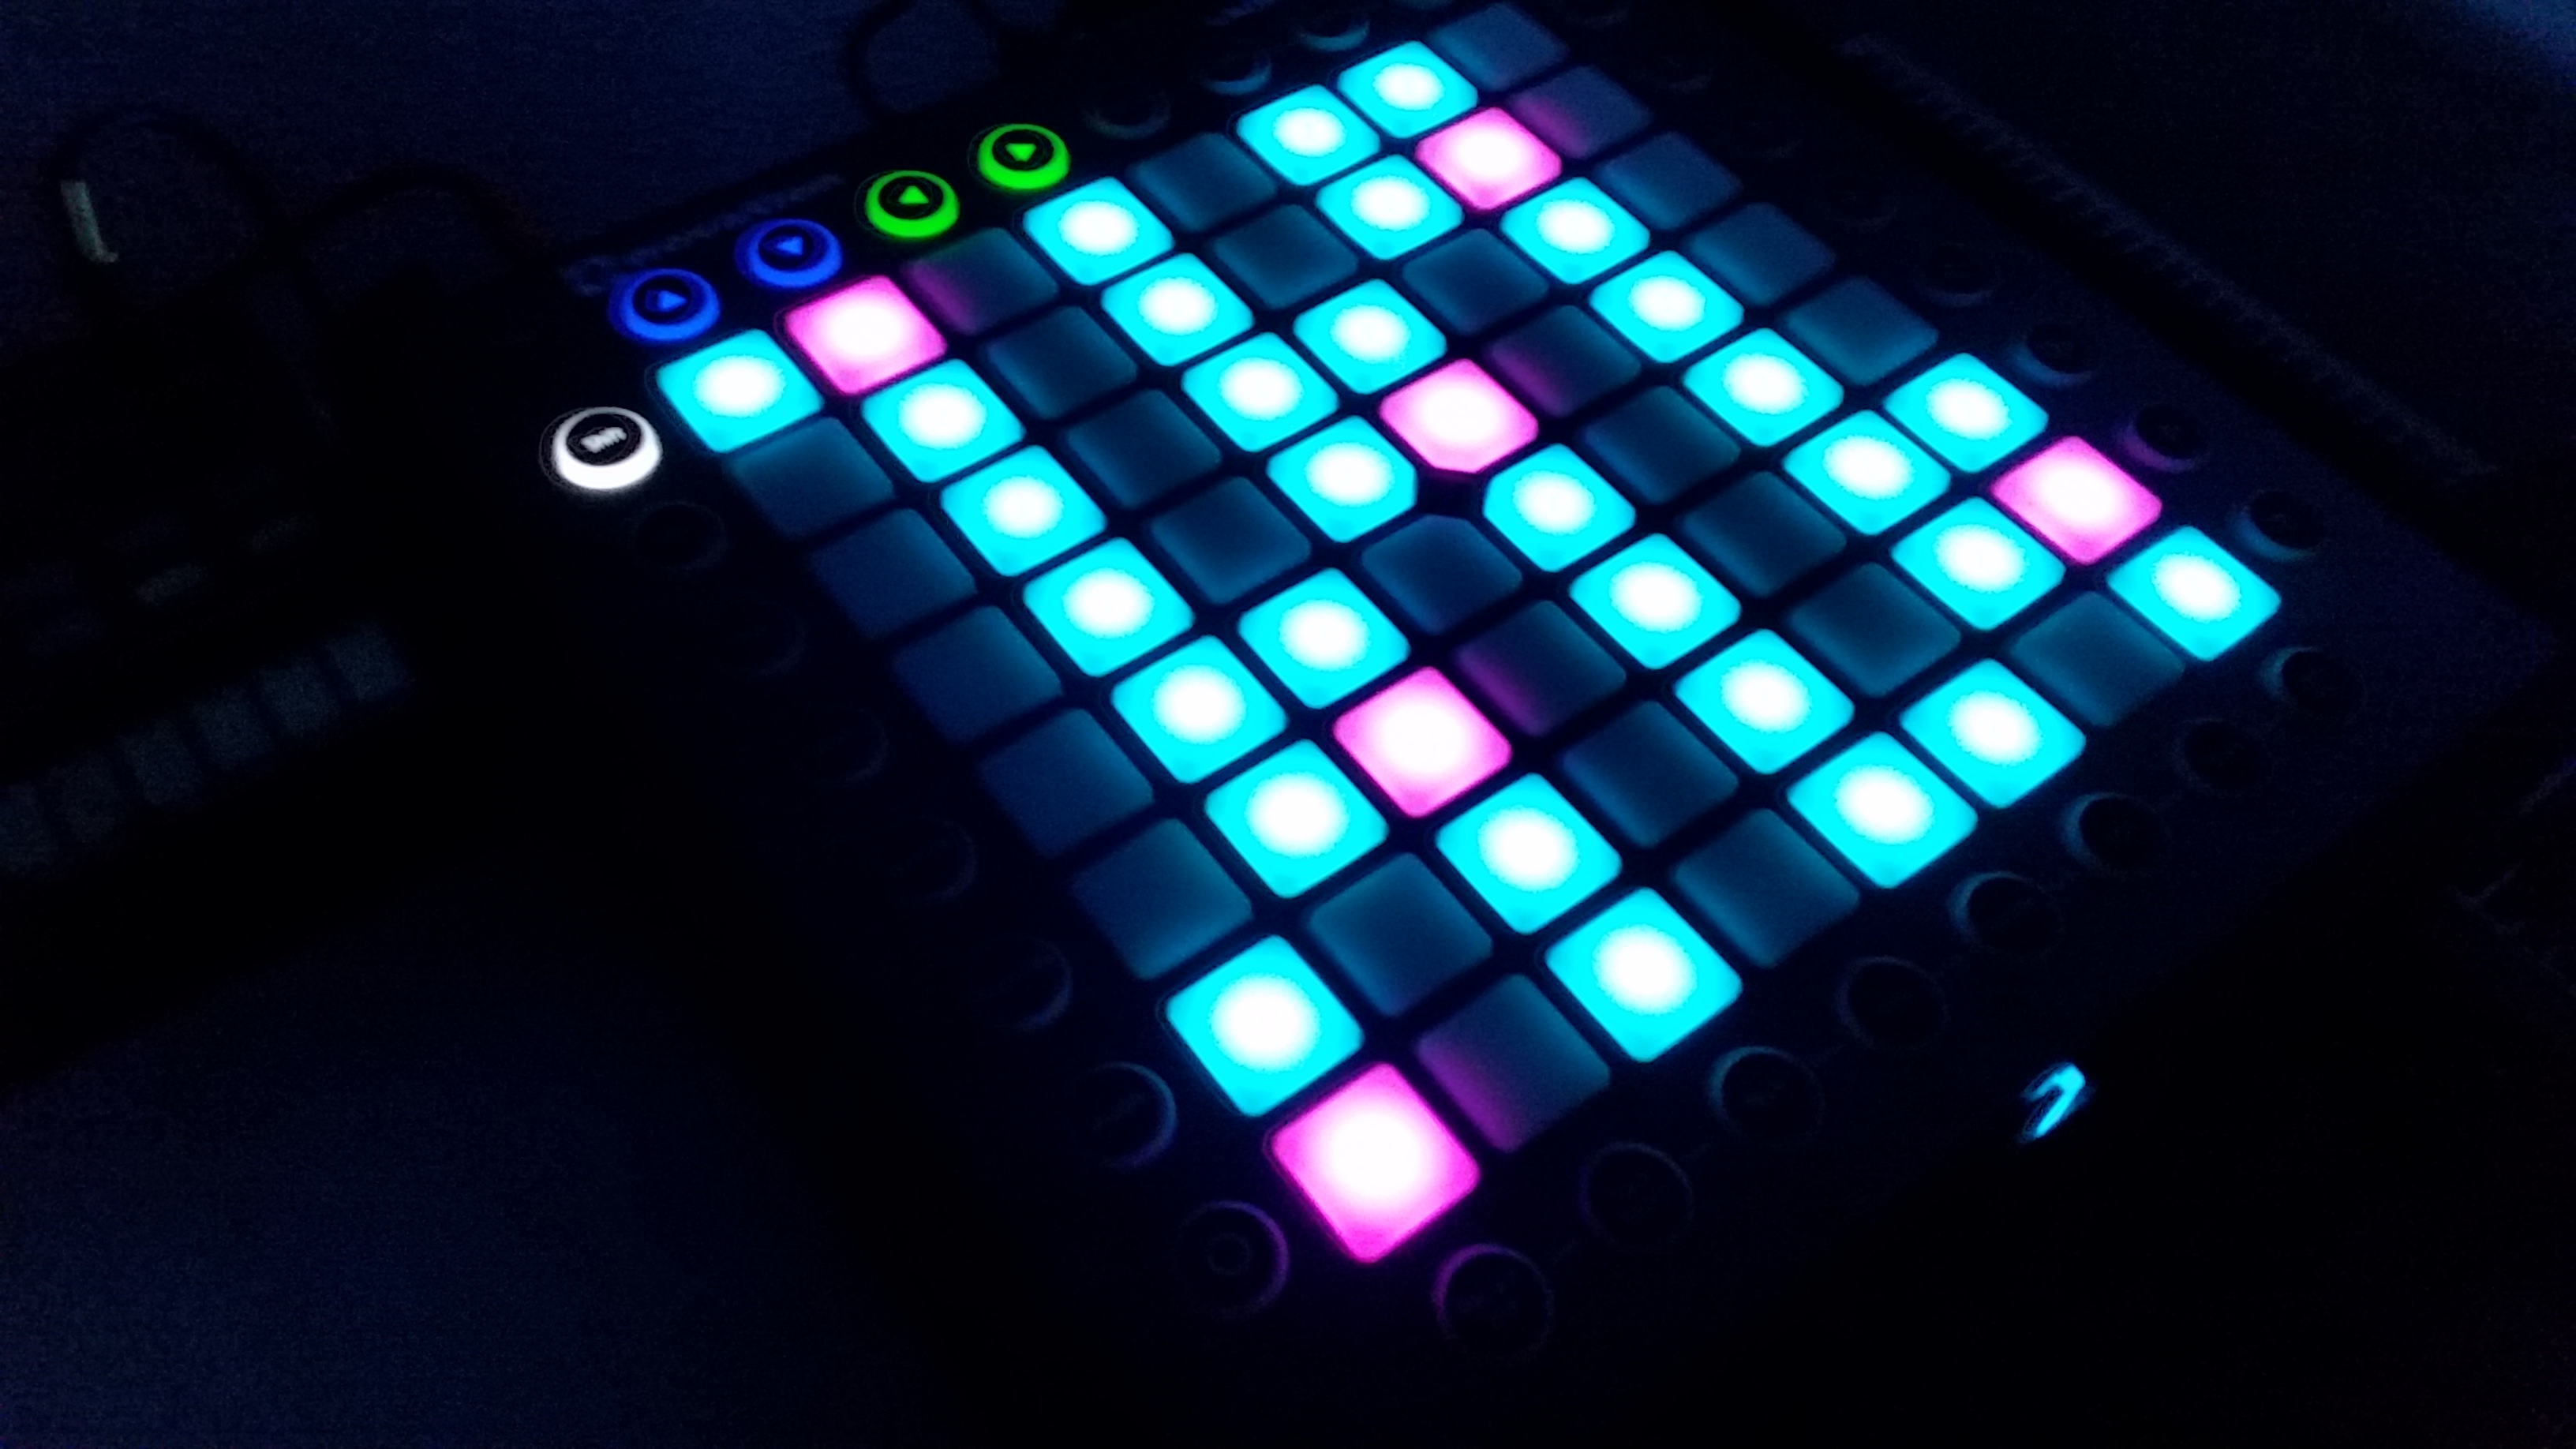
One thing I don’t like about the Launchpad is that it may give you velocity and per-note pressure sensitivity – provided your synth is capable of interpreting it – but takes away the traditional performance controls of a synth keyboard: the good old pitch bend and modulation wheels we have seen as our goddamn right as keyboard players ever since they were introduced with the Minimoog.
So I decided to build my own simple Launchpad Companion Controller, based on an Arduino.
Performance controls: Pitch bend and mod wheel for the Launchpad
This is a fairly simple afternoon project that can be completed in about two hours, provided that you have basic soldering skills, and a couple of things lying around in your cupboards that should be standard geek stock:
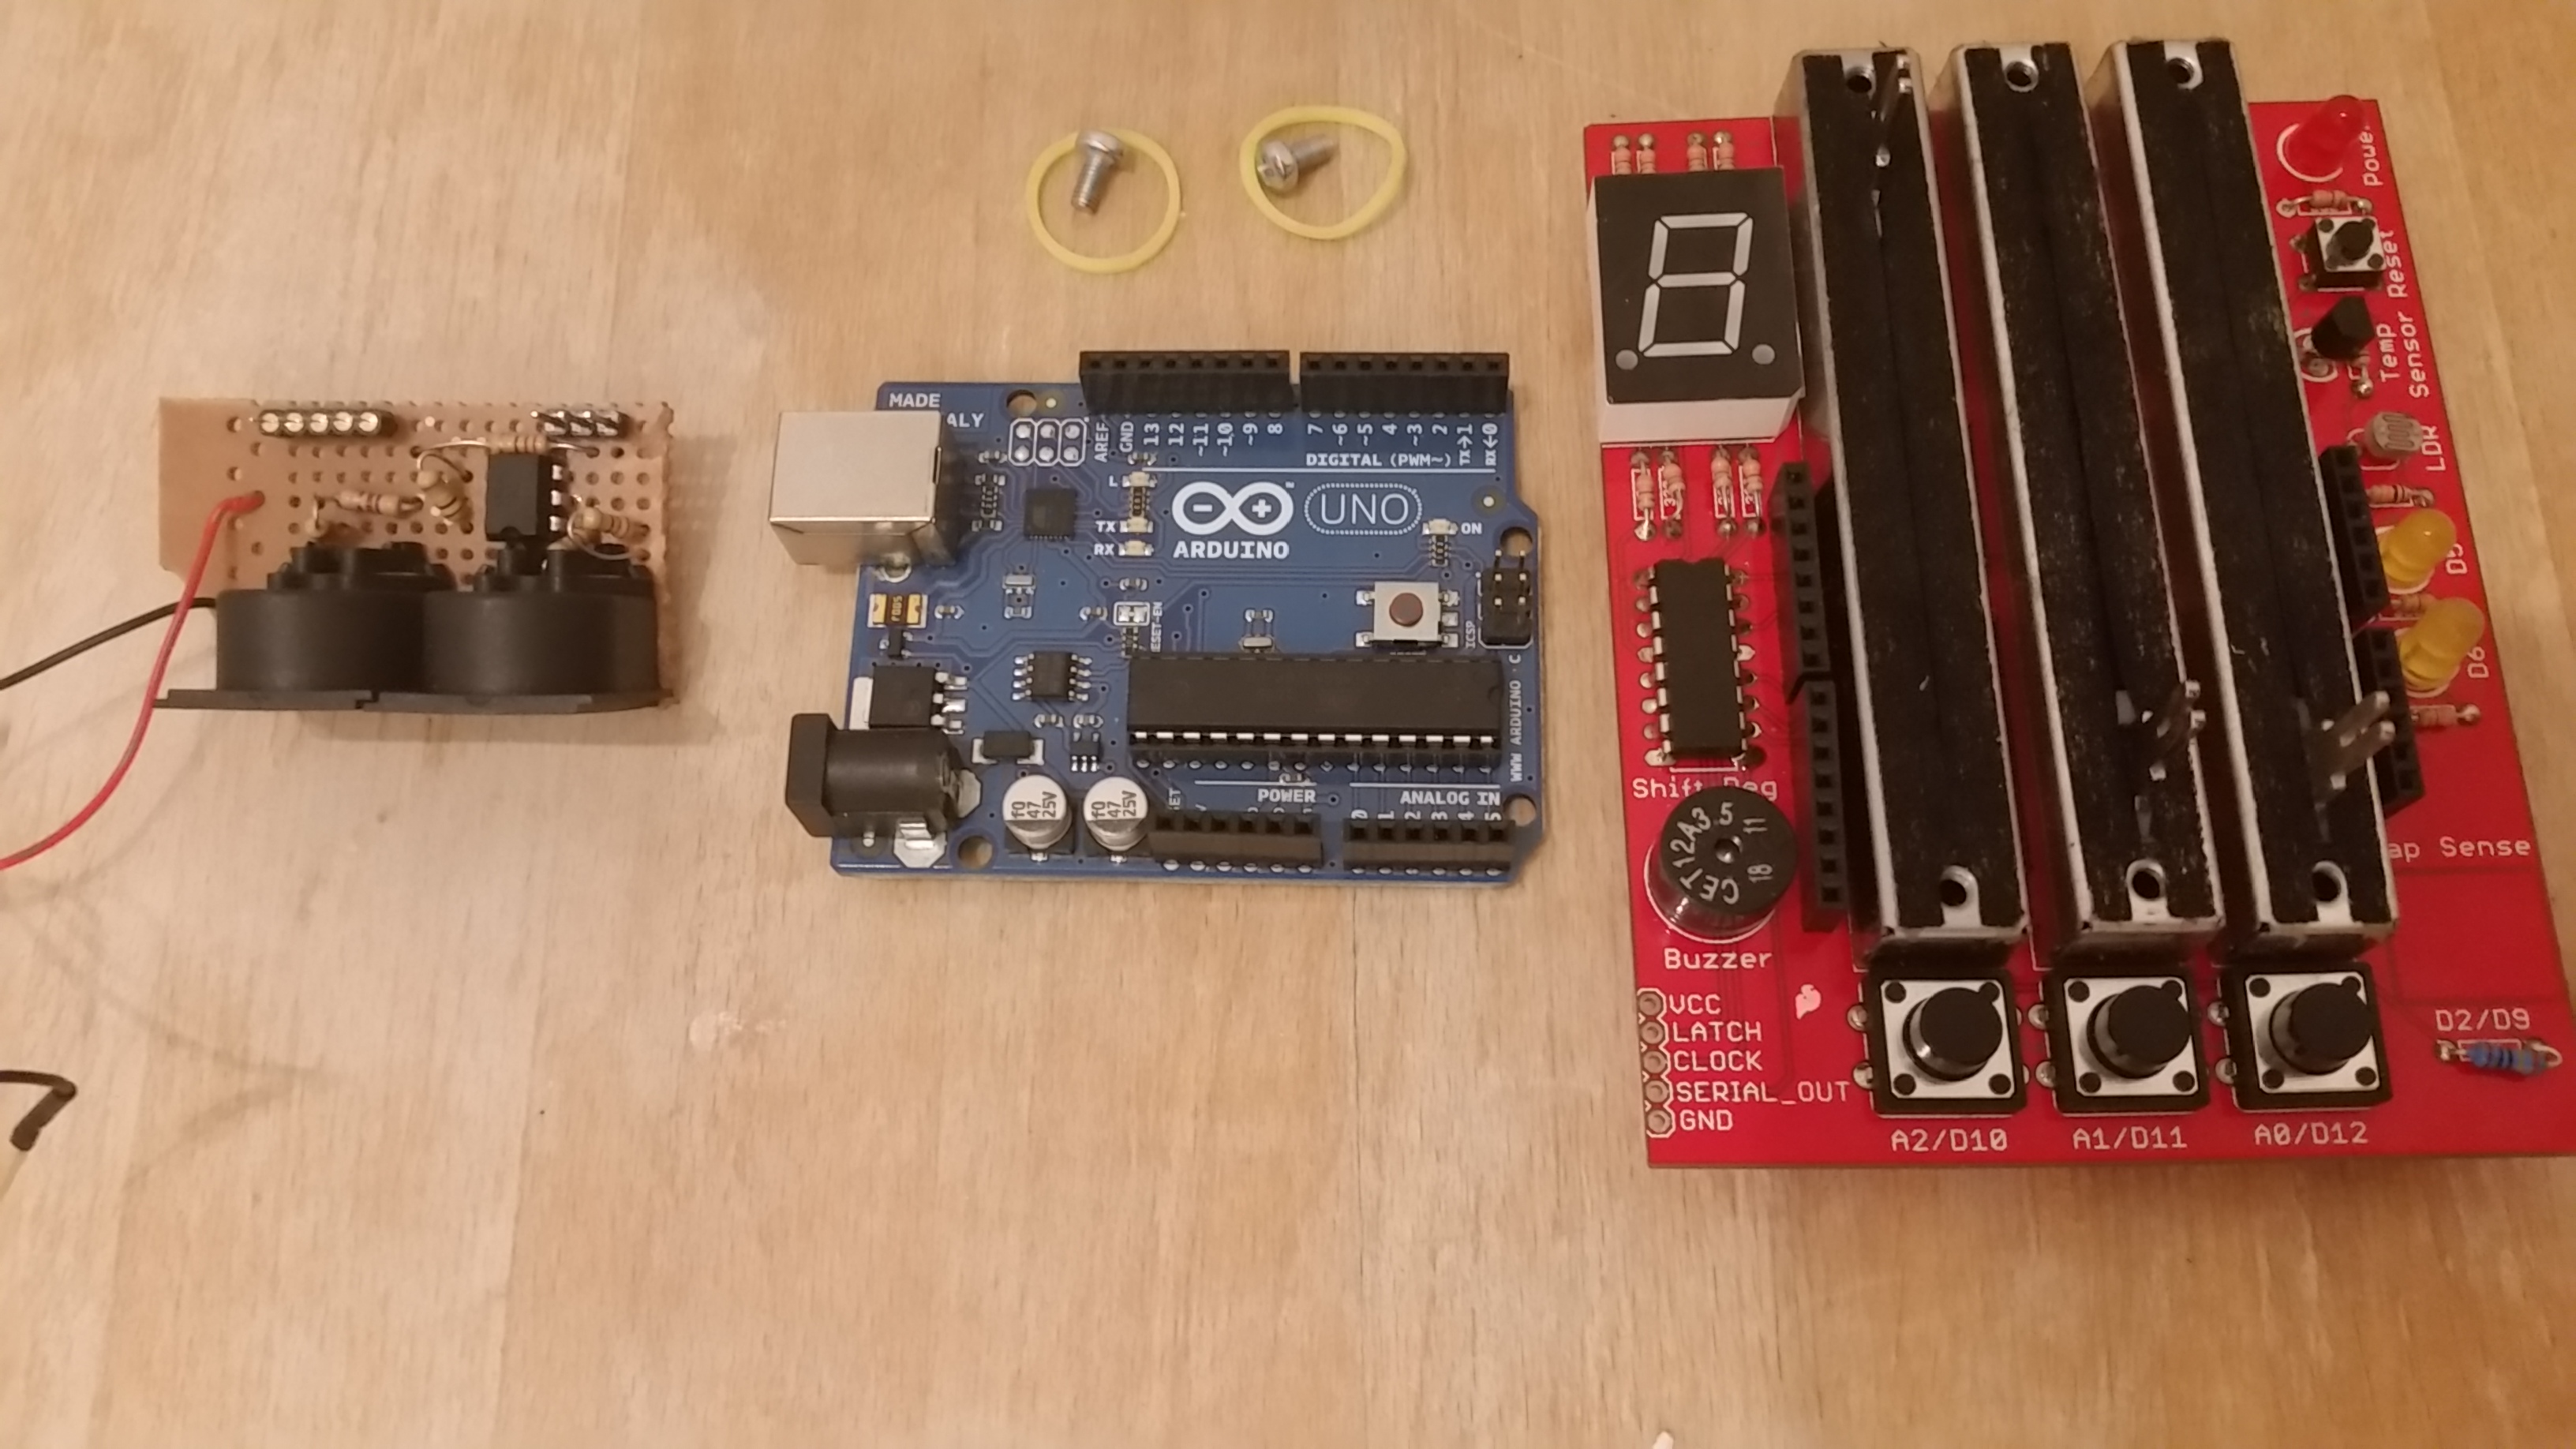
- an Arduino Uno (the most basic of Arduinos right now),
- a Sparkfun Danger Shield for the sliders, the sensors, the buttons and a 7-segment display,
- two 3mm screws and two rubber bands for centering the pitch bend slider,
- a simple MIDI interface for the Arduino, consisting of:
- 5-pin DIN sockets for MIDI In/Out
- a 4N28 opto-coupler,
- some resistors and a diode,
- some connectors, a breadboard, and a bit of wire
The hardware
An Arduino understands MIDI rather well, the 31250 baud serial communication is no problem for its internal UART. As I am using only serial MIDI, I could even have used one of the older Arduinos – I still have a couple of Duemilanuove – these do not have the on-board second Atmel microcontroller which is used as a communications processor in the Uno and can be re-flashed to have the Arduino act as a class-compliant MIDI device. I skipped that for the time being. So: only serial MIDI right now.
Electrically, the MIDI standard calls for an output buffer (which the Arduino already has, so you won’t need it) and two 220 Ohm resistors on the transmitting side, and on the input side, galvanic separation with an opto-coupler in the receiver. I had 4N28 chips in my stock, a close relative of the 6N138 usually recommended.
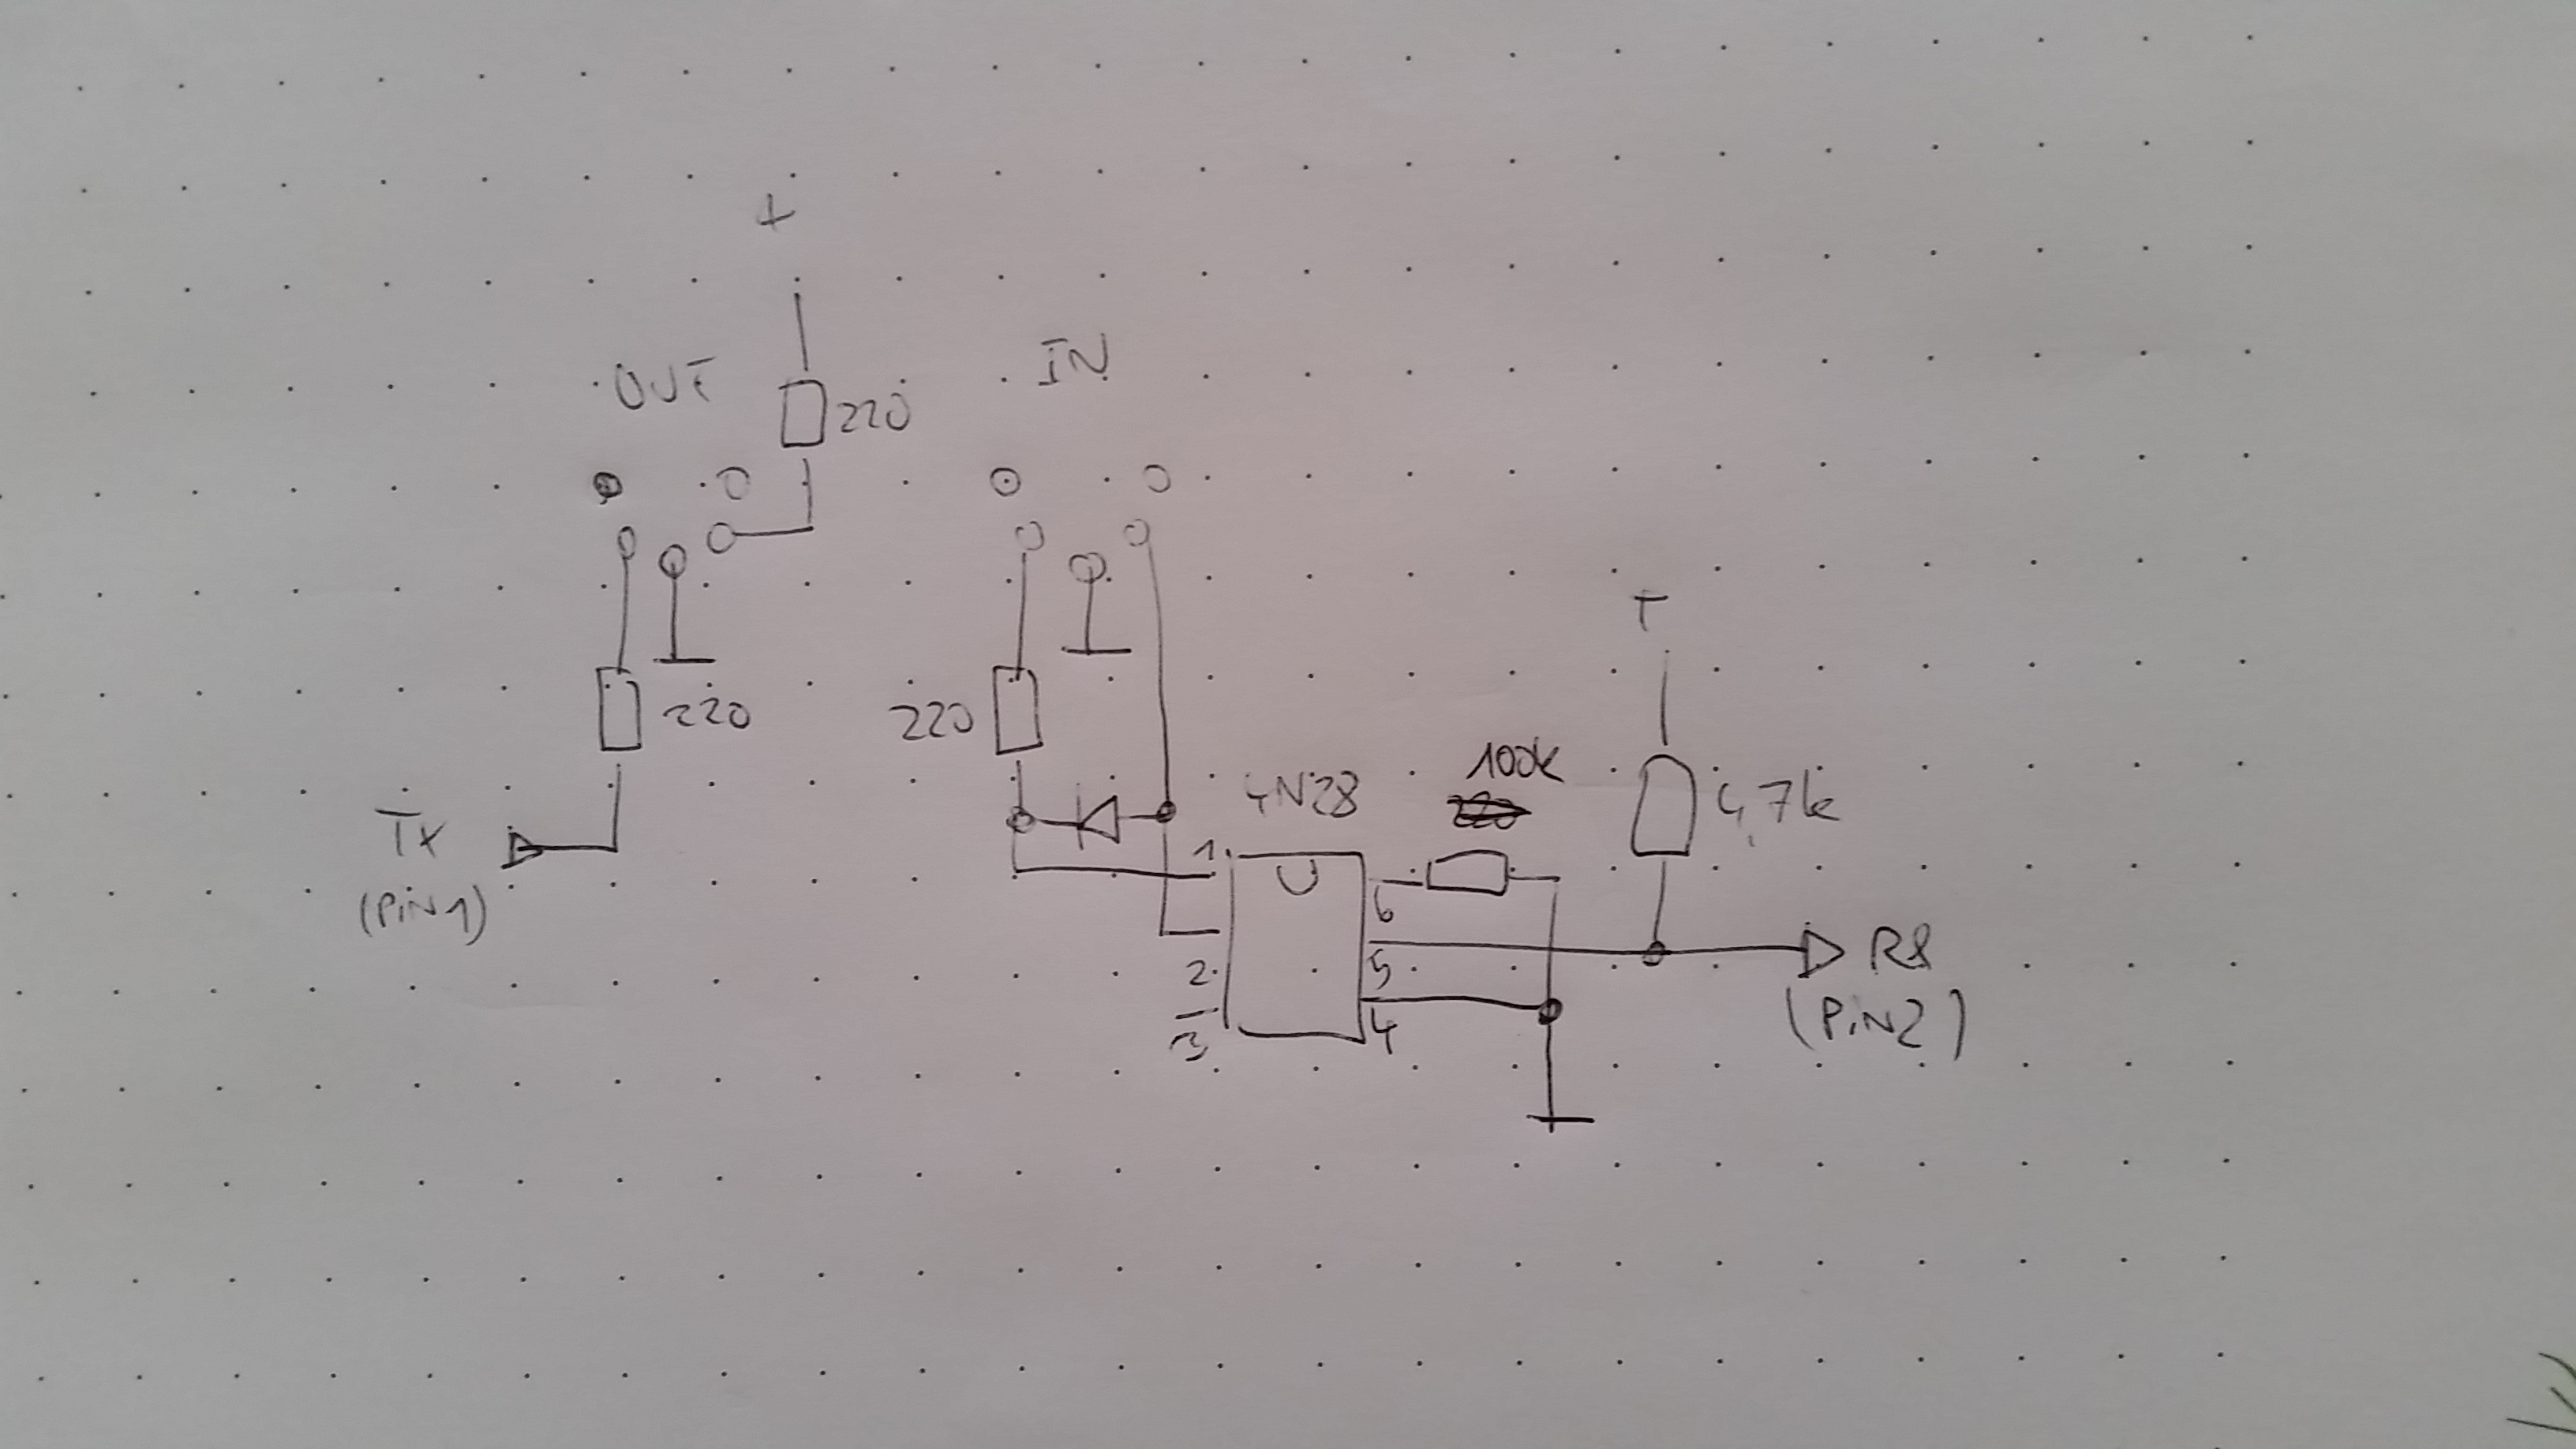
MIDI interface schematic. The TX signal comes from the Arduino’s Pin 1, RX goes to Pin 2. The 5-pin DIN plugs are seen from the front, i.e. from the side where you insert the MIDI cable, not from the soldering side.
Surprisingly enough, building this simple circuit seemed challenging, I guess I am out of soldering practice. I switched the receiver’s terminals, and did not connect the 4.7k pullup well enough, so I spent far too much time debugging. But all in all this is is a rather simple soldering job and can be completed in an hour, including debugging, provided you are a bit more thorough than I am.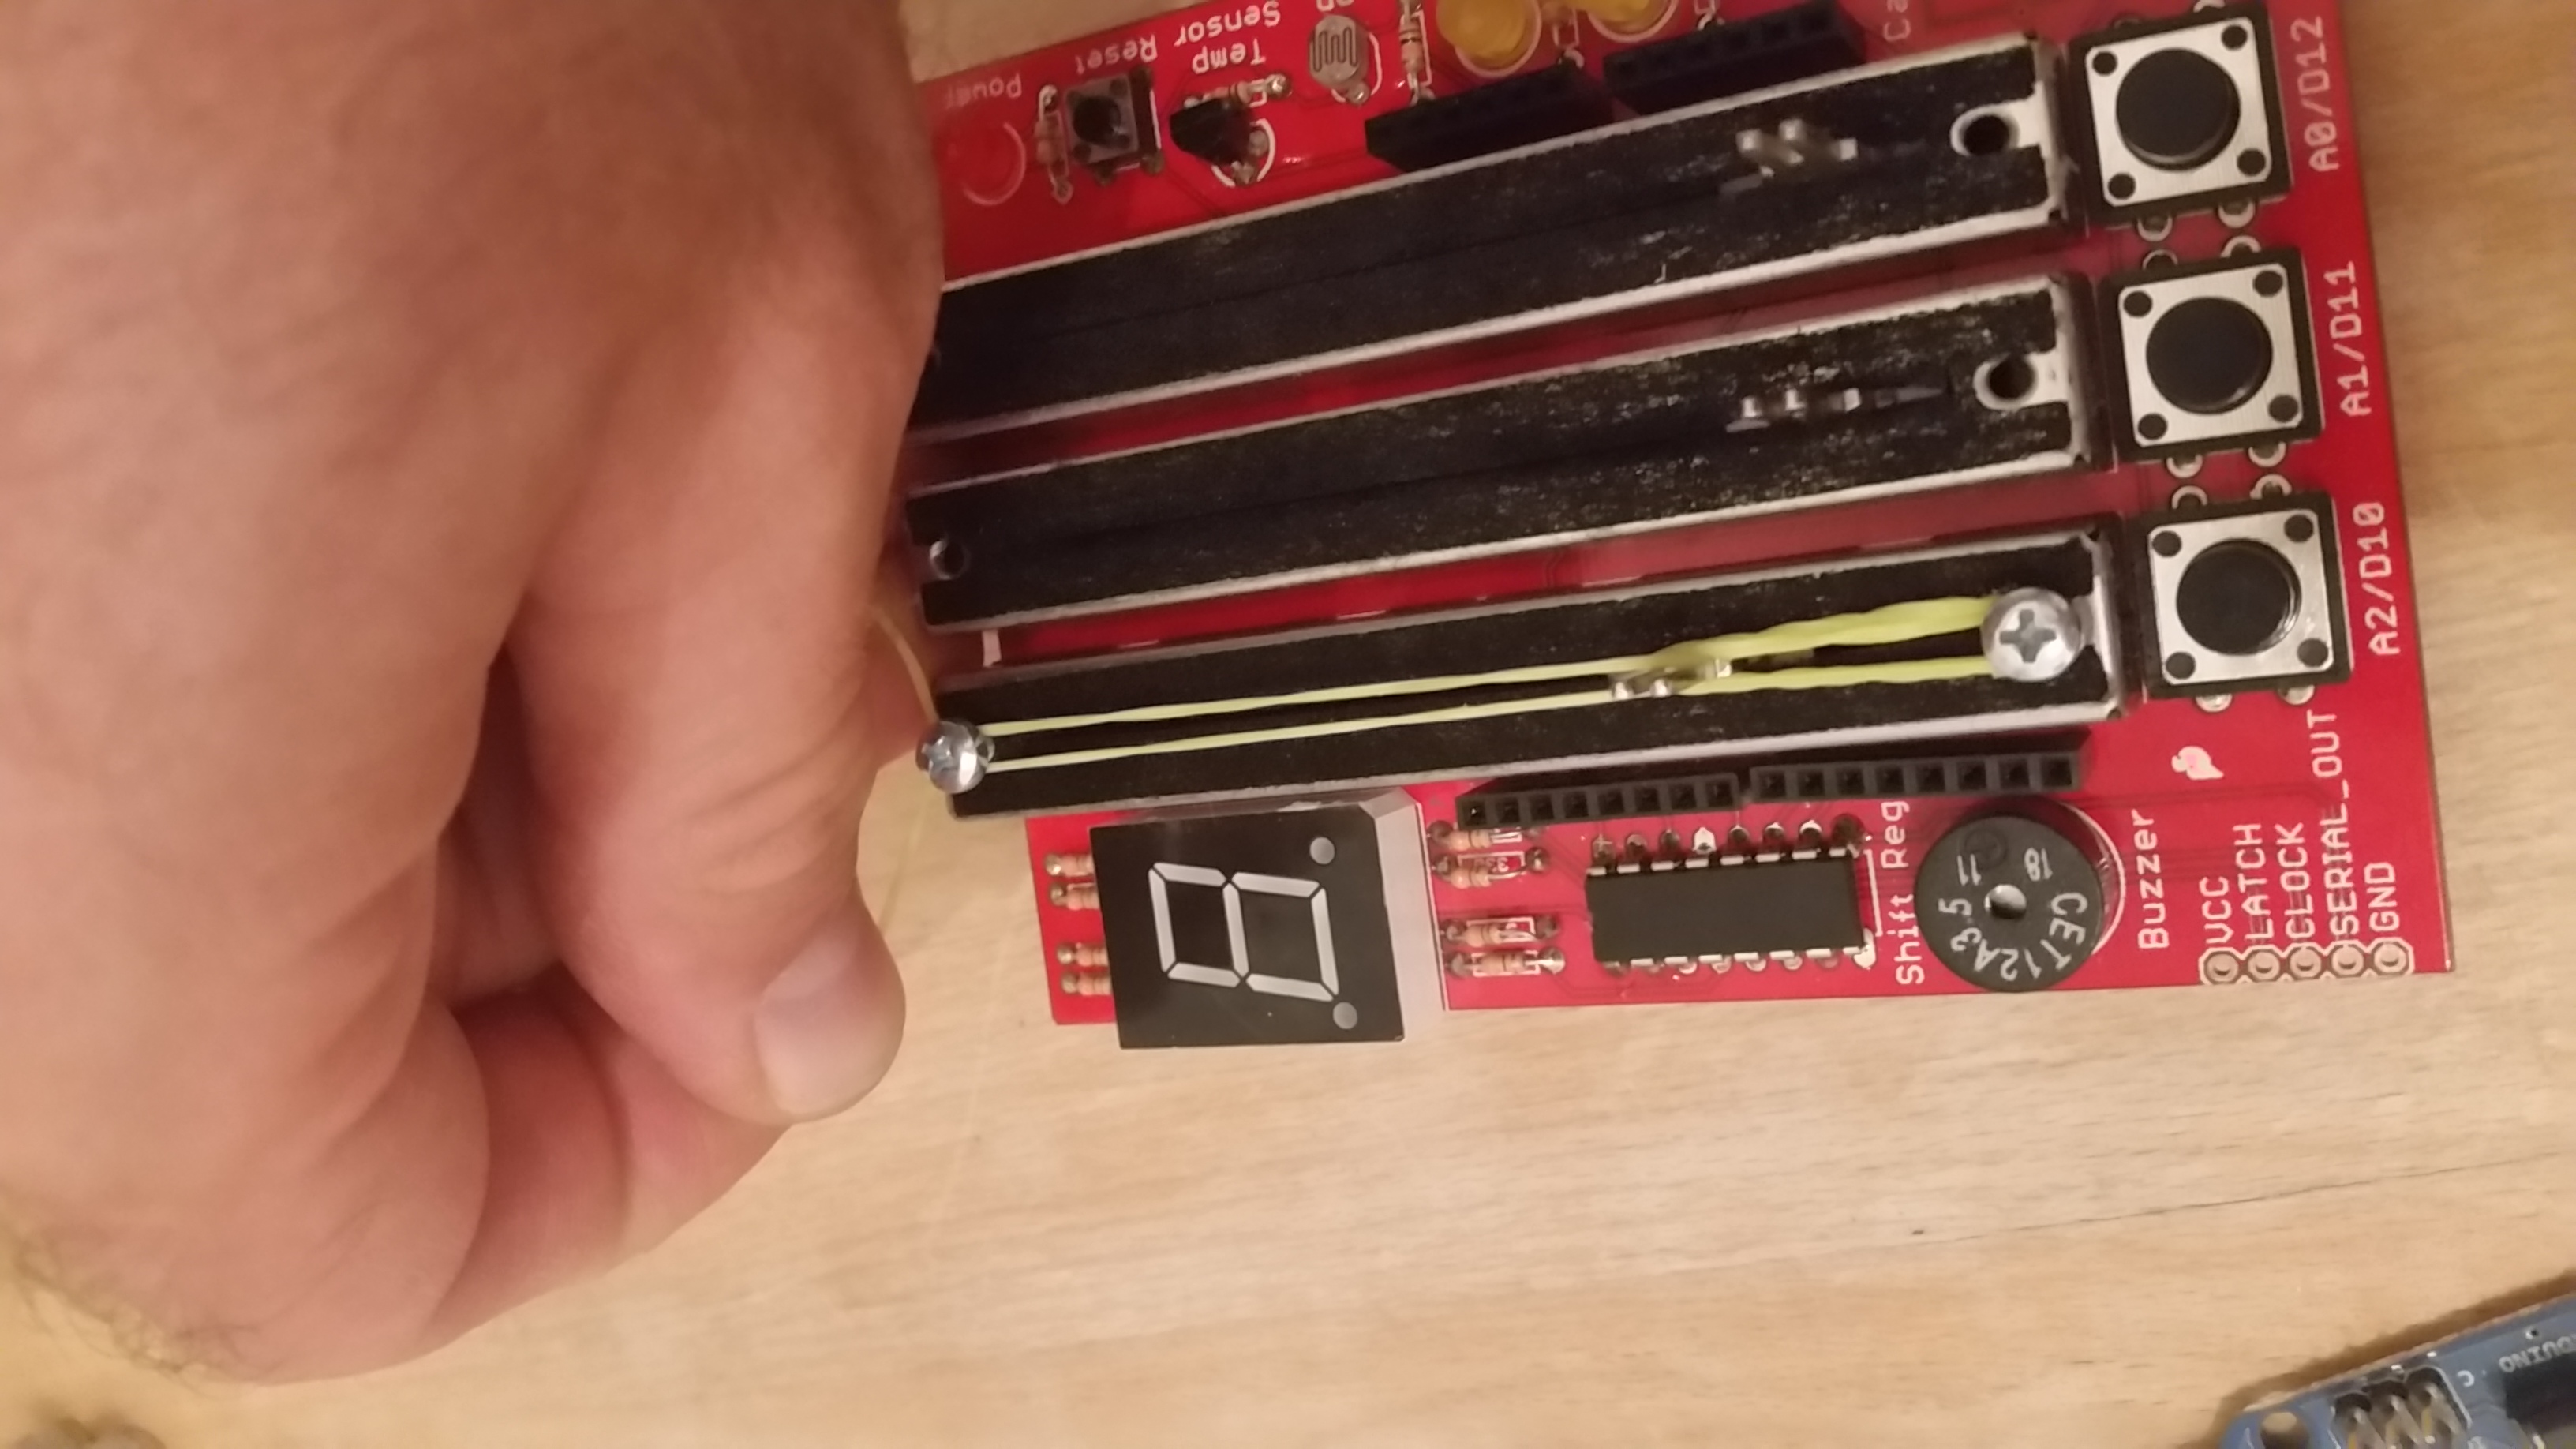
You can add a 3.5mm phone jack in parallel to the DIN input plug, so that you can connect the Launchpad via a simple stereo cable, without having to use the Launchpad’s MIDI adapter.
To double for a pitch bend wheel, I spring-loaded the leftmost slider with a pair of rubber bands. If you have small children, loom bands are just about right.
The Software
is a fairly simple affair, using the MIDI library by FourtySevenEffects in its most recent incarnation (V4.3.1 at the time being). You can download my code here.
No synchronous-clocked updates, no priority merging in the buffer, Rather inelegant code, that is. All it does is wait for a MIDI input, or a control being changed. As soon as it receives a command, it echoes it to the output and looks at the MIDI channel – the controller data is sent on the channel of the last MIDI note received, thereby automatically jumping to wherever the Launchpad may be sending. The actual channel is displayed on the 7-segment display of the Danger Shield, in hexadecimal code. If a slider position changes, or a button is pressed or released, the new CC value is transmitted.
The default controllers are:
- Pitch Bend on the left slider,
- Modulation (CC#1) on the middle slider,
- Breath Control (CC#2) on the right slider,
- Button A (left): sends a channel pressure (“Aftertouch”) value of 64 when pressed
- Button B (center): Sustain (CC#64)
- Button C (right): Sostenuto (CC#66)
Note: If the MIDI channel changes, the software sends the actual values of all controllers to the new channel.
The most advanced feature is the deadband compensation – the DEADBAND constant defines a zone around the middle position where the slider transmits zero pitch band. It is assumed to be no more than 3/4 of the fader, i.e. below 128. The remainder of the fader, 3/4 or 384 steps up or down, are stretched to cover the maximum pitch bend range, which is -8192..8191. Be careful to keep the parameter within range.
The MIDI library gives you the opportunity to define callback routines that are automatically called as soon as the Arduino detects a certain MIDI input. As you still have to read the interface in the main loop, this seems fairly senseless to me, and I stuck to simple polling. To make the runtime behaviour more predictable, you might call the main loop on an interrupt, i.e. in defined intervals. It might also make sense to optimize the A/D routines for sliders 2 and 3 to 8 bit as only 7 bits are needed, but I won’t be doing this.
What I might do is use the Arduino Uno’s USB capability – if you reprogram the Arduino’s communications processor, the second chip on the board, you might use the contraption just like any class-compatible MIDI device with USB, e.g. with an iPad. Unfortunately, this means that you no longer can upload sketches via USB as long as the USB port is reprogrammed, and I still have to find out how to maintain the MIDI merge with the signals on the traditional DIN 5-pole input. So maybe later.
There is plenty of opportunity to improve the controller. Use the capacitor-based proximity sensor as an aftertouch (or maybe even as a pitch controller?). A routine to set the pre-programmed parameters, and to store them away in EEPROM memory.
It works fine now.
Verwandte Artikel:
- Taming Arturia’s Beatstep: Sysex codes for programming via iPad (Saturday, 22. November 2014; Schlagworte: Arturia Beatstep, iPad, Midi, programming, Sysex, TB Midi Stuff, tool)
- V2.0: A Teensy-based MIDI Controller (Thursday, 14. September 2017; Schlagworte: Arduino, Launchpad Pro, Midi, MIDI Controller, MIDI Merge, OLED, OLED library, Pitch Bend, scale2x, Teensy)
- Midifying Jenny, Step 1: Replacing the old keyboard chip with a Teensy (Sunday, 6. January 2019; Schlagworte: Arduino, Jen SX-1000, Löten, Midi, Modding, Retro, Synthesizer, Teensy)
Hi i was trying to compile the code that u gave but when it reaches #include it says no file or directory found. and im new to this whole coding and i cant fine a solution online.
i Hope this message reaches to you