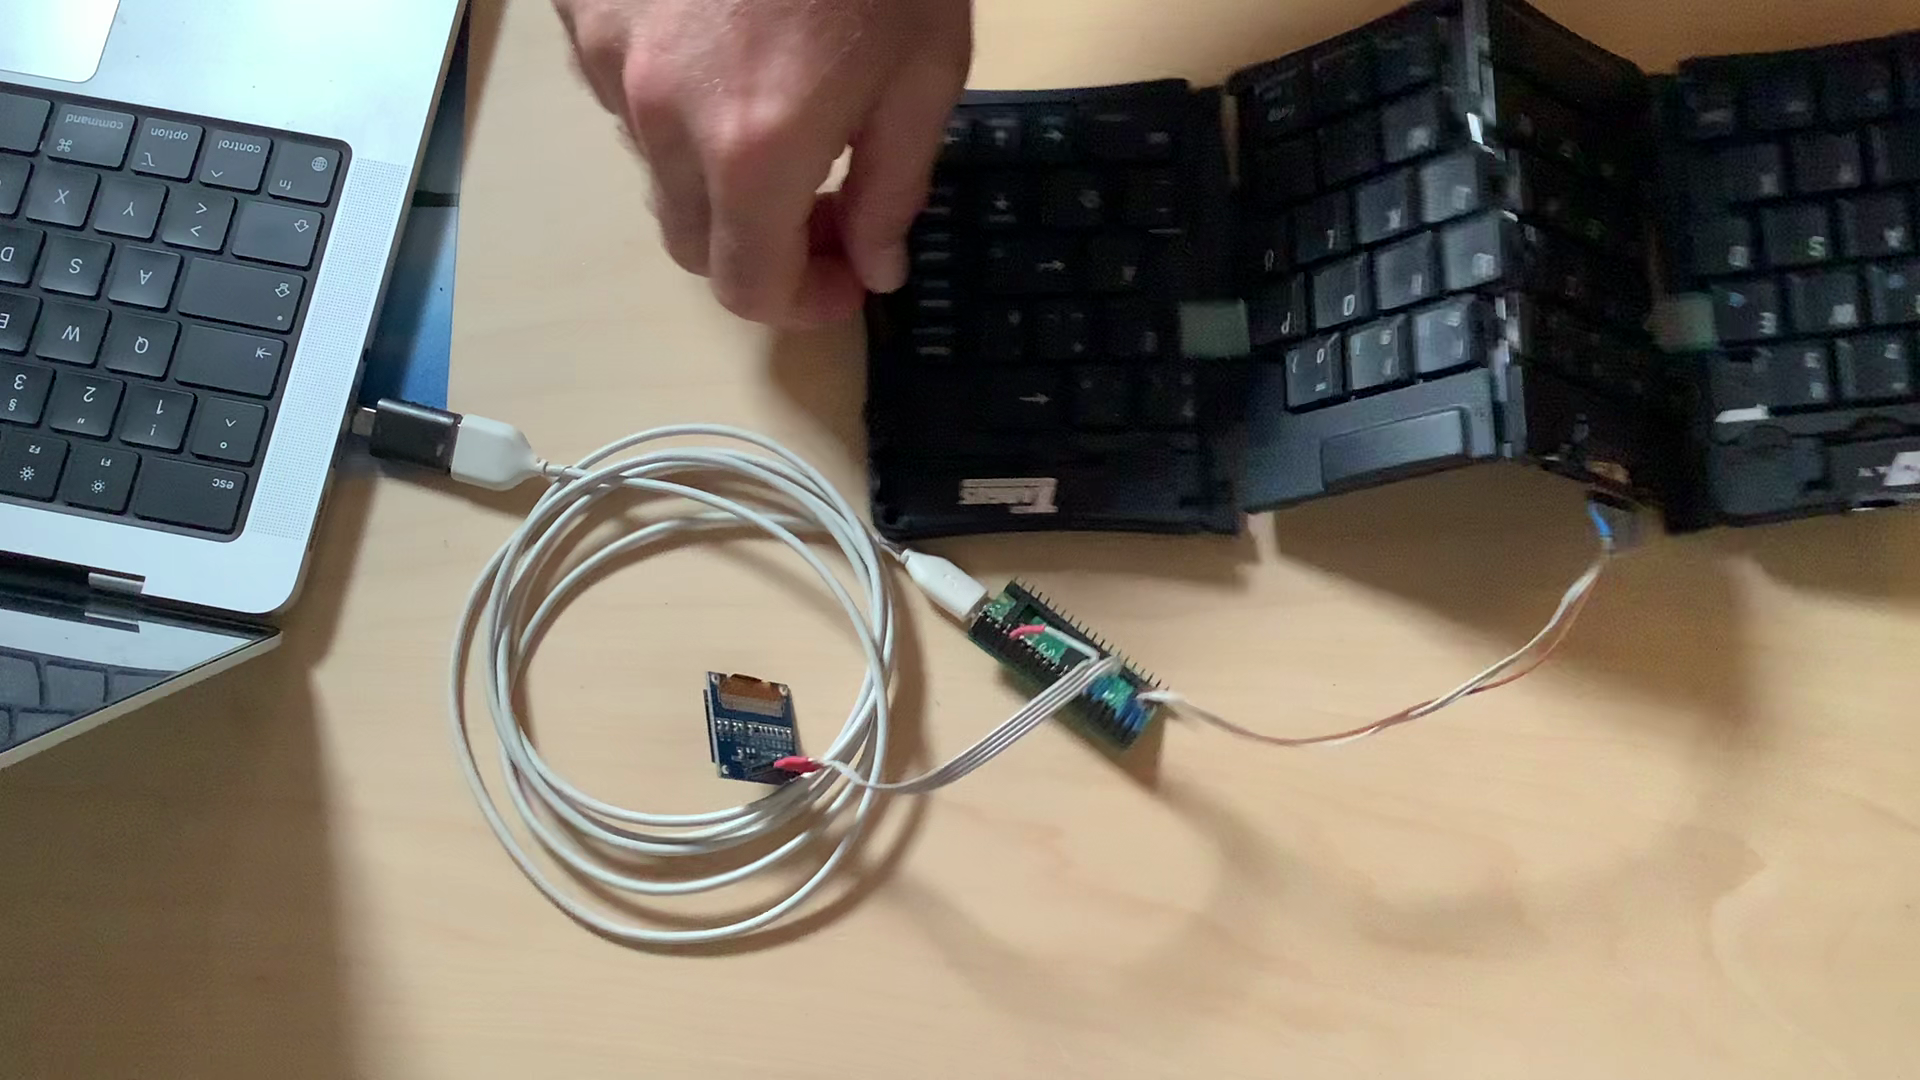
A small project to reconnect an old Targus Stowaway Handspring keyboard with the modern computer world, and learn some more Raspi Pico Python in the process.
A small project to reconnect an old Targus Stowaway Handspring keyboard with the modern computer world, and learn some more Raspi Pico Python in the process.
To start with the bad news: The answer is probably no. (Betteridge’s Law holds.) But it may be good to know that there are possible options for an internal upgrade of the Reface speakers, and that the Reface speakers aren’t really that bad (albeit tiny). So please stay with me.

The PS3 is amazing – I got it 16 years ago, and it’s still running, working as a Blu-Ray player, and for the occasional round of Little Big Planet with the kids. And Sony still sends updates! But I noticed the fan has been getting rather loud, so I guessed it was time to clean the cooling paths.
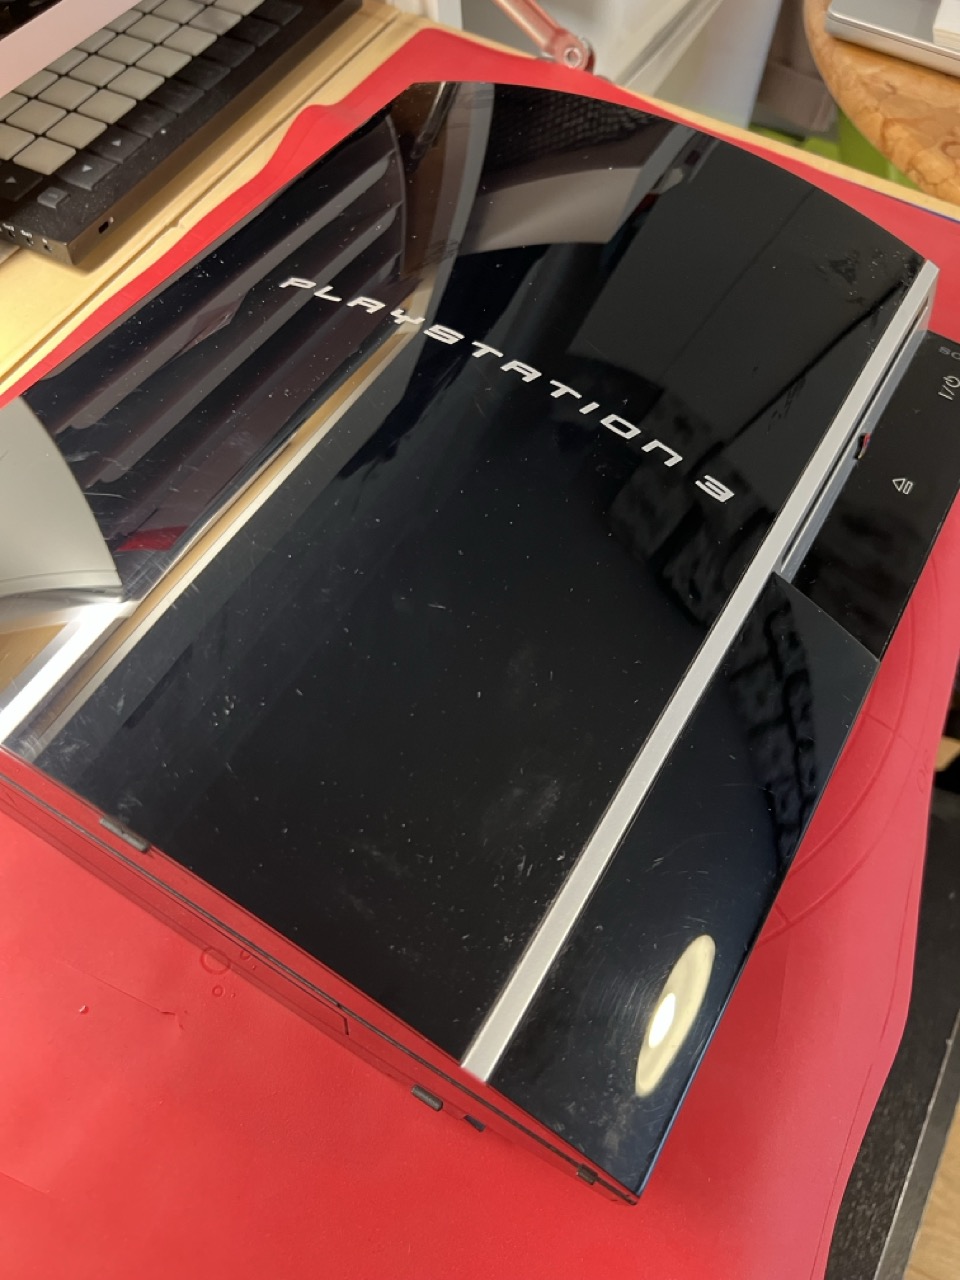
In the end, it took me about 30 minutes to take it apart and put it back together again, due to Sony’s service-friendly design. And it wasn’t quite as bady in need of some cleaning as I feared.
Getting hold of a piece of synth history, and a piece of my own history as well. And fixing it is just like everybody tells you it is.

(I wasn’t willing to translate that myself; GPT-4 generated translation. German original here.)
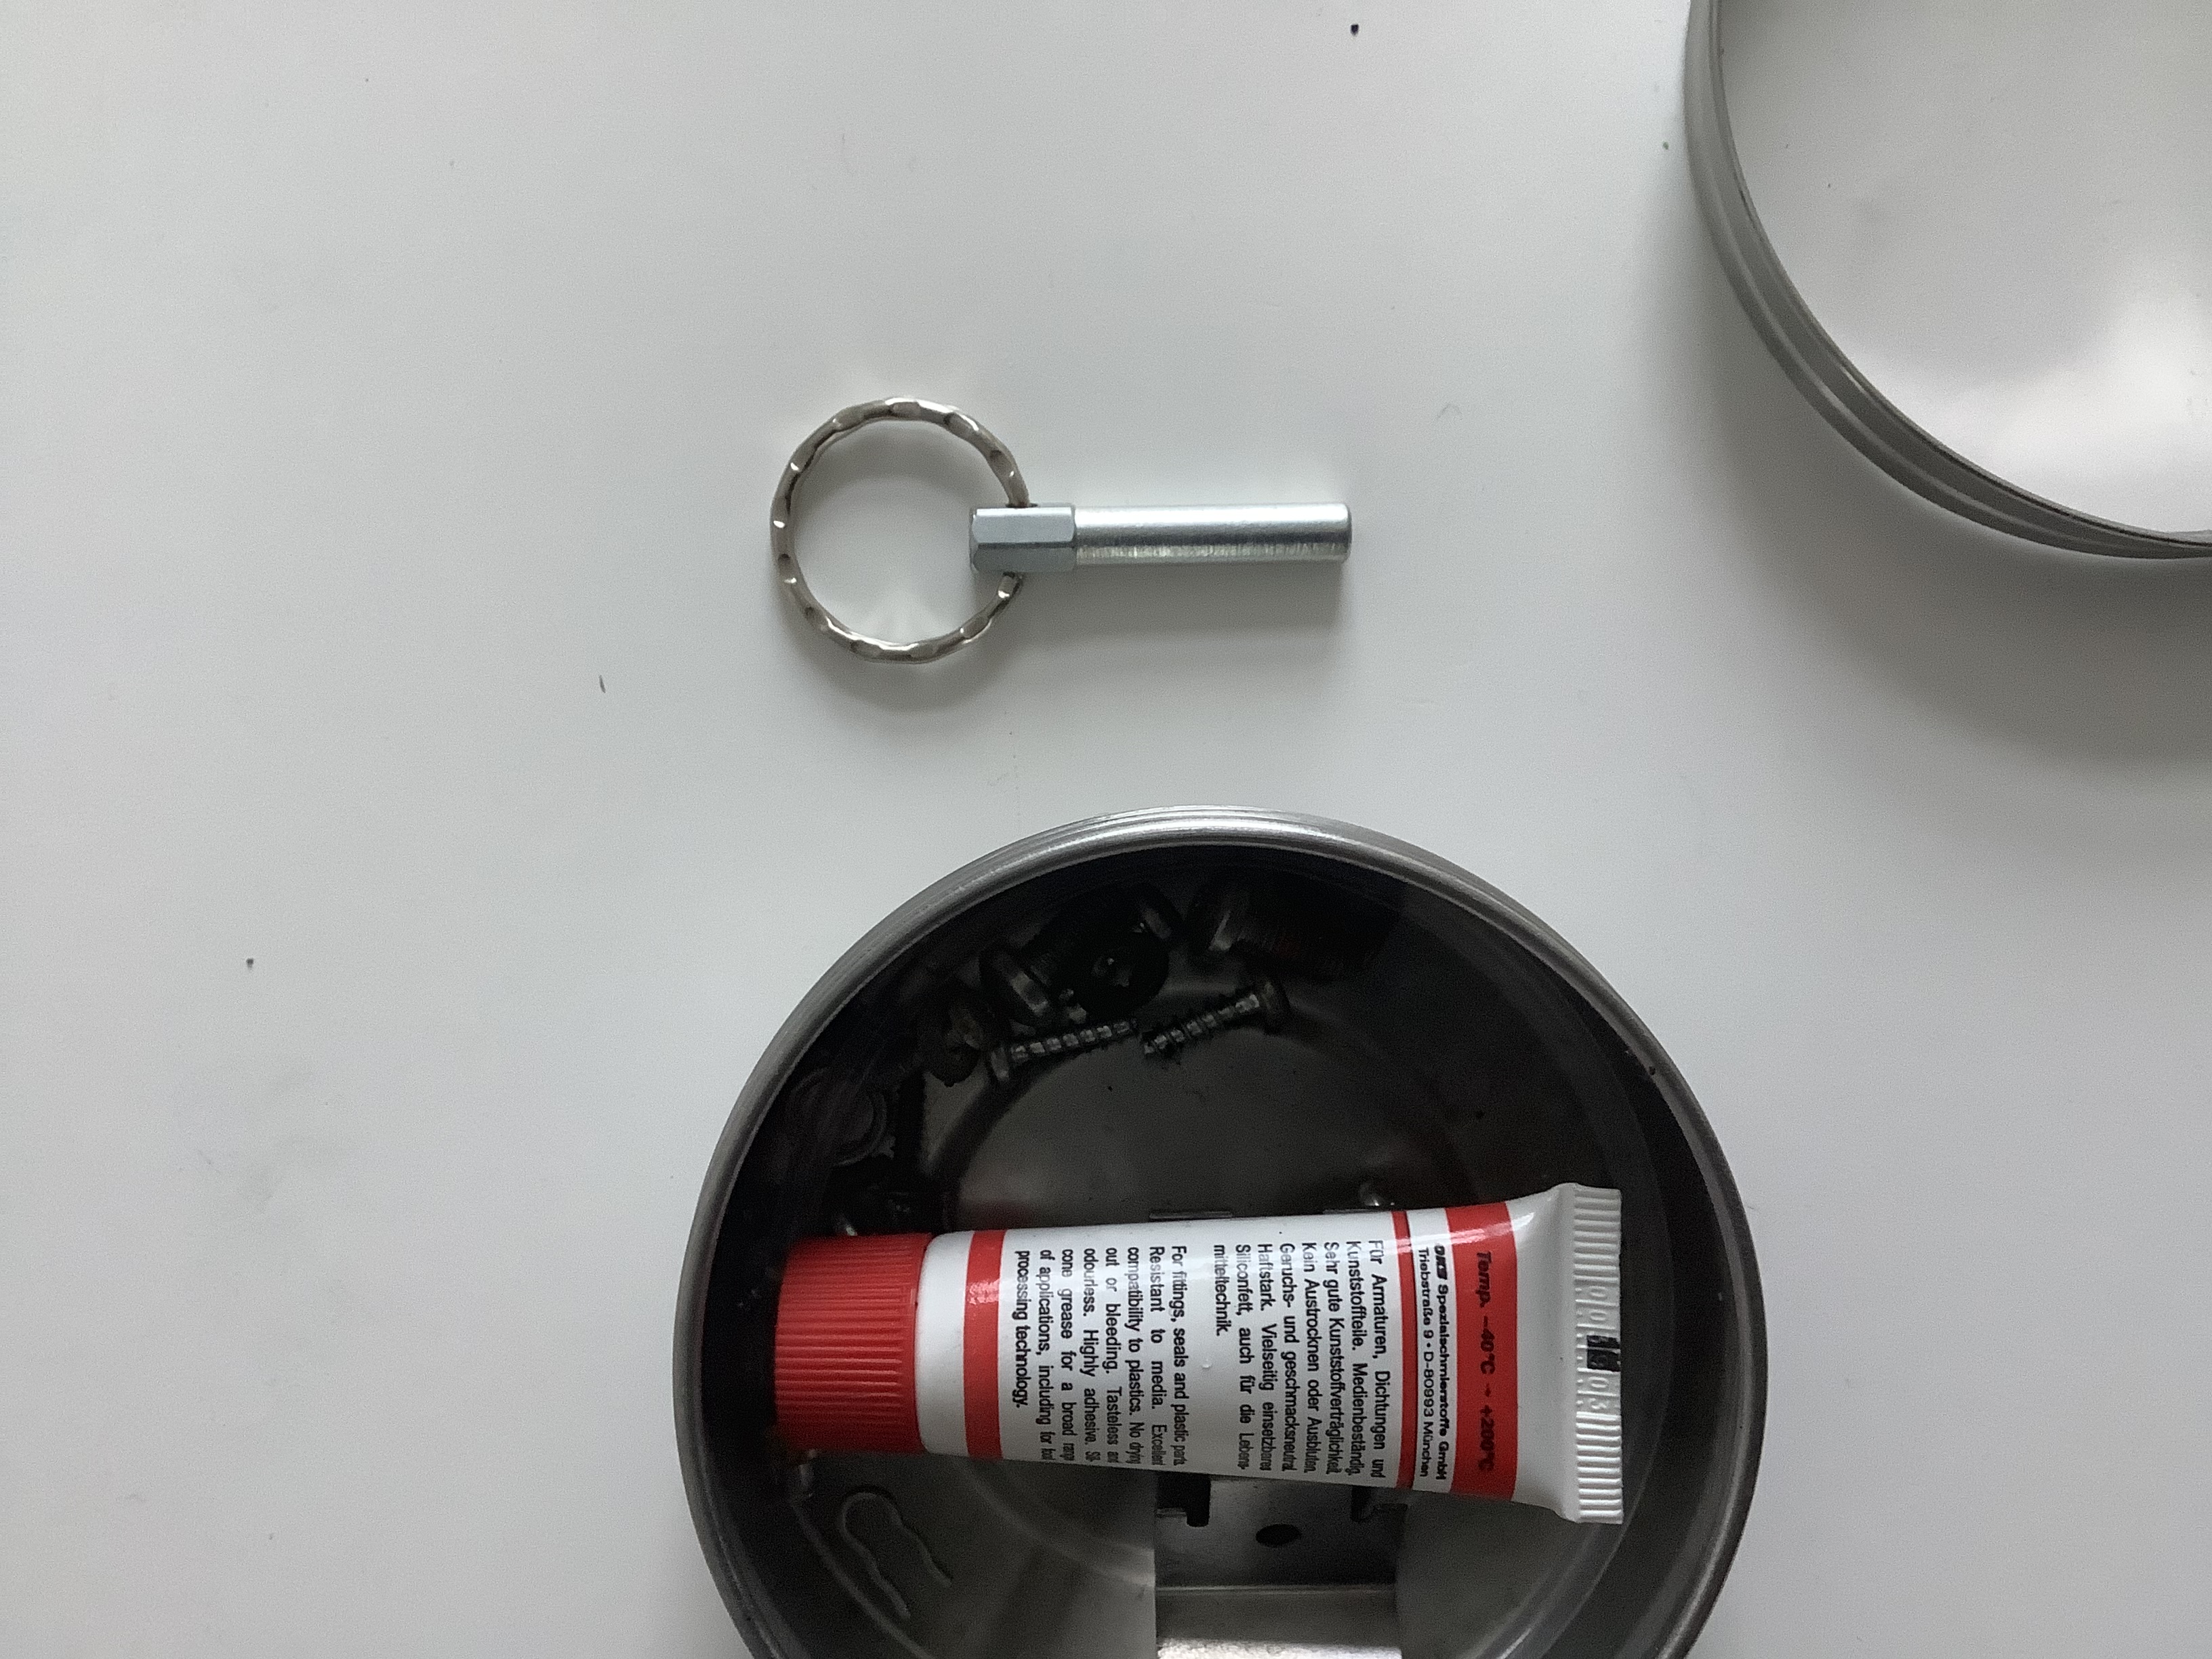
Blick unter die entfernte Oberschale; Kabel noch gesteckt
Unhooking and Folding Away the Upper Casing Shell
Next step is to unhook and fold away the upper casing shell. Disconnect the cables from the electronics – there are three white flat connectors with blue wires in different sizes, one black (with two grey cable cores), and the contact shoe of the green grounding wire. Once these are disconnected, you can remove the entire upper shell from the device.
Buggered those Push Buttons!
These can be tricky. That’s why it’s a good idea to watch a tutorial first.
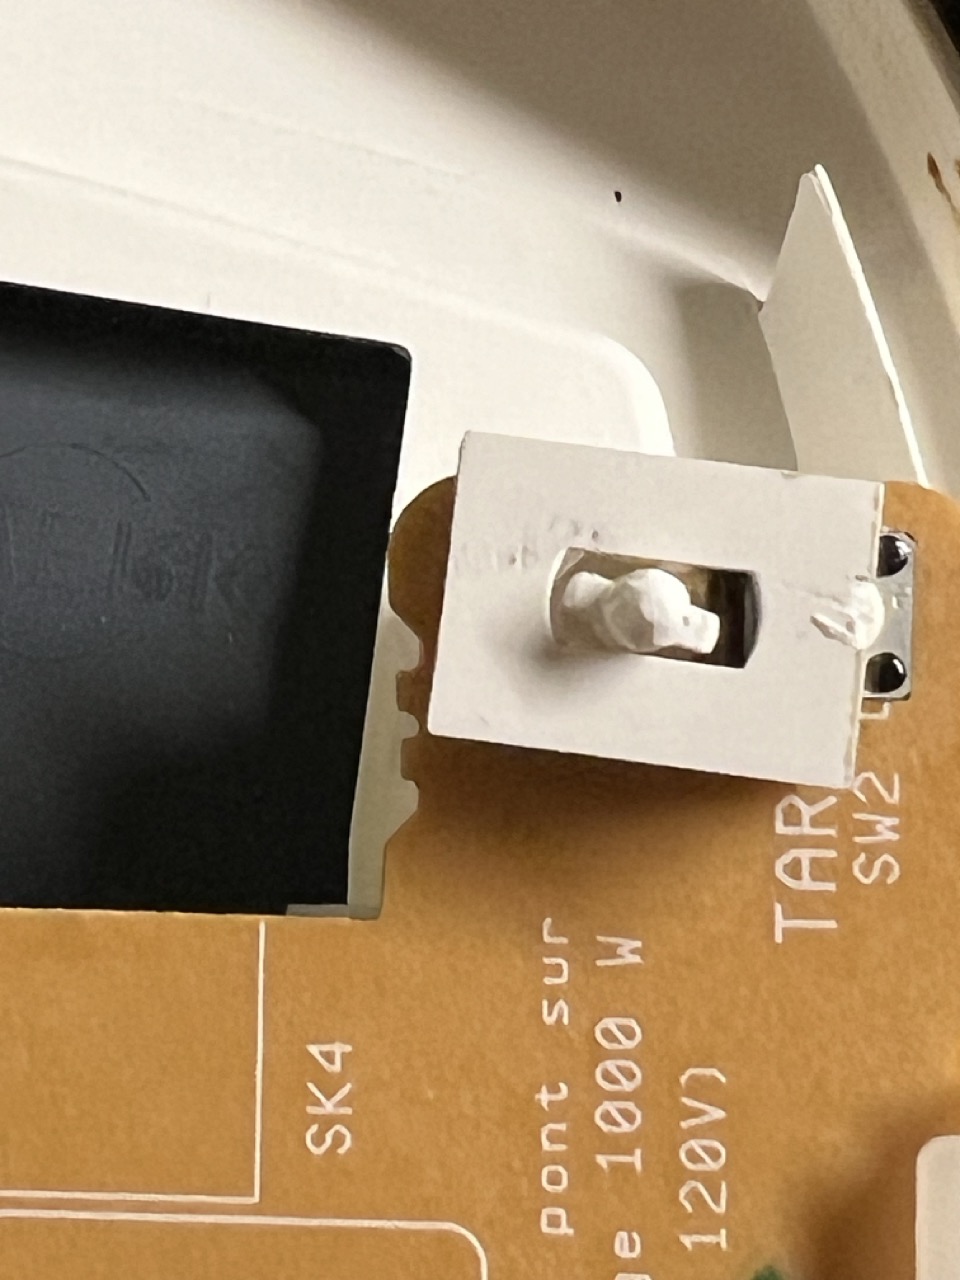
Understanding the Push Buttons Mechanism
The push buttons are comprised of two main parts: the actual button, which protrudes from the front of the casing with a pin attached to it, and a counterpart that keeps the switch contact closed as long as no one presses the button. To remove the button, you need to detach the top part from the pin. That much is clear.
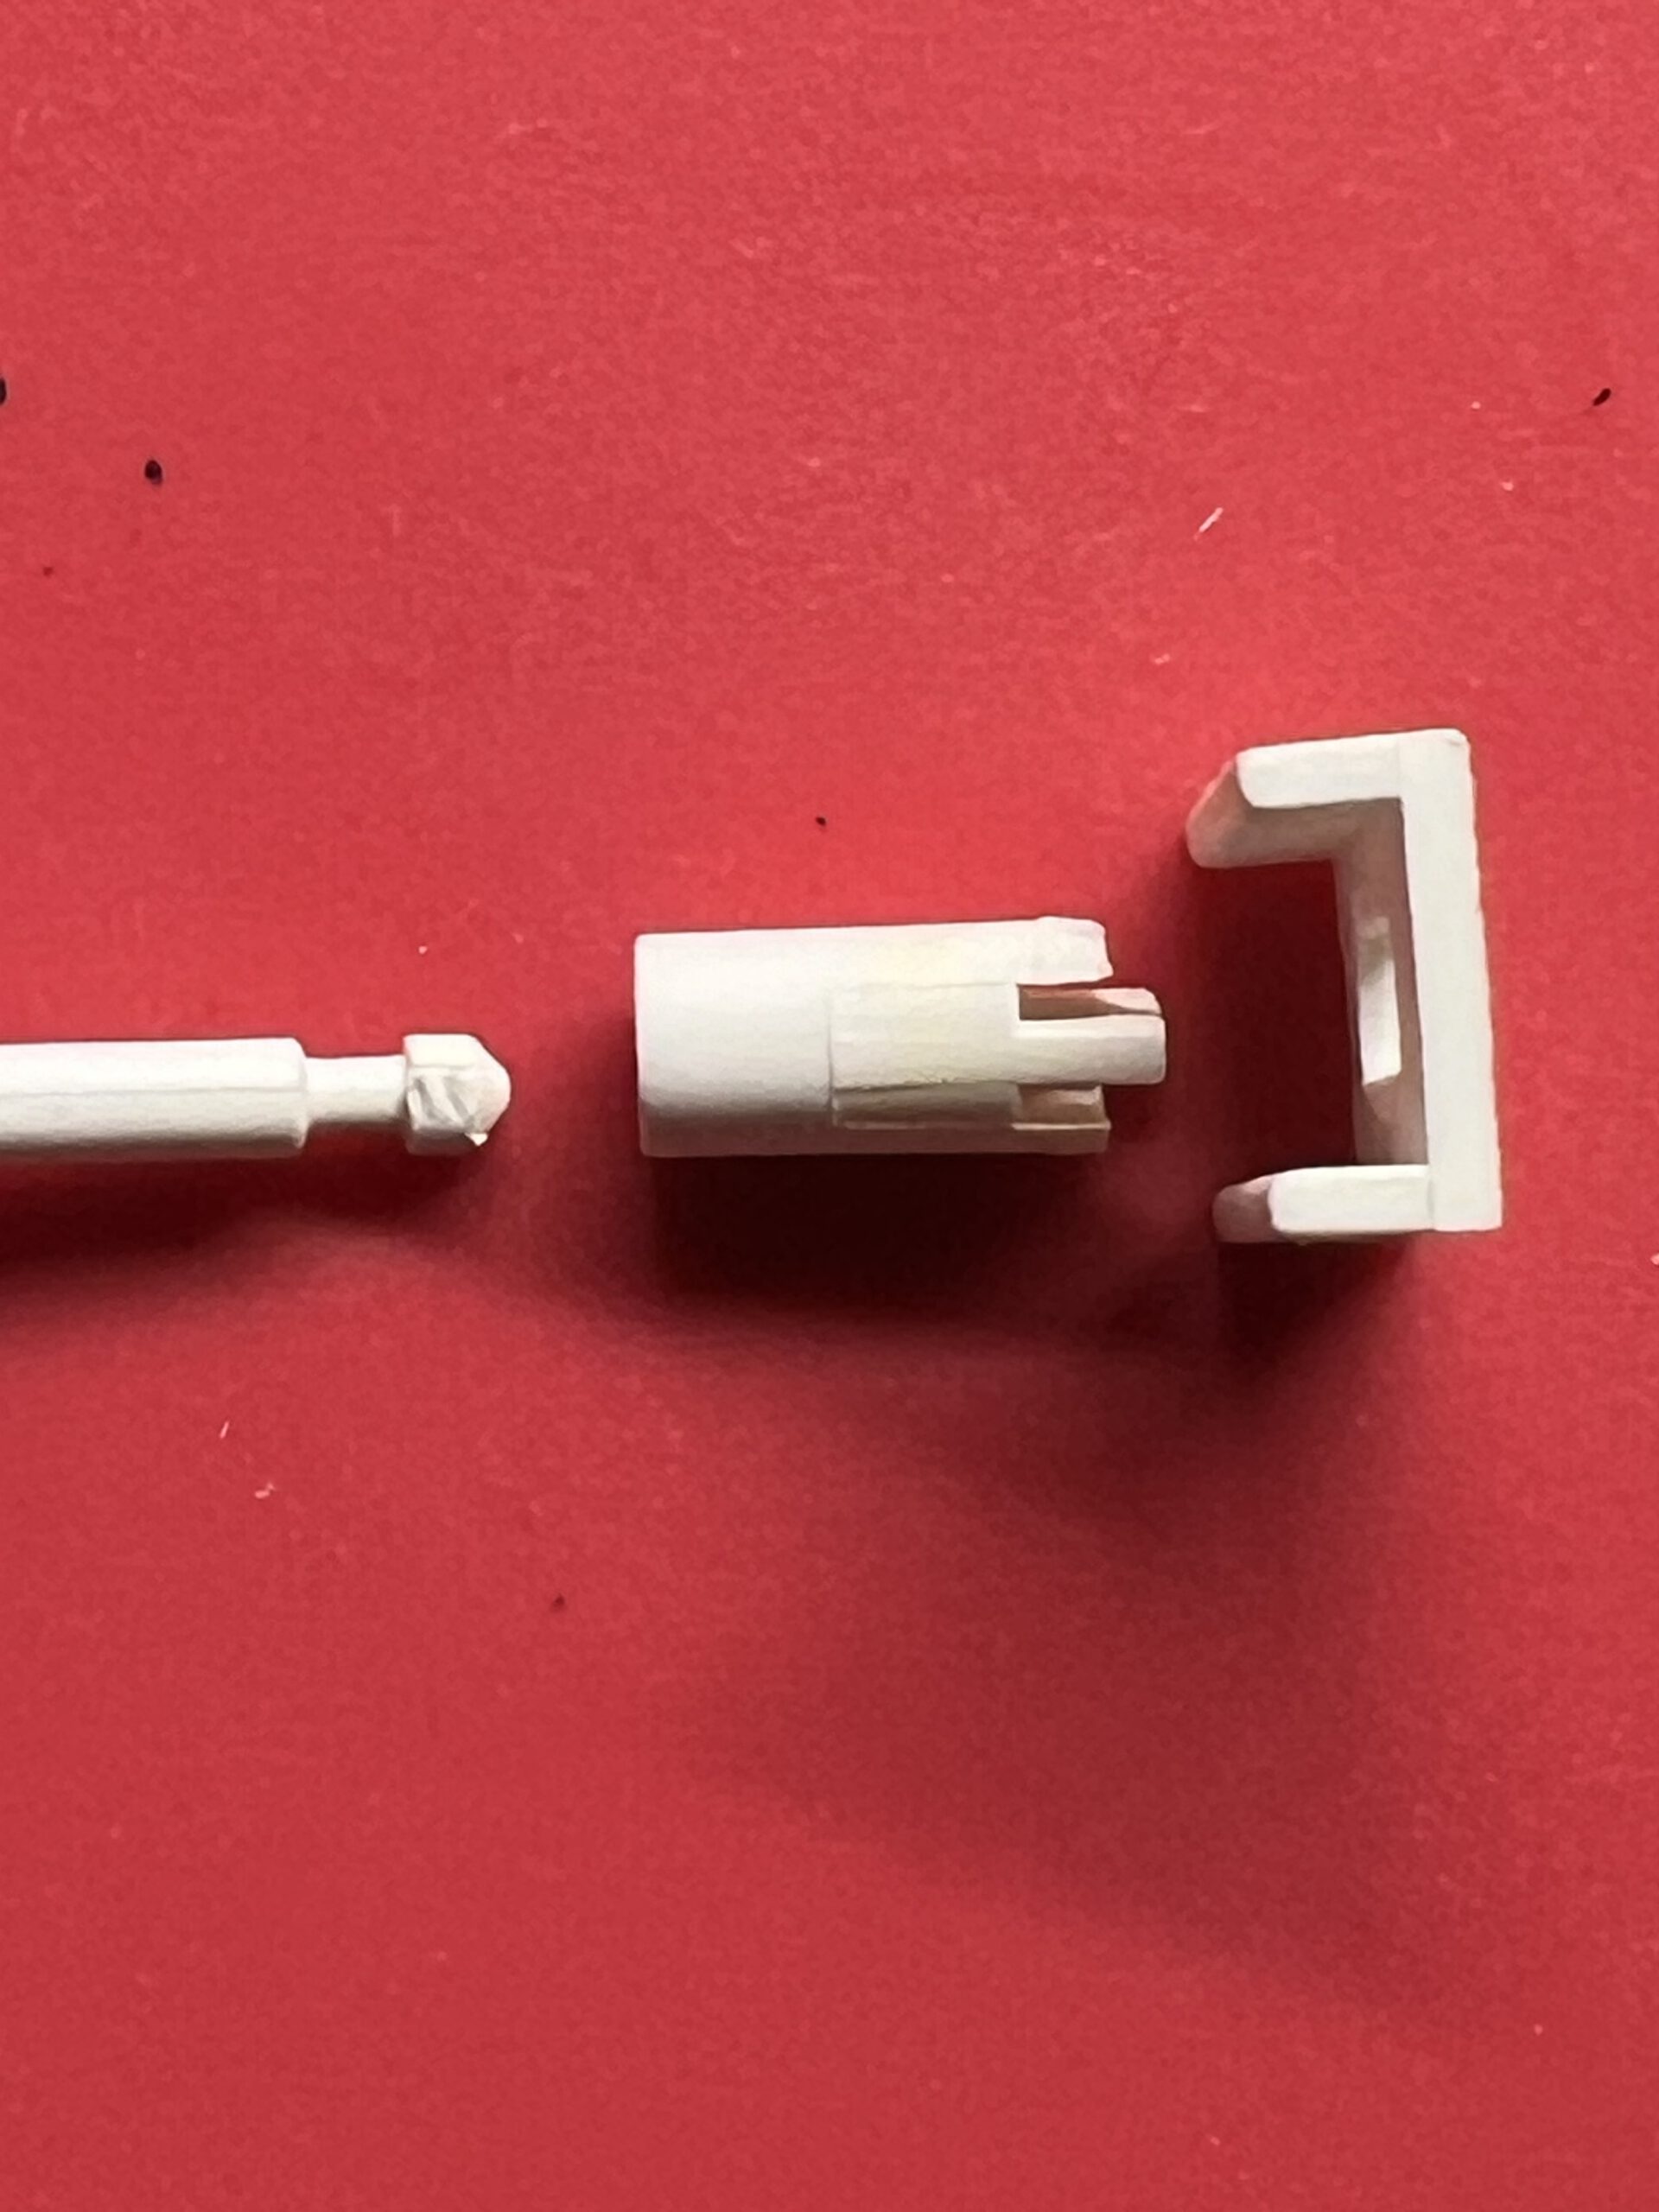
Unfortunately, the only solution I could think of was to use force, which led to me tearing off the rectangular plate on top. (This plate presses the switch.) It’s flanged to a tube where the pin goes, and at its upper end – visible through the slit below the plate – there are two small arms that hold the pin. You need to spread them apart using two small watchmaker’s screwdrivers, then you might be able to pull out the pin. Maybe.
Or, it might end up looking like this – the part in the middle and the one on the right are actually supposed to be connected; I ended up brutally tearing them apart.
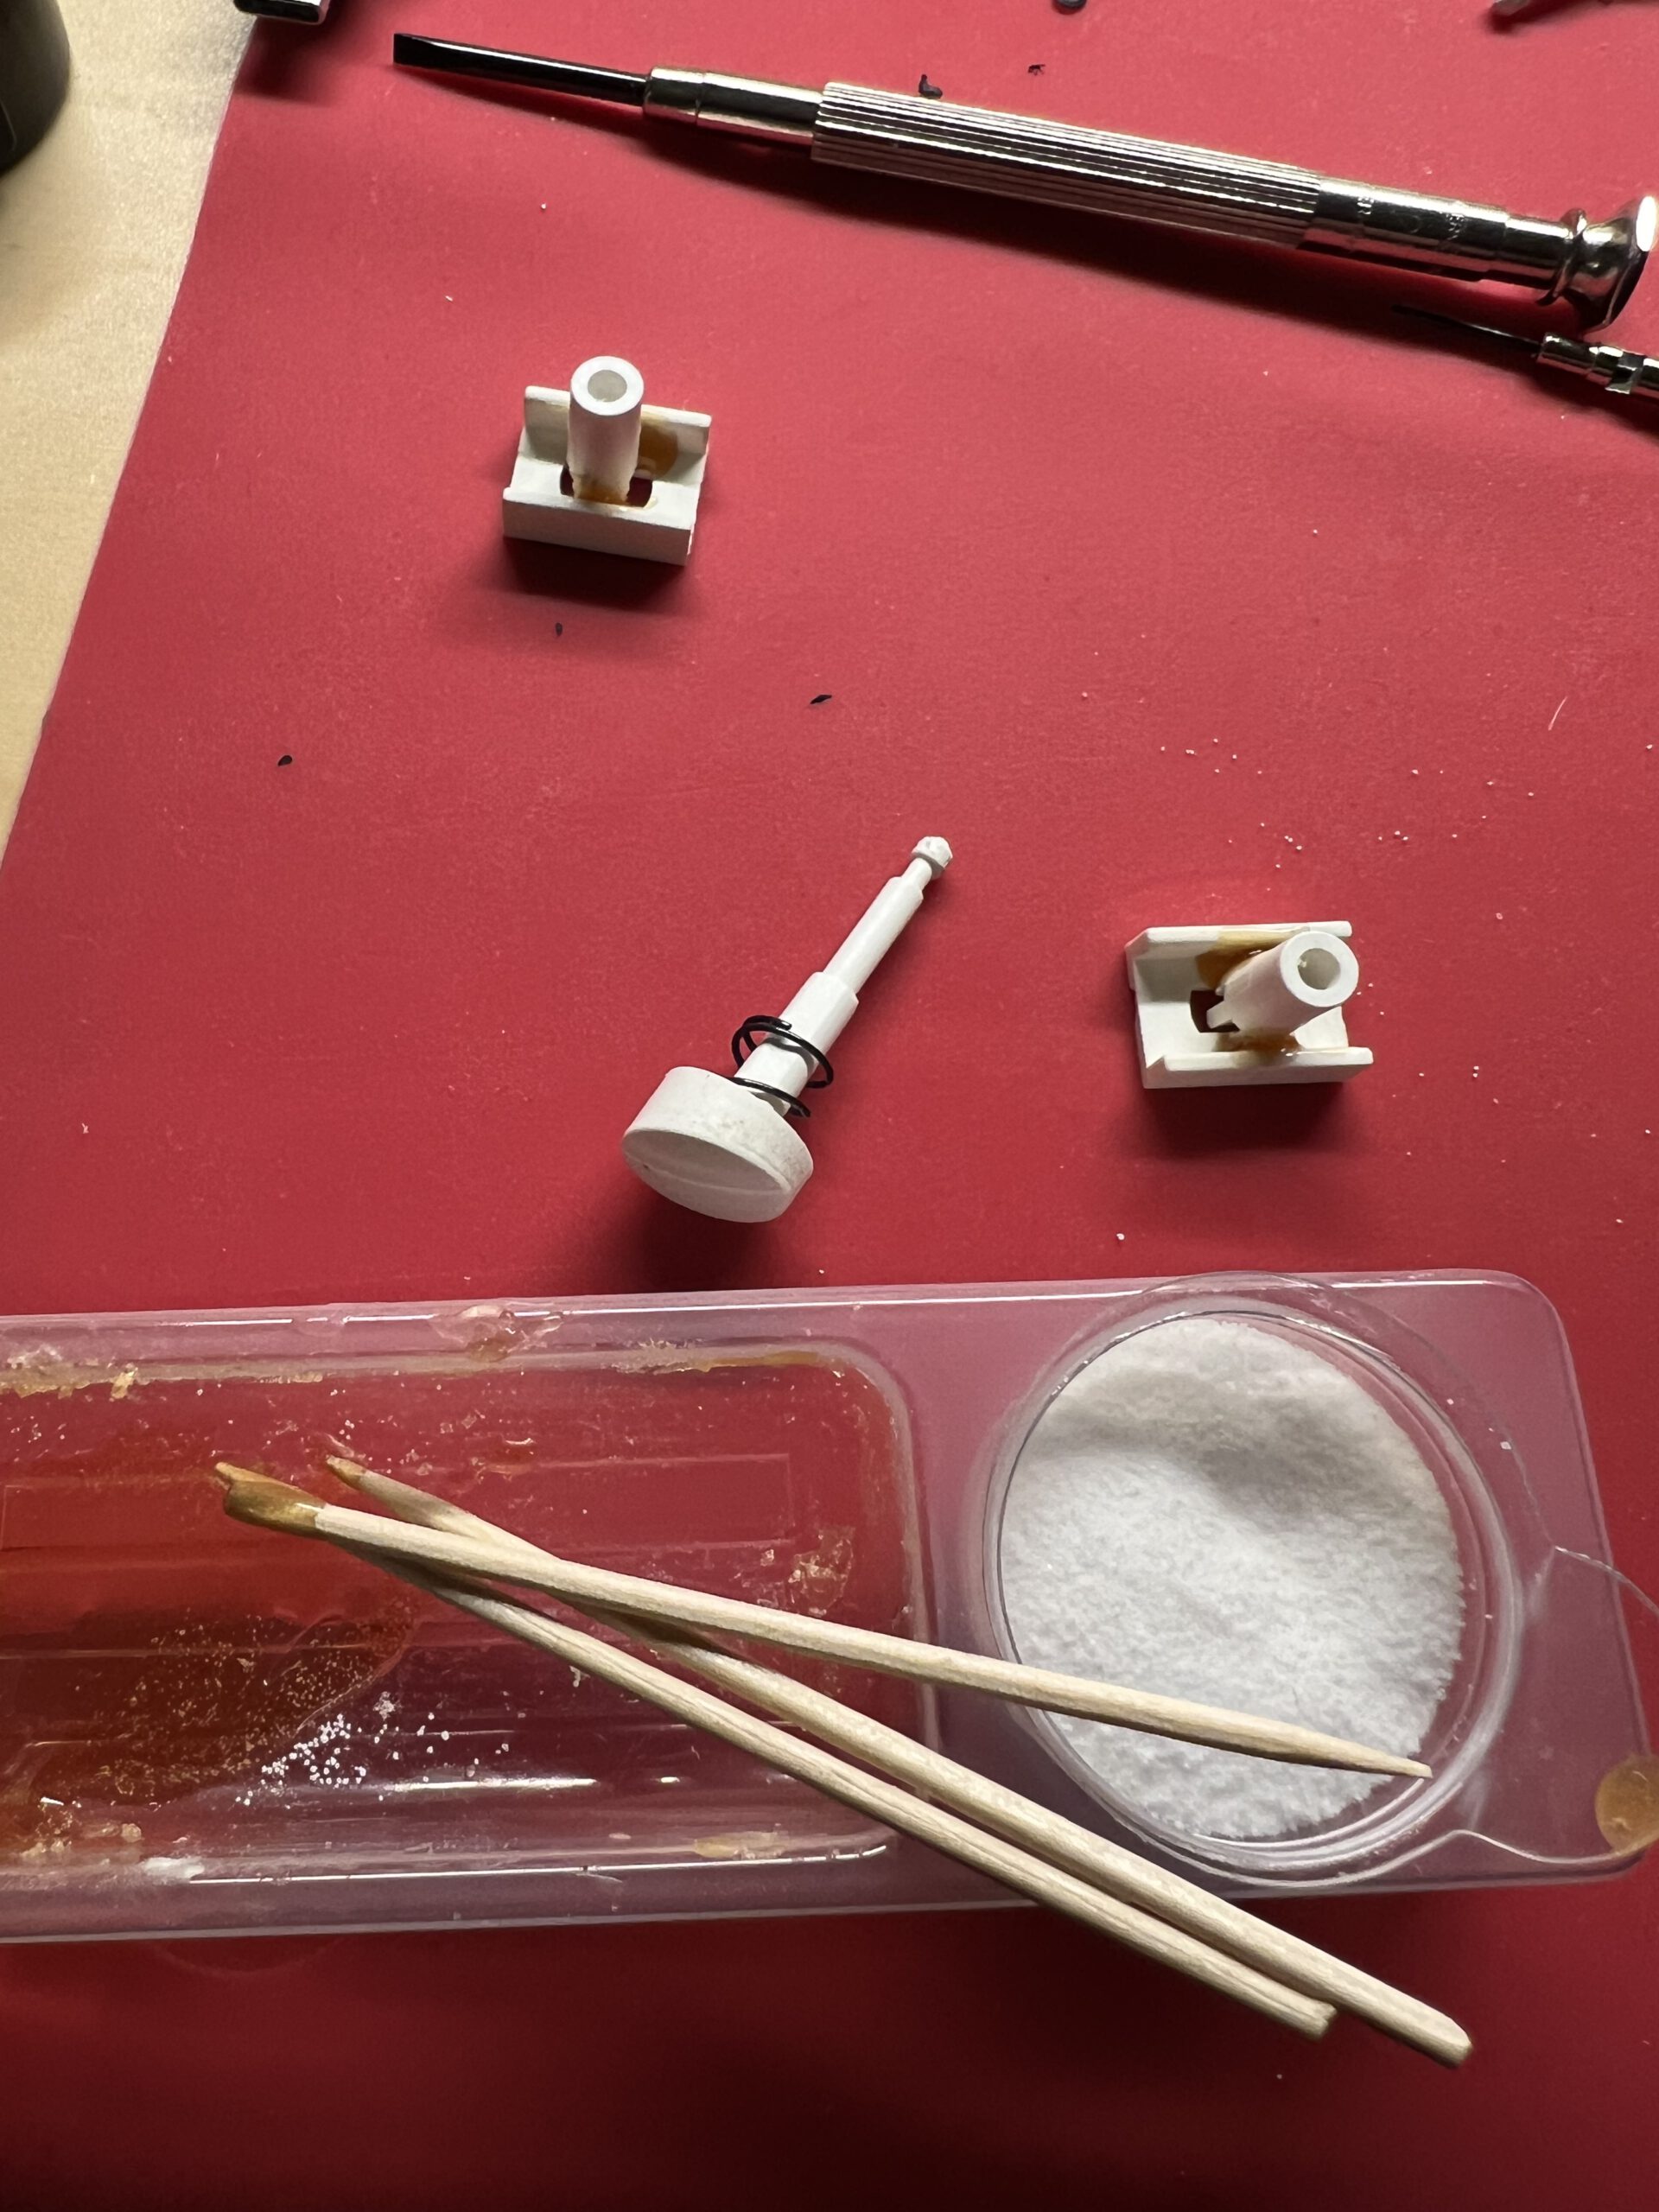
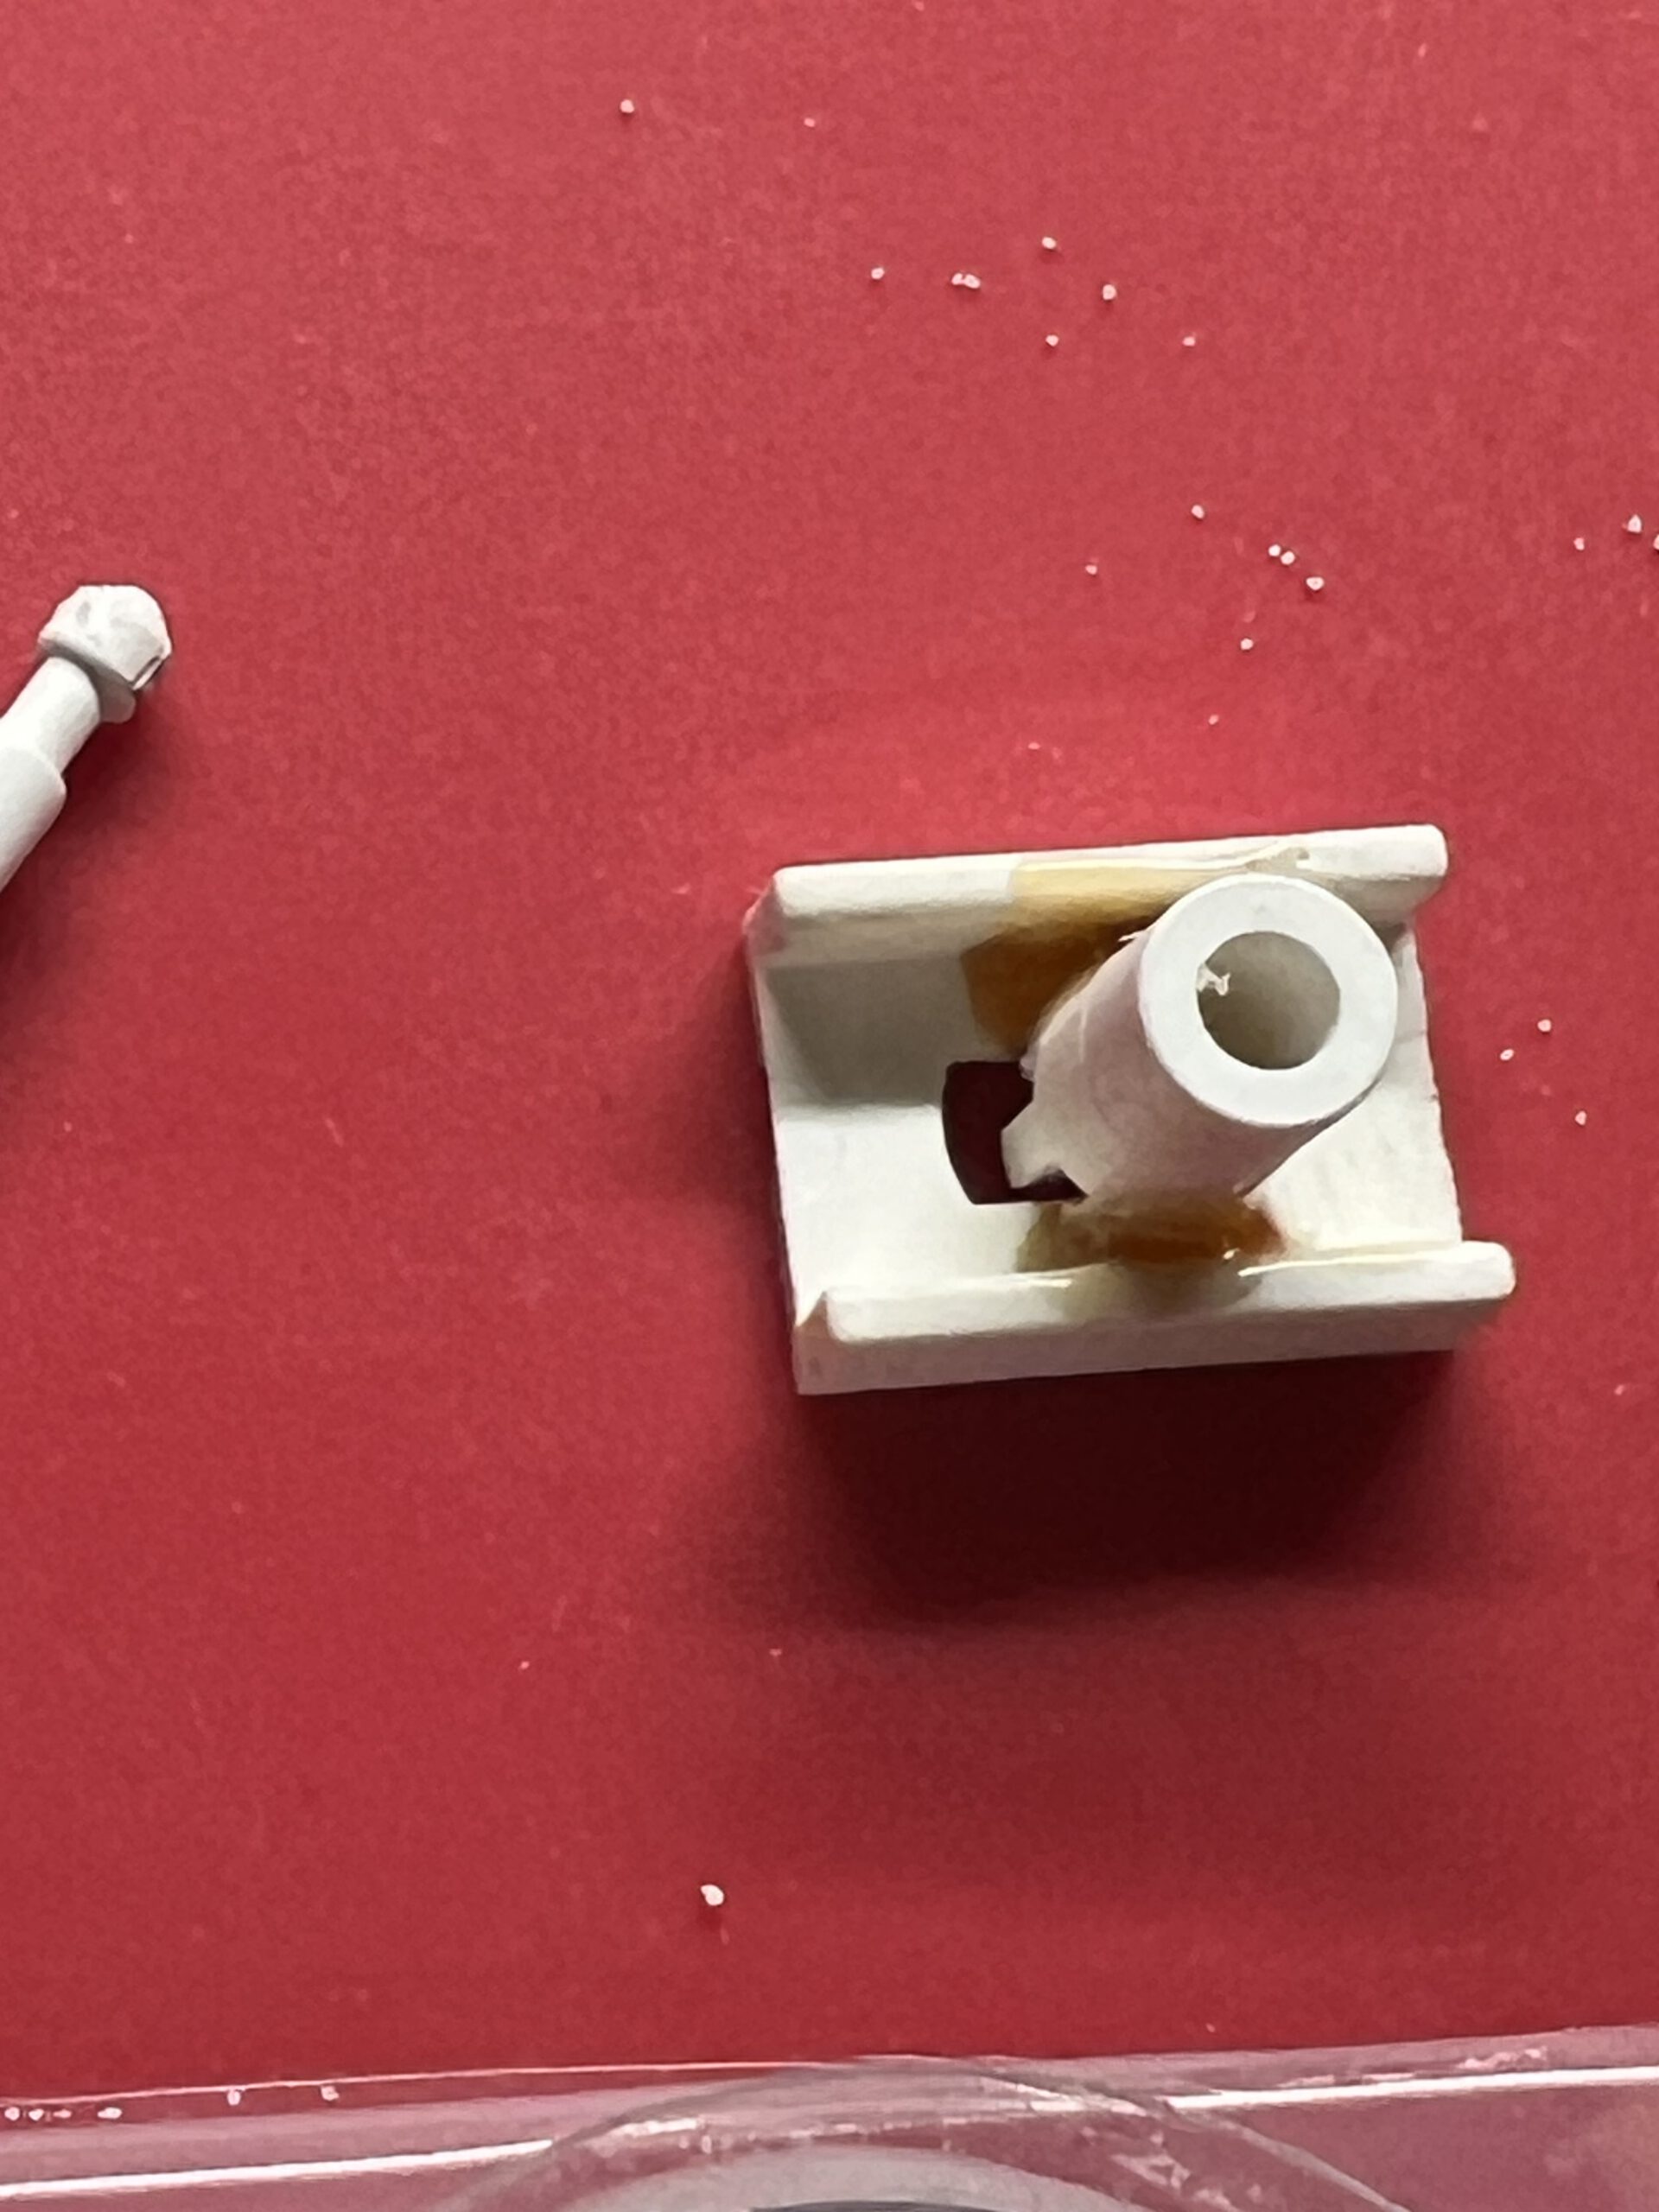
I resorted to the reliable two-component adhesive. It worked after reassembling, and I hope it holds permanently, though I’m not very confident. If I can’t find replacement parts, maybe I’ll 3D print them, or else I might just permanently attach the plate to the pin.
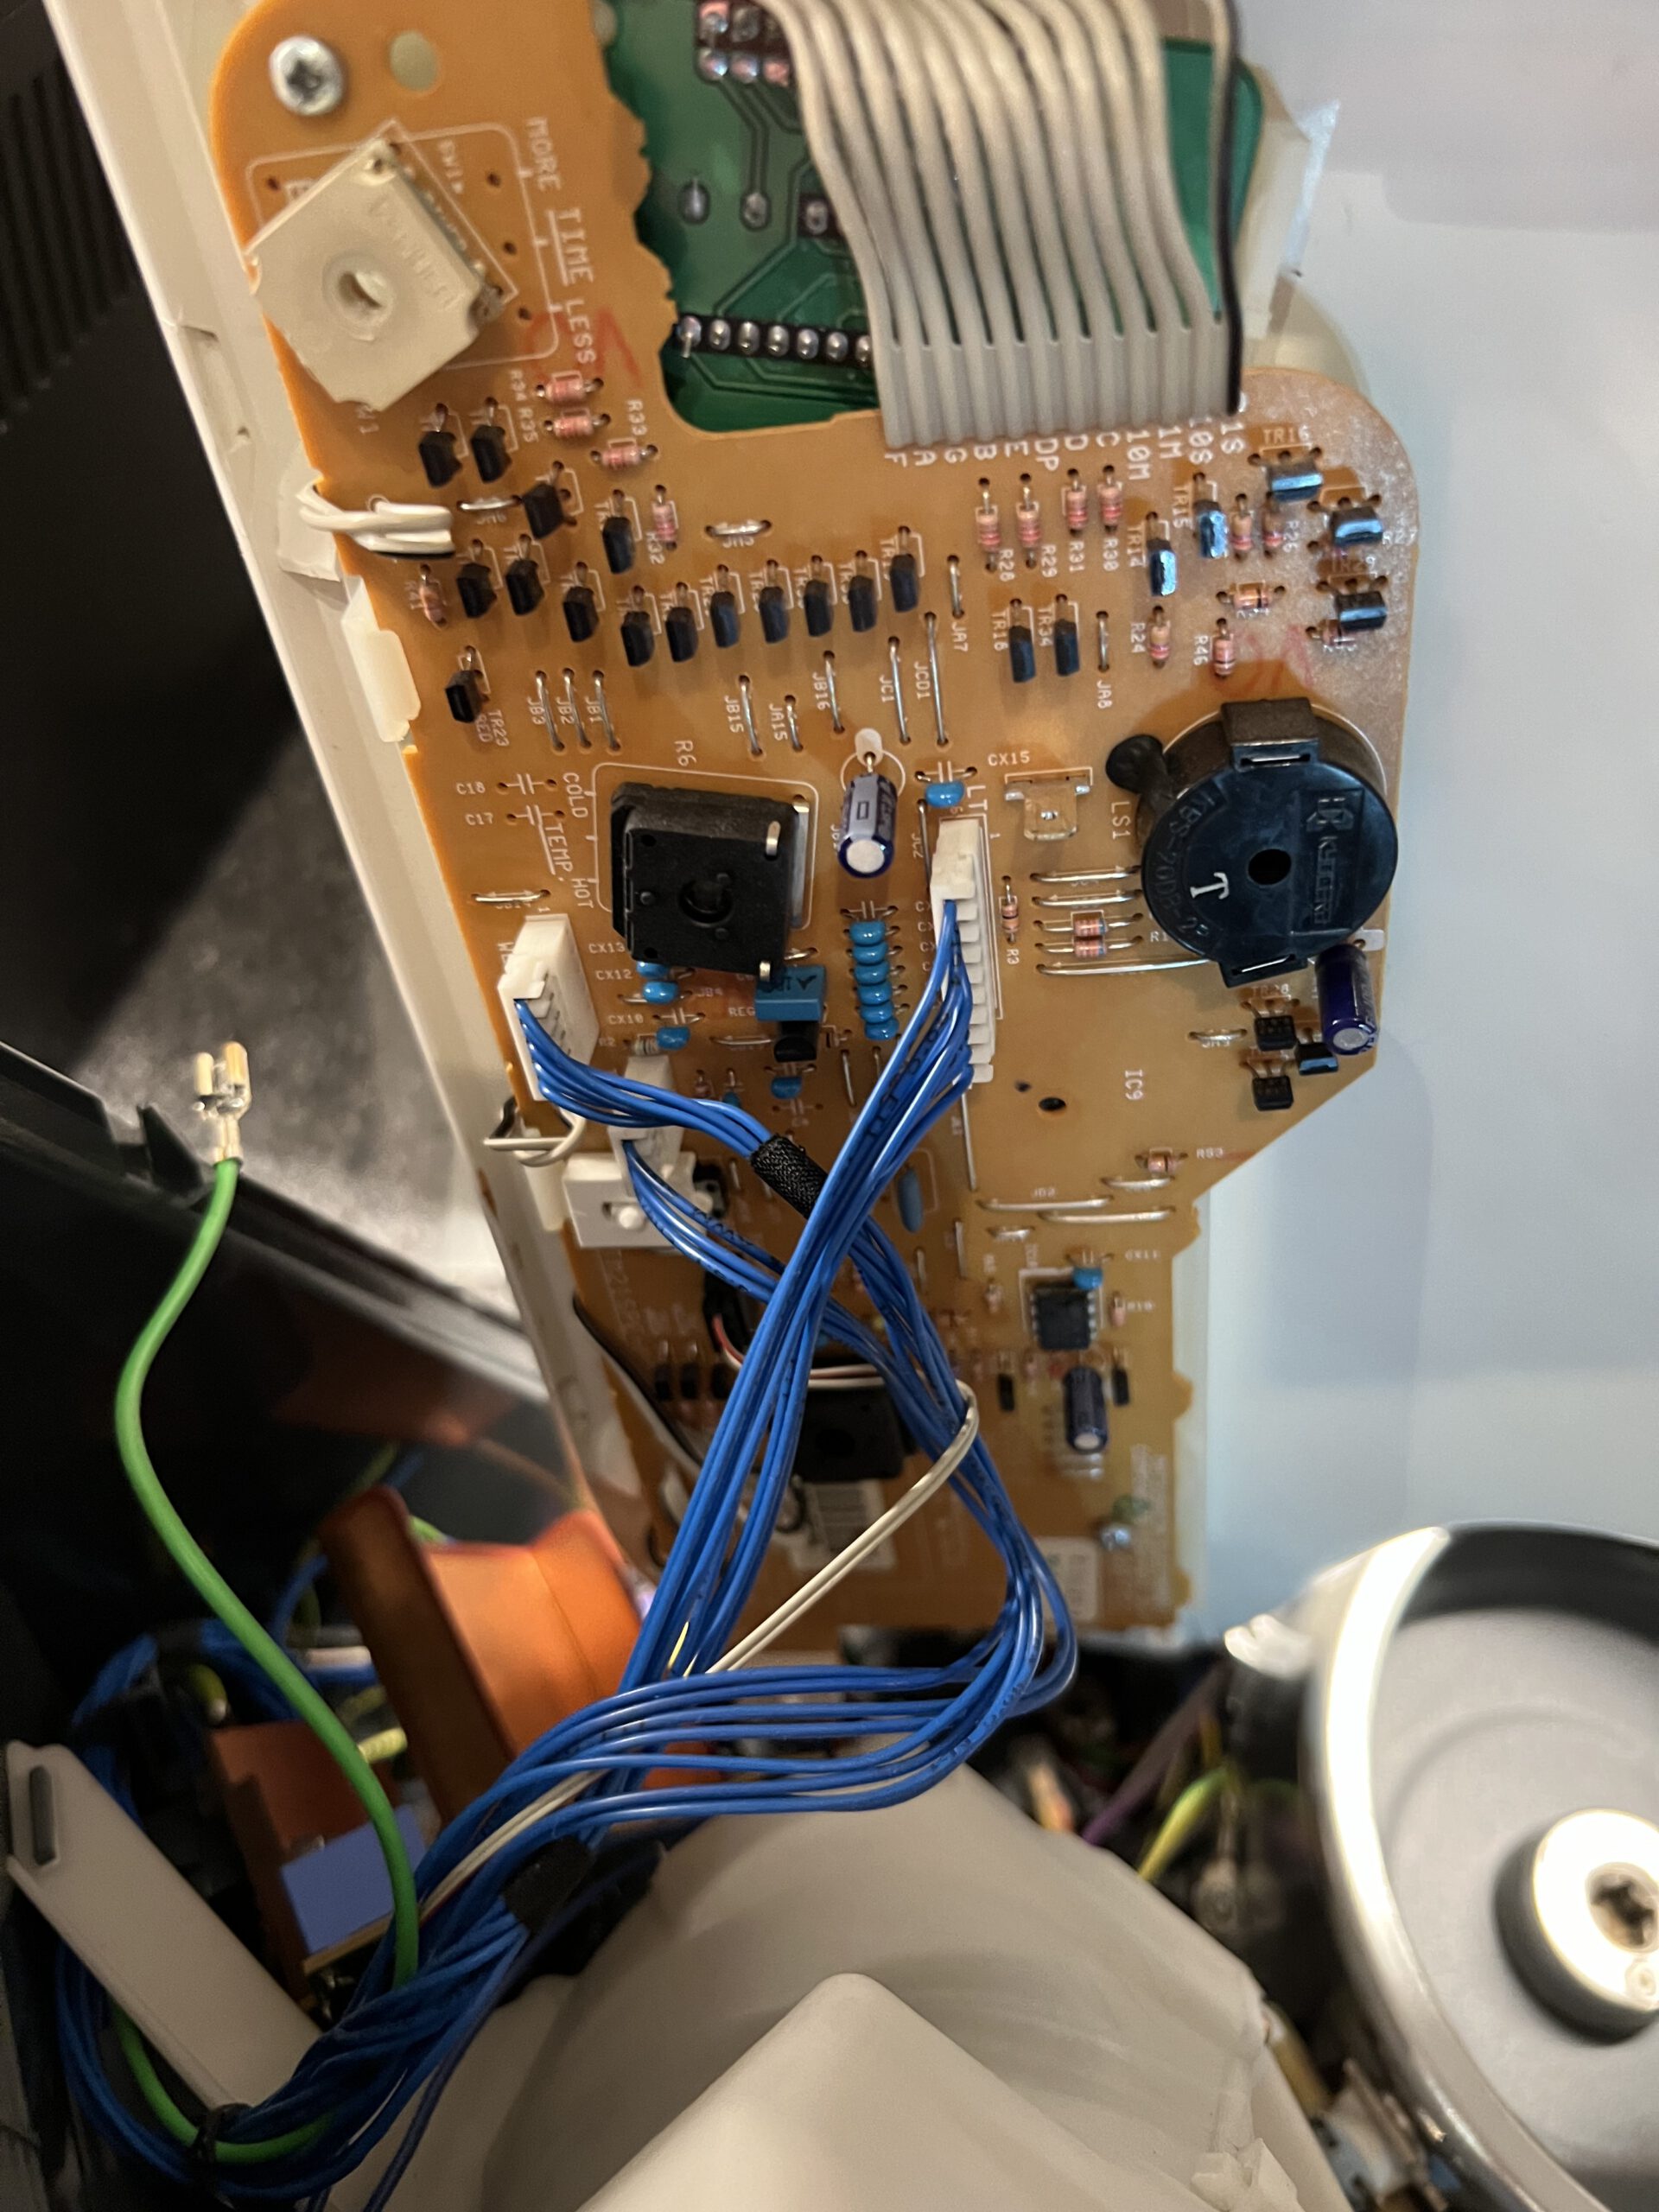
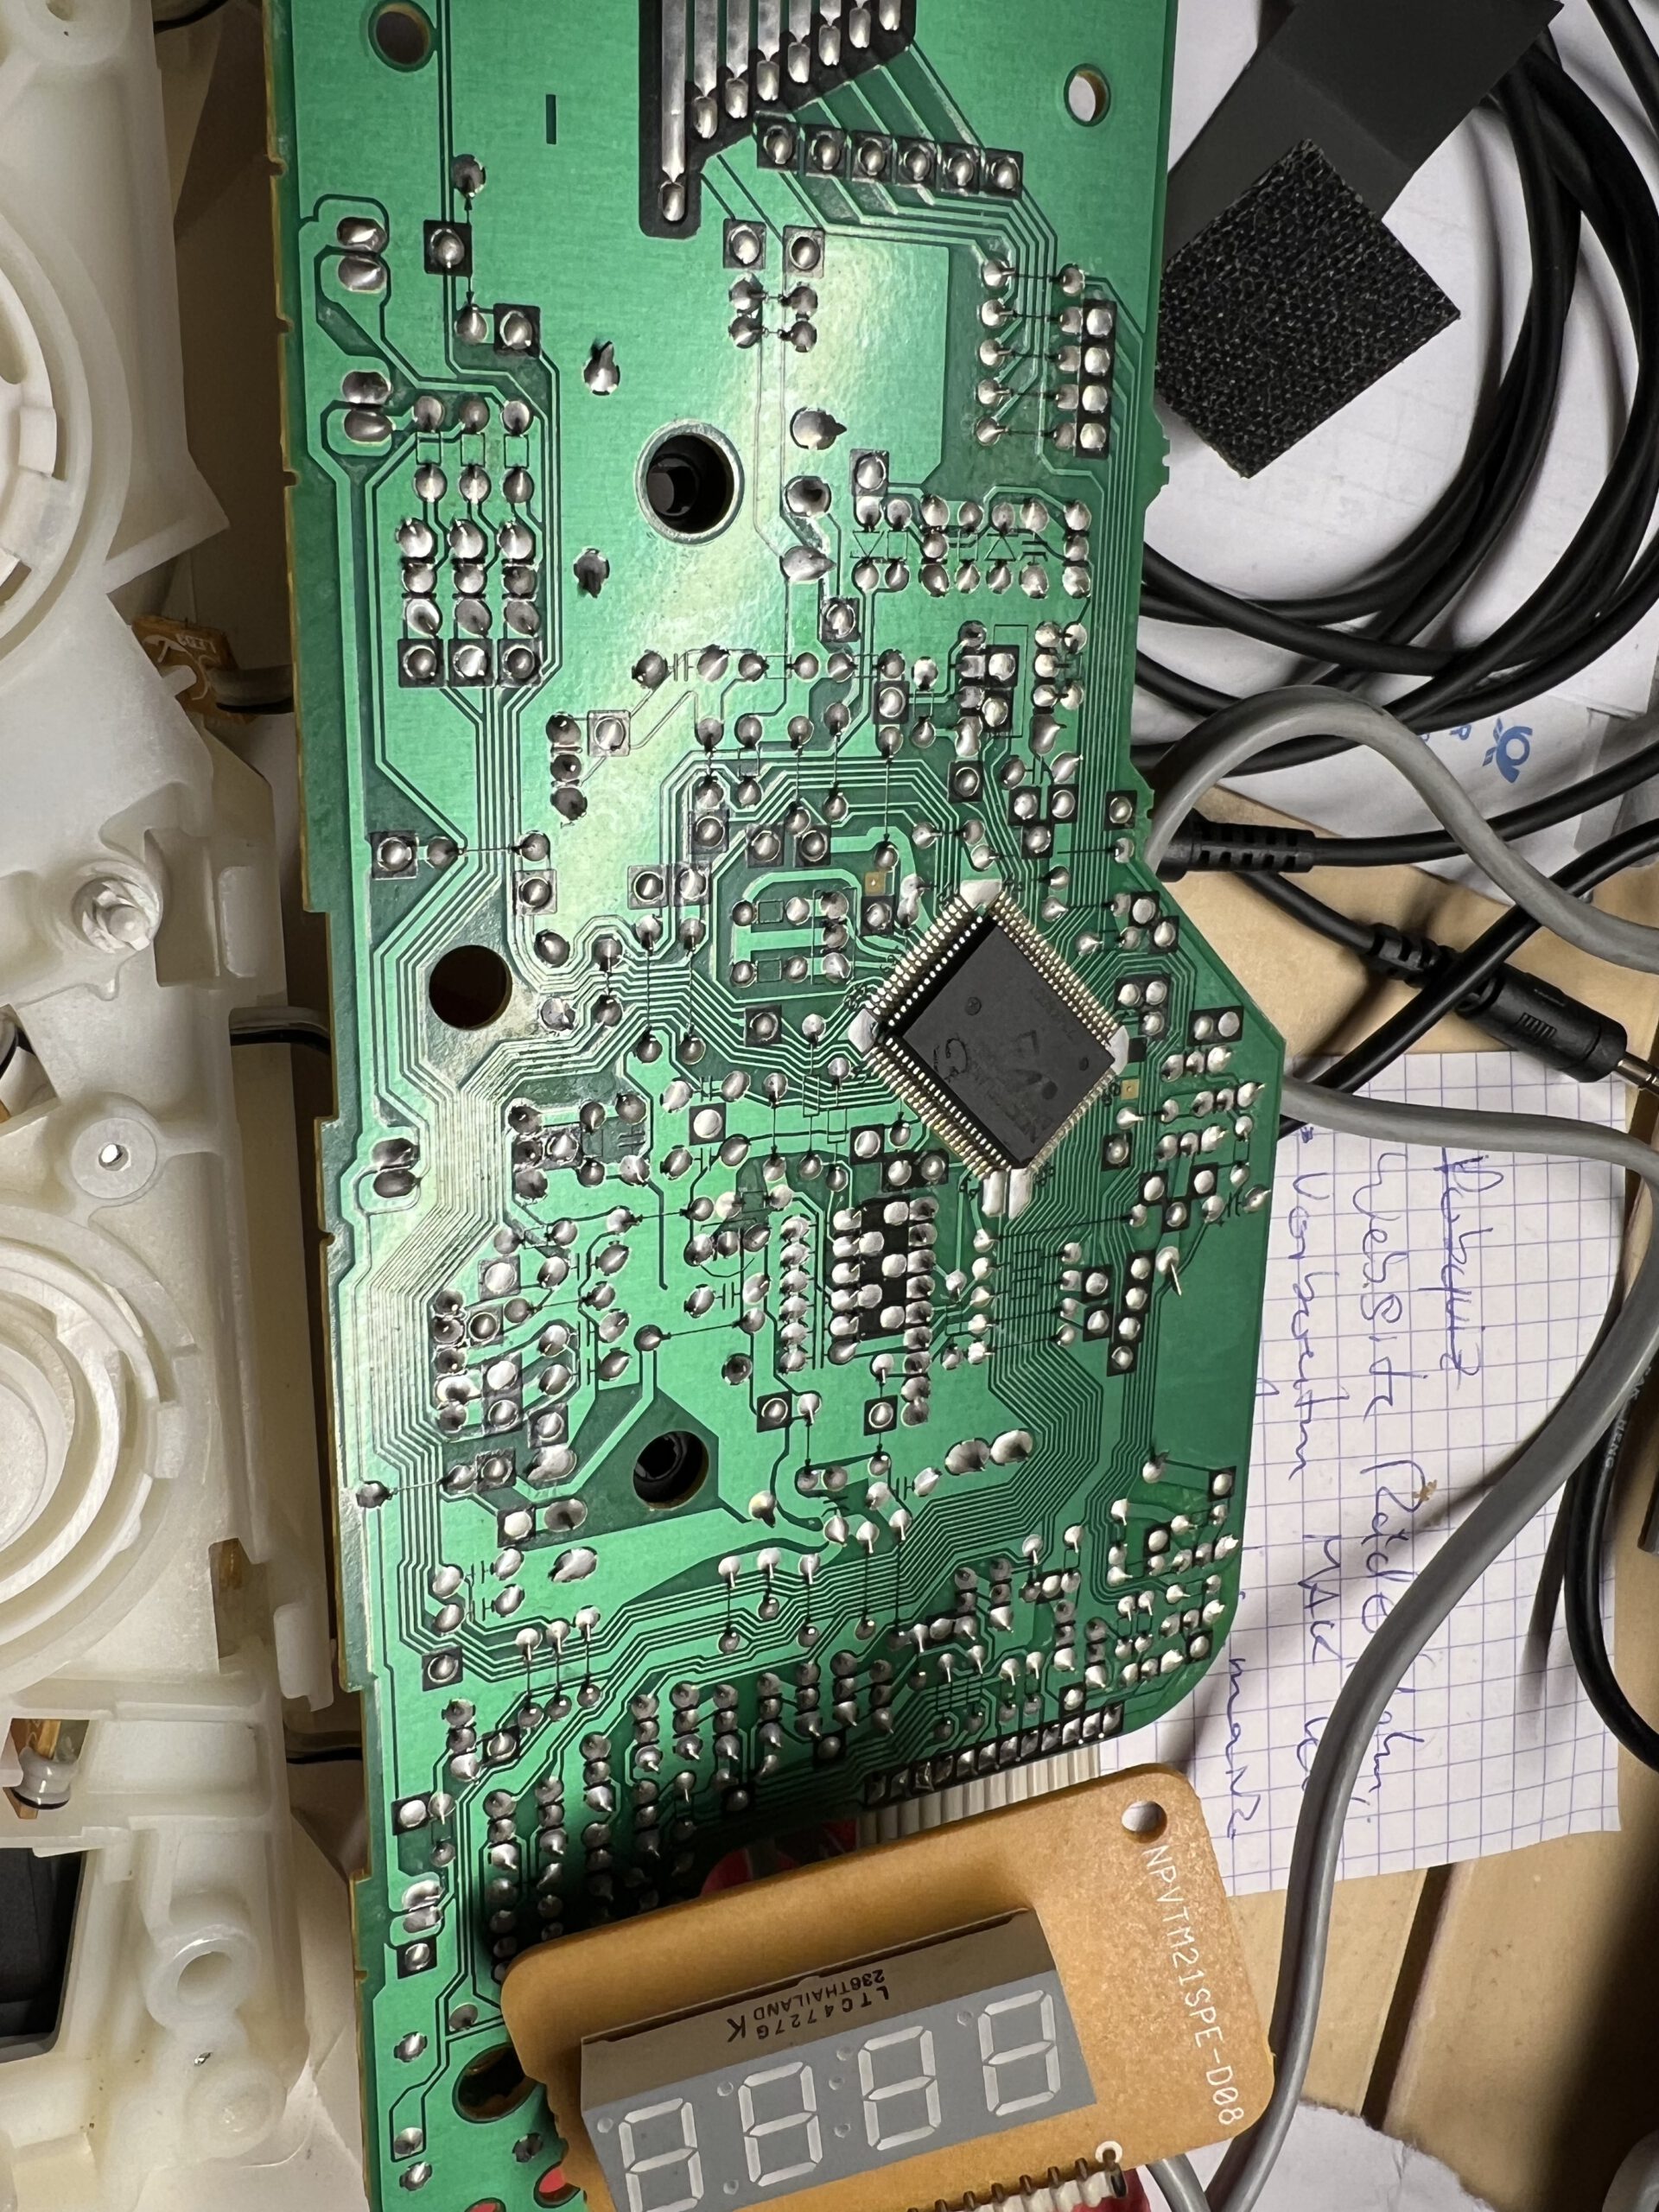
Next, unscrew the three screws from the circuit board and unhook the display, which is held in place by two plastic tabs. Then, remove the electronics.
The potentiometers are soldered at three contacts as usual and additionally held by two tabs that are inserted through the housing and bent over. Carefully unbend these, lift the three poles of the potentiometer, and remove it.
It’s a 22k potentiometer from Piher. I couldn’t find a replacement part quickly, so I decided to open it up. (Update: I’m trying with a Pipher PT15NH now; that’s the closest approximation I could find with that through-hole shaft. Piper datasheet here.)
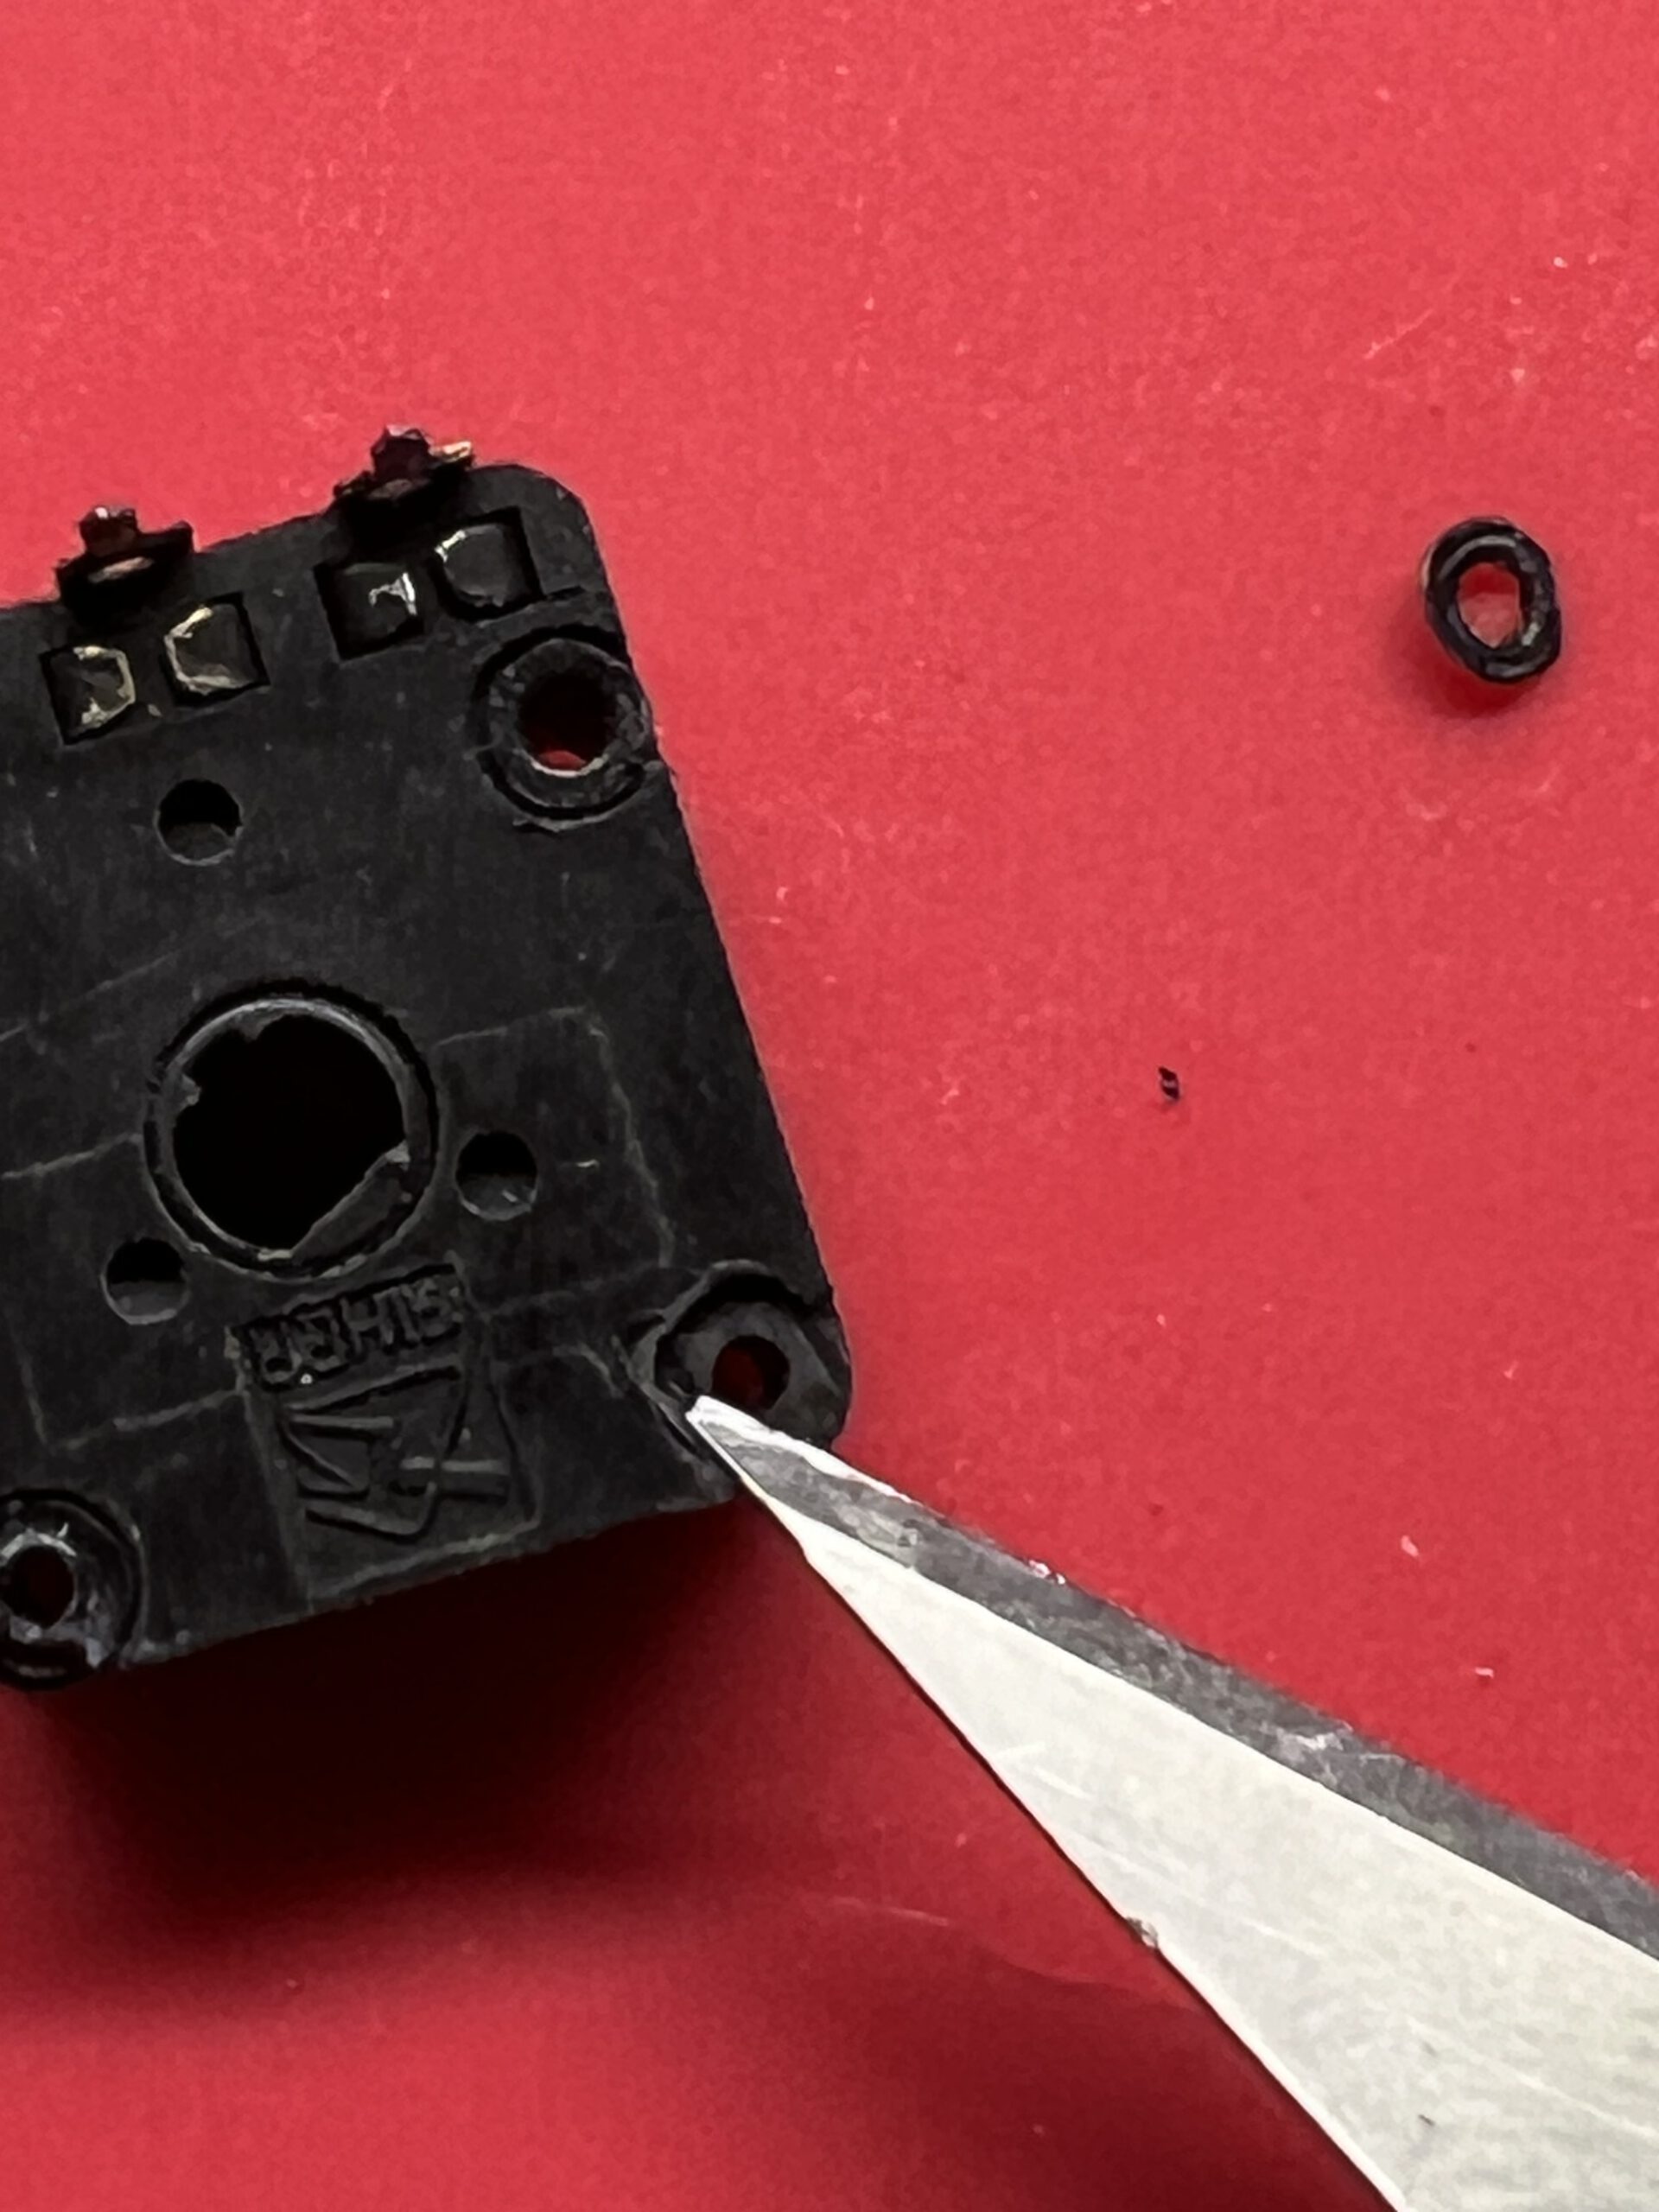
The cover is pressed onto the housing from the bottom and riveted over four plastic pins; you have to cut these slightly with a scalpel, then the cover can be pried open.
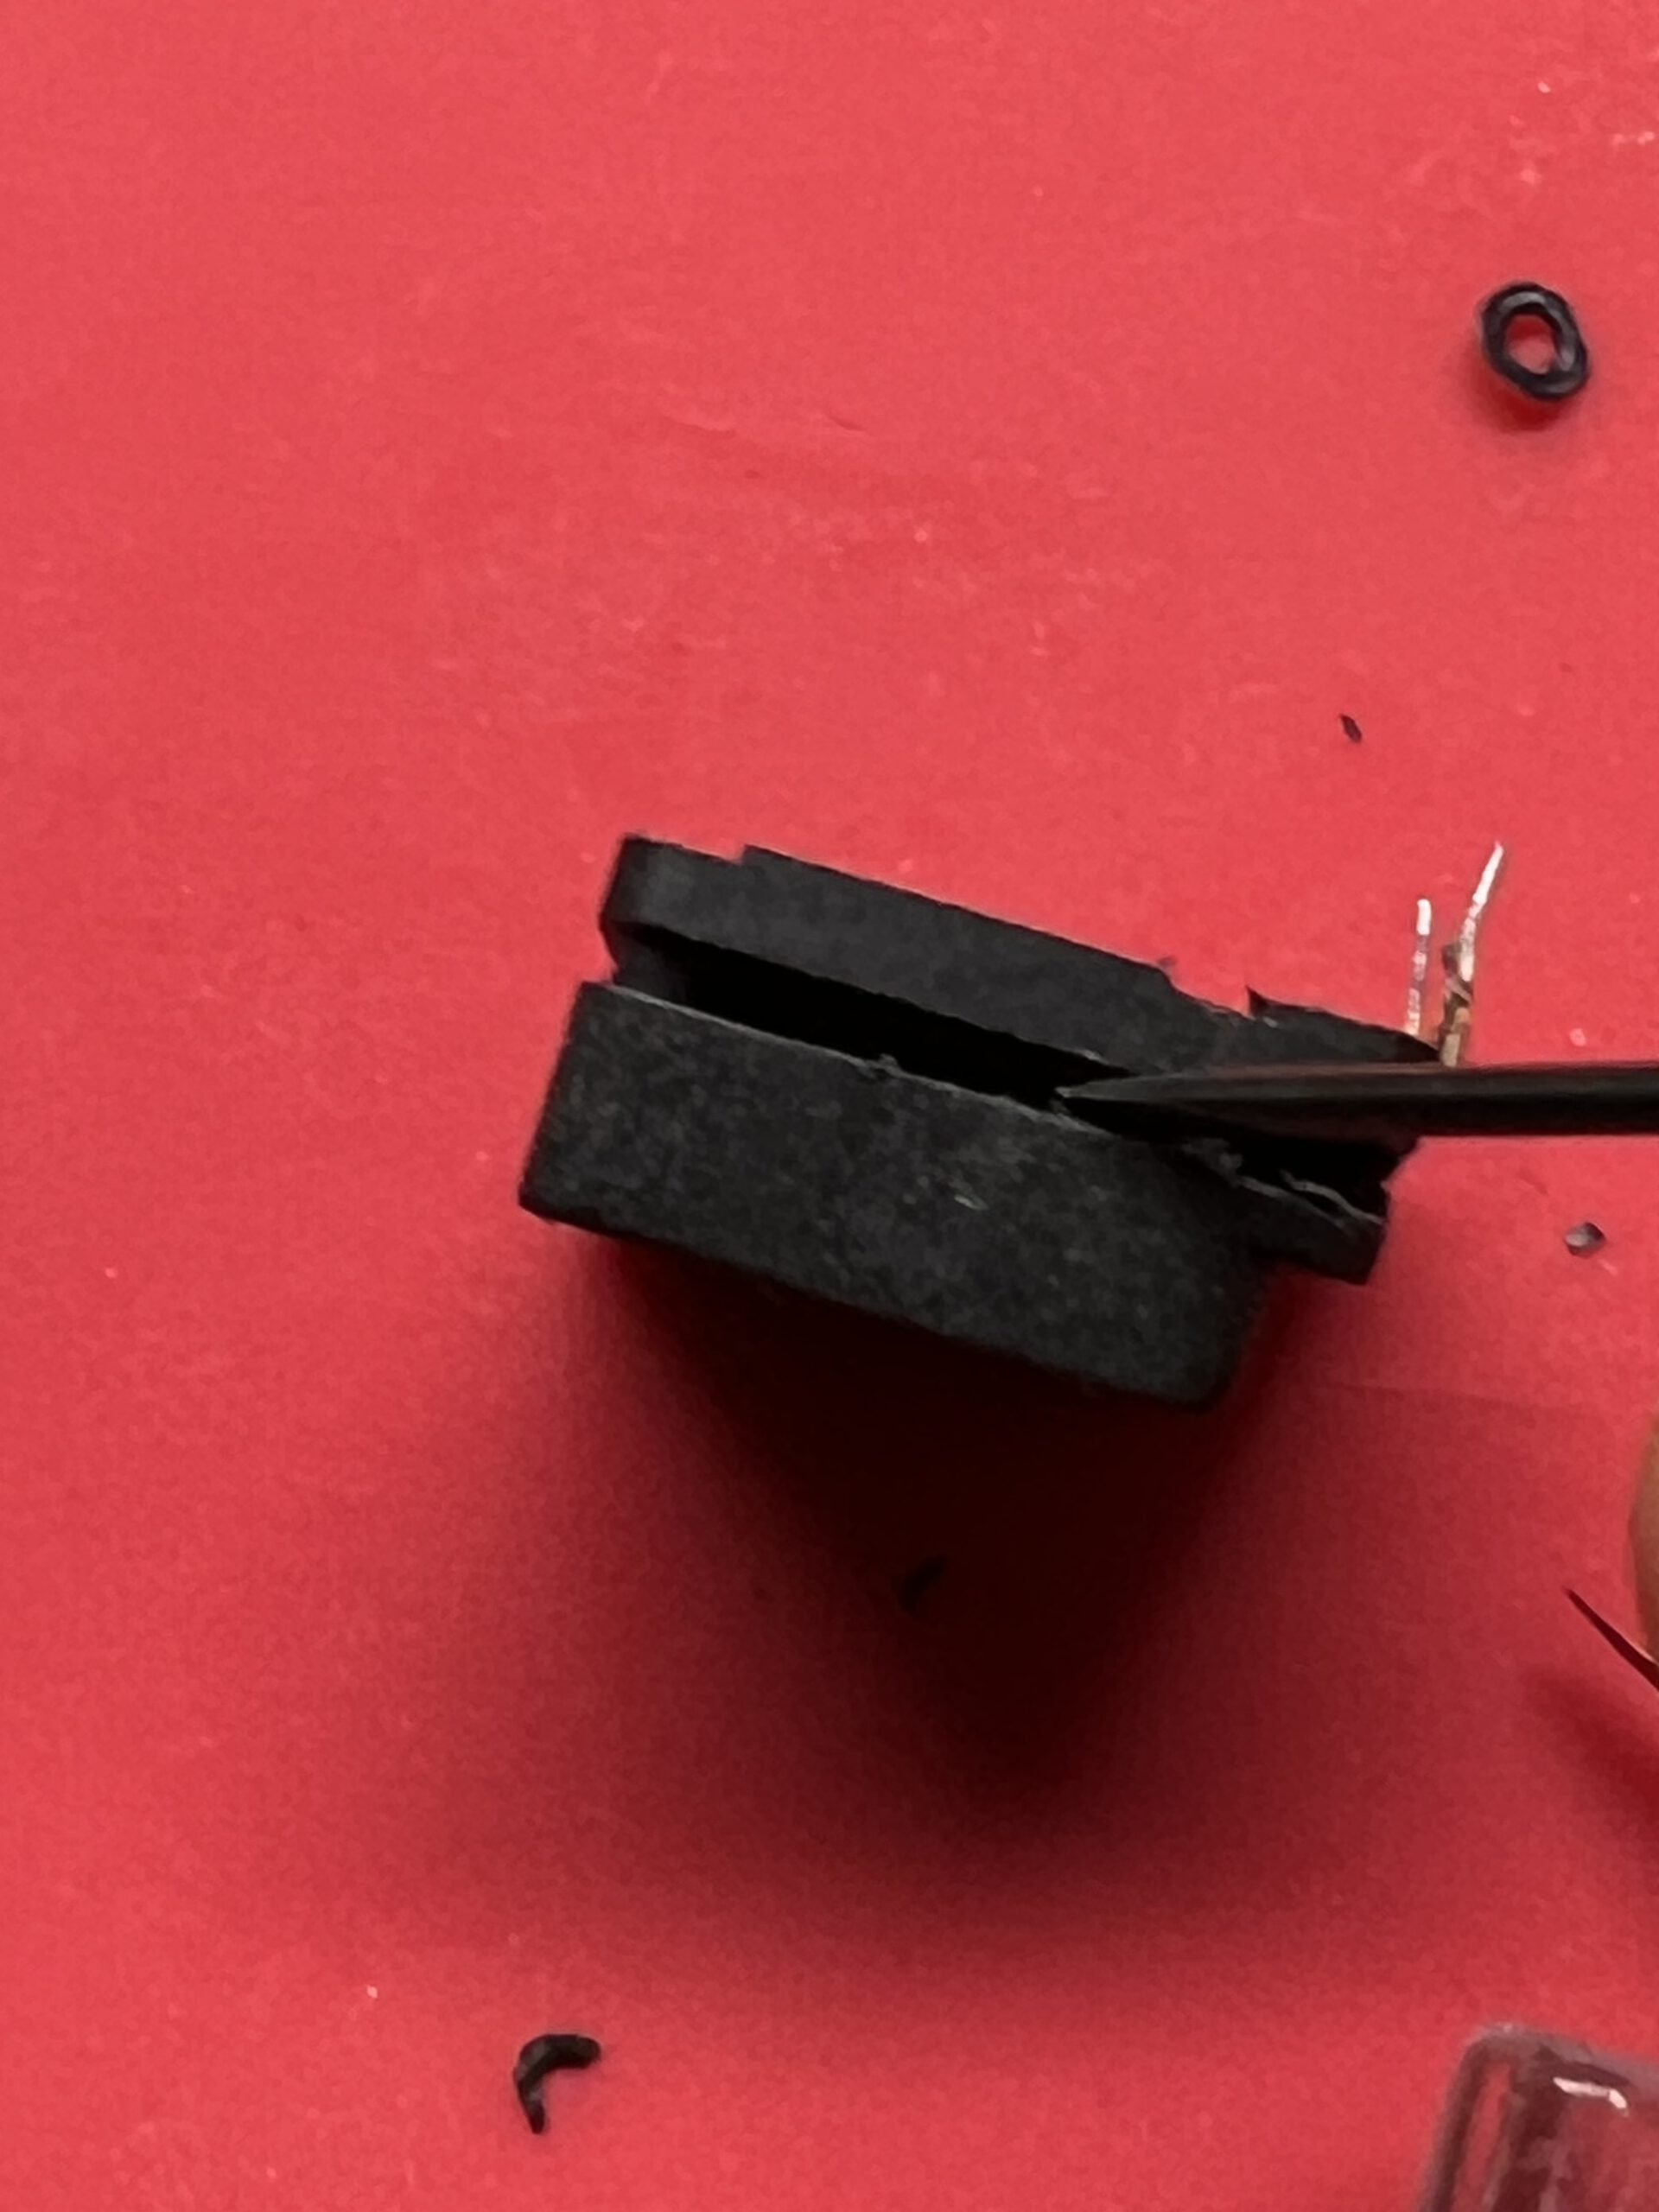
With the potentiometer open, do what one does with open potentiometers – clean the wiper and track with isopropanol or mild alcohol, gently bend the wiper contacts back into shape, and – I am grinding my teeth while writing this – apply a little contact oil, if available. Absorb any excess oil, reassemble the potentiometer, solder it back in place, bend the tabs back, and it’s done.
Reassemble everything – and it works.
Follow-up to the post on the Hacktribe firmware project for the Electribe 2:
Want to have a Hacktribe, but don’t want to install Python? You can use this Notebook – which you can run on a virtual Python environment provided by Google, called Colab. It creates a modified firmware file with Bangcorrupt’s scripts, as well as modified sample and pattern files from the existing samples and patterns on your Electribe Sampler.
There is also a new Python script the notebook uses, but which you can also run locally on your machine: It takes an e2sSample.all sample dump file, and a matching .e2sallpat pattern dump, and adapts them to the HackTribe by moving all samples to User sample space. The patterns are then modified to find the samples in their new locations.
You can find and download the script in my repository here.
In writing the script, I had to document parts of the sample dump file. bangcorrupt did not want to have documentation as part of the main hacktribe repository to be on the safe side of hacking/reengineering regulations, so I created a separate documentation repository. It’s quite empty so far.

That you can change a three-position switch into one with up to eleven positions?
I didn’t. Continue reading
Isn’t it GORGEOUS? Classic Minimoog – less of a control panel, more of an erogenous zone for synth nerds. Tell me you don’t want to feel up these knobs! The pure beauty of a one-of-a-kind electronic instrument. The design and the sounds are still in highest demand more than 50 years after its design – and I was pretty sure I’d never, never even be tempted to buy one.
Let’s be honest: Moogs are ludicrously overpriced, and overhyped. Not a single classic Moog ladder filter sound you couldn’t do just as well with a modern plugin, or almost any modern hardware. Hey, even the R3 – my most underdog synth – can do pretty decent Moog impressions. And if you are with the “Digital-will-never-sound-like-true-analog” esoterics, there is still the option of Neo Old School: Using the old design with the upsides of modern analog technology. Get yourself a Boog, for fuck’s sake. (And a life.)
Still… as we know, it’s all about the workflow – and about that unique combination of how an instrument looks, feels, and sounds. So when I saw a Moog enclosure and front panel on eBay for a couple of Euros, I could not resist and had to buy it.
Suddenly, the Mac did no longer click with me: The trackpad in my MacBook Air M1 (end-2020) no longer clicked, seemed to have jammed, gave no haptic feedback. I could no longer click any objects on the screen; without an external mouse, the laptop was unusable.
It was quite easy to solve that problem; some short notes might help you if you have a similar problem.
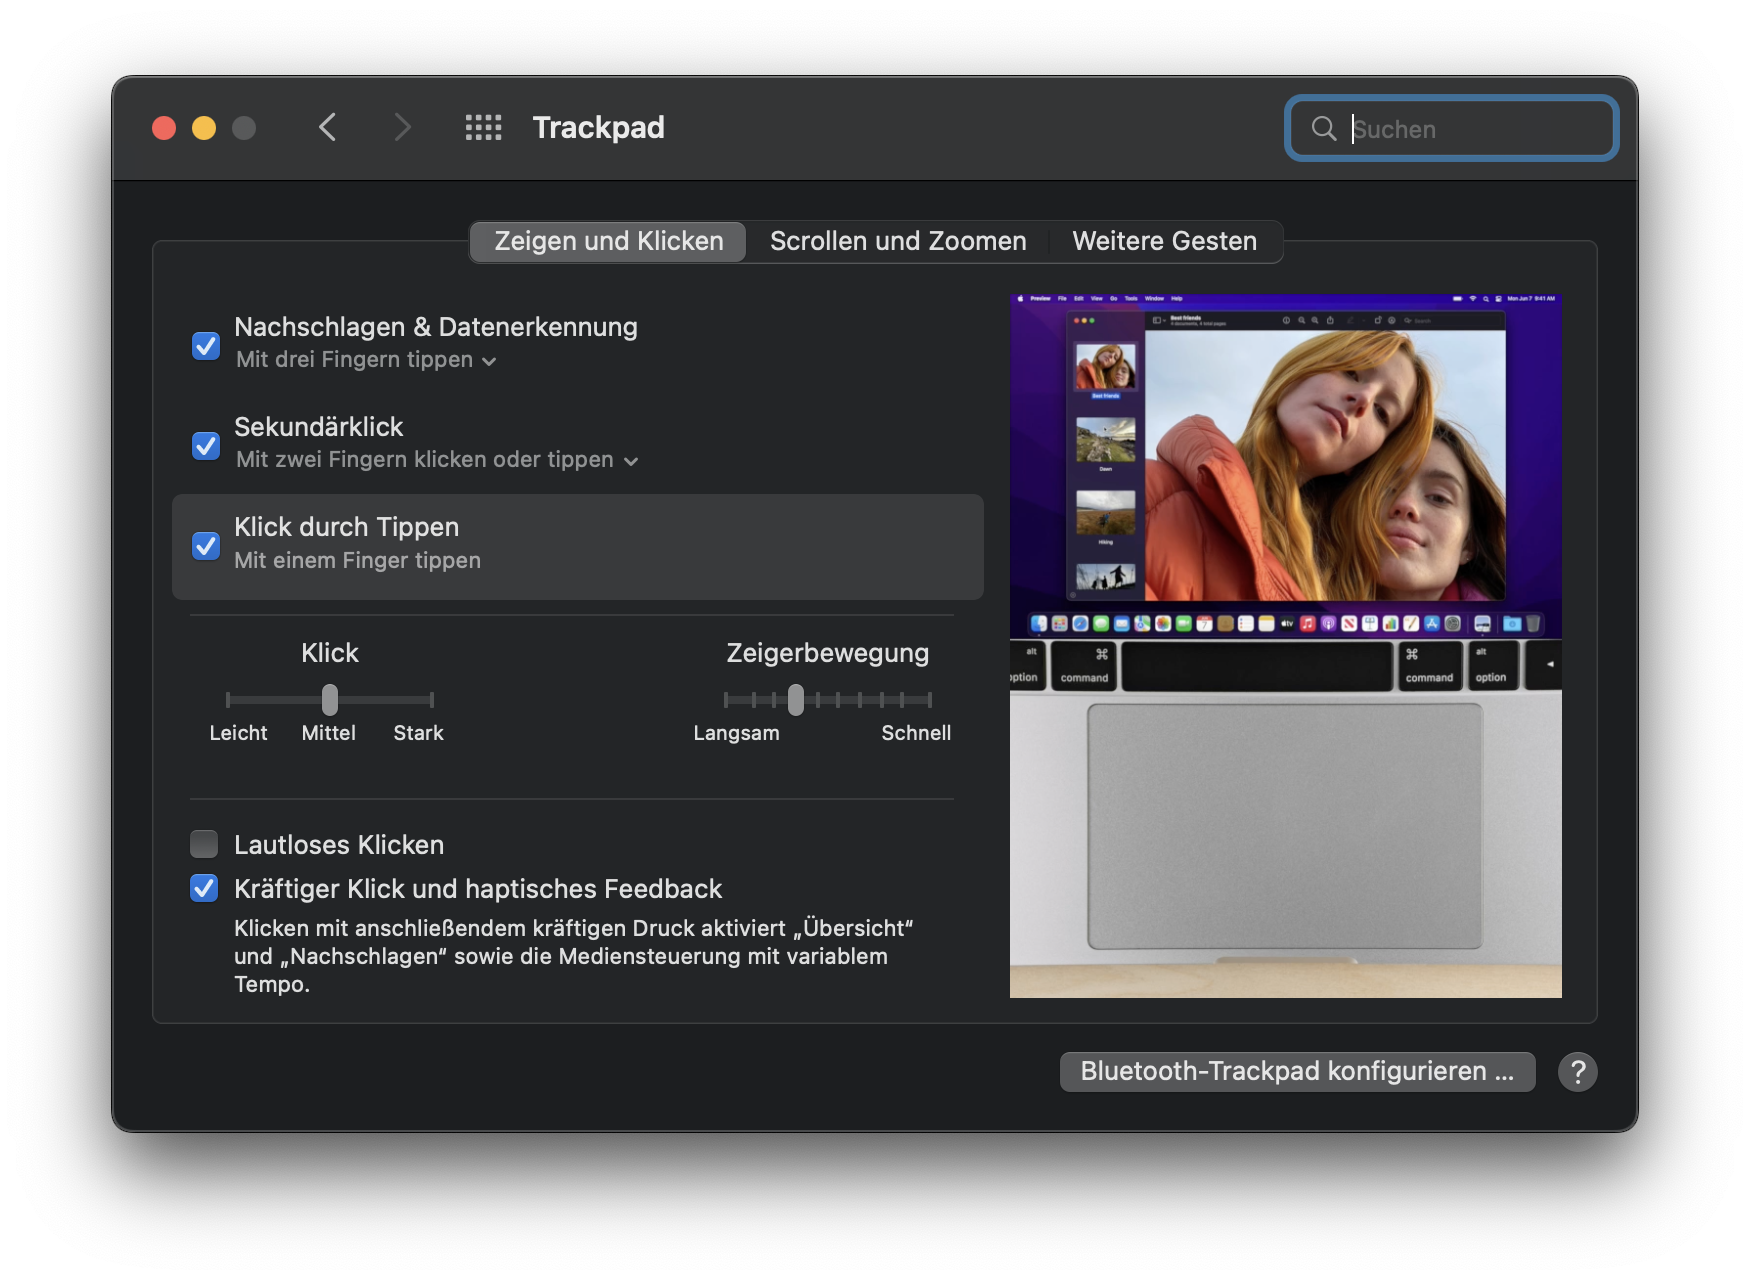
In short: This is what I did to get the trackpad working again
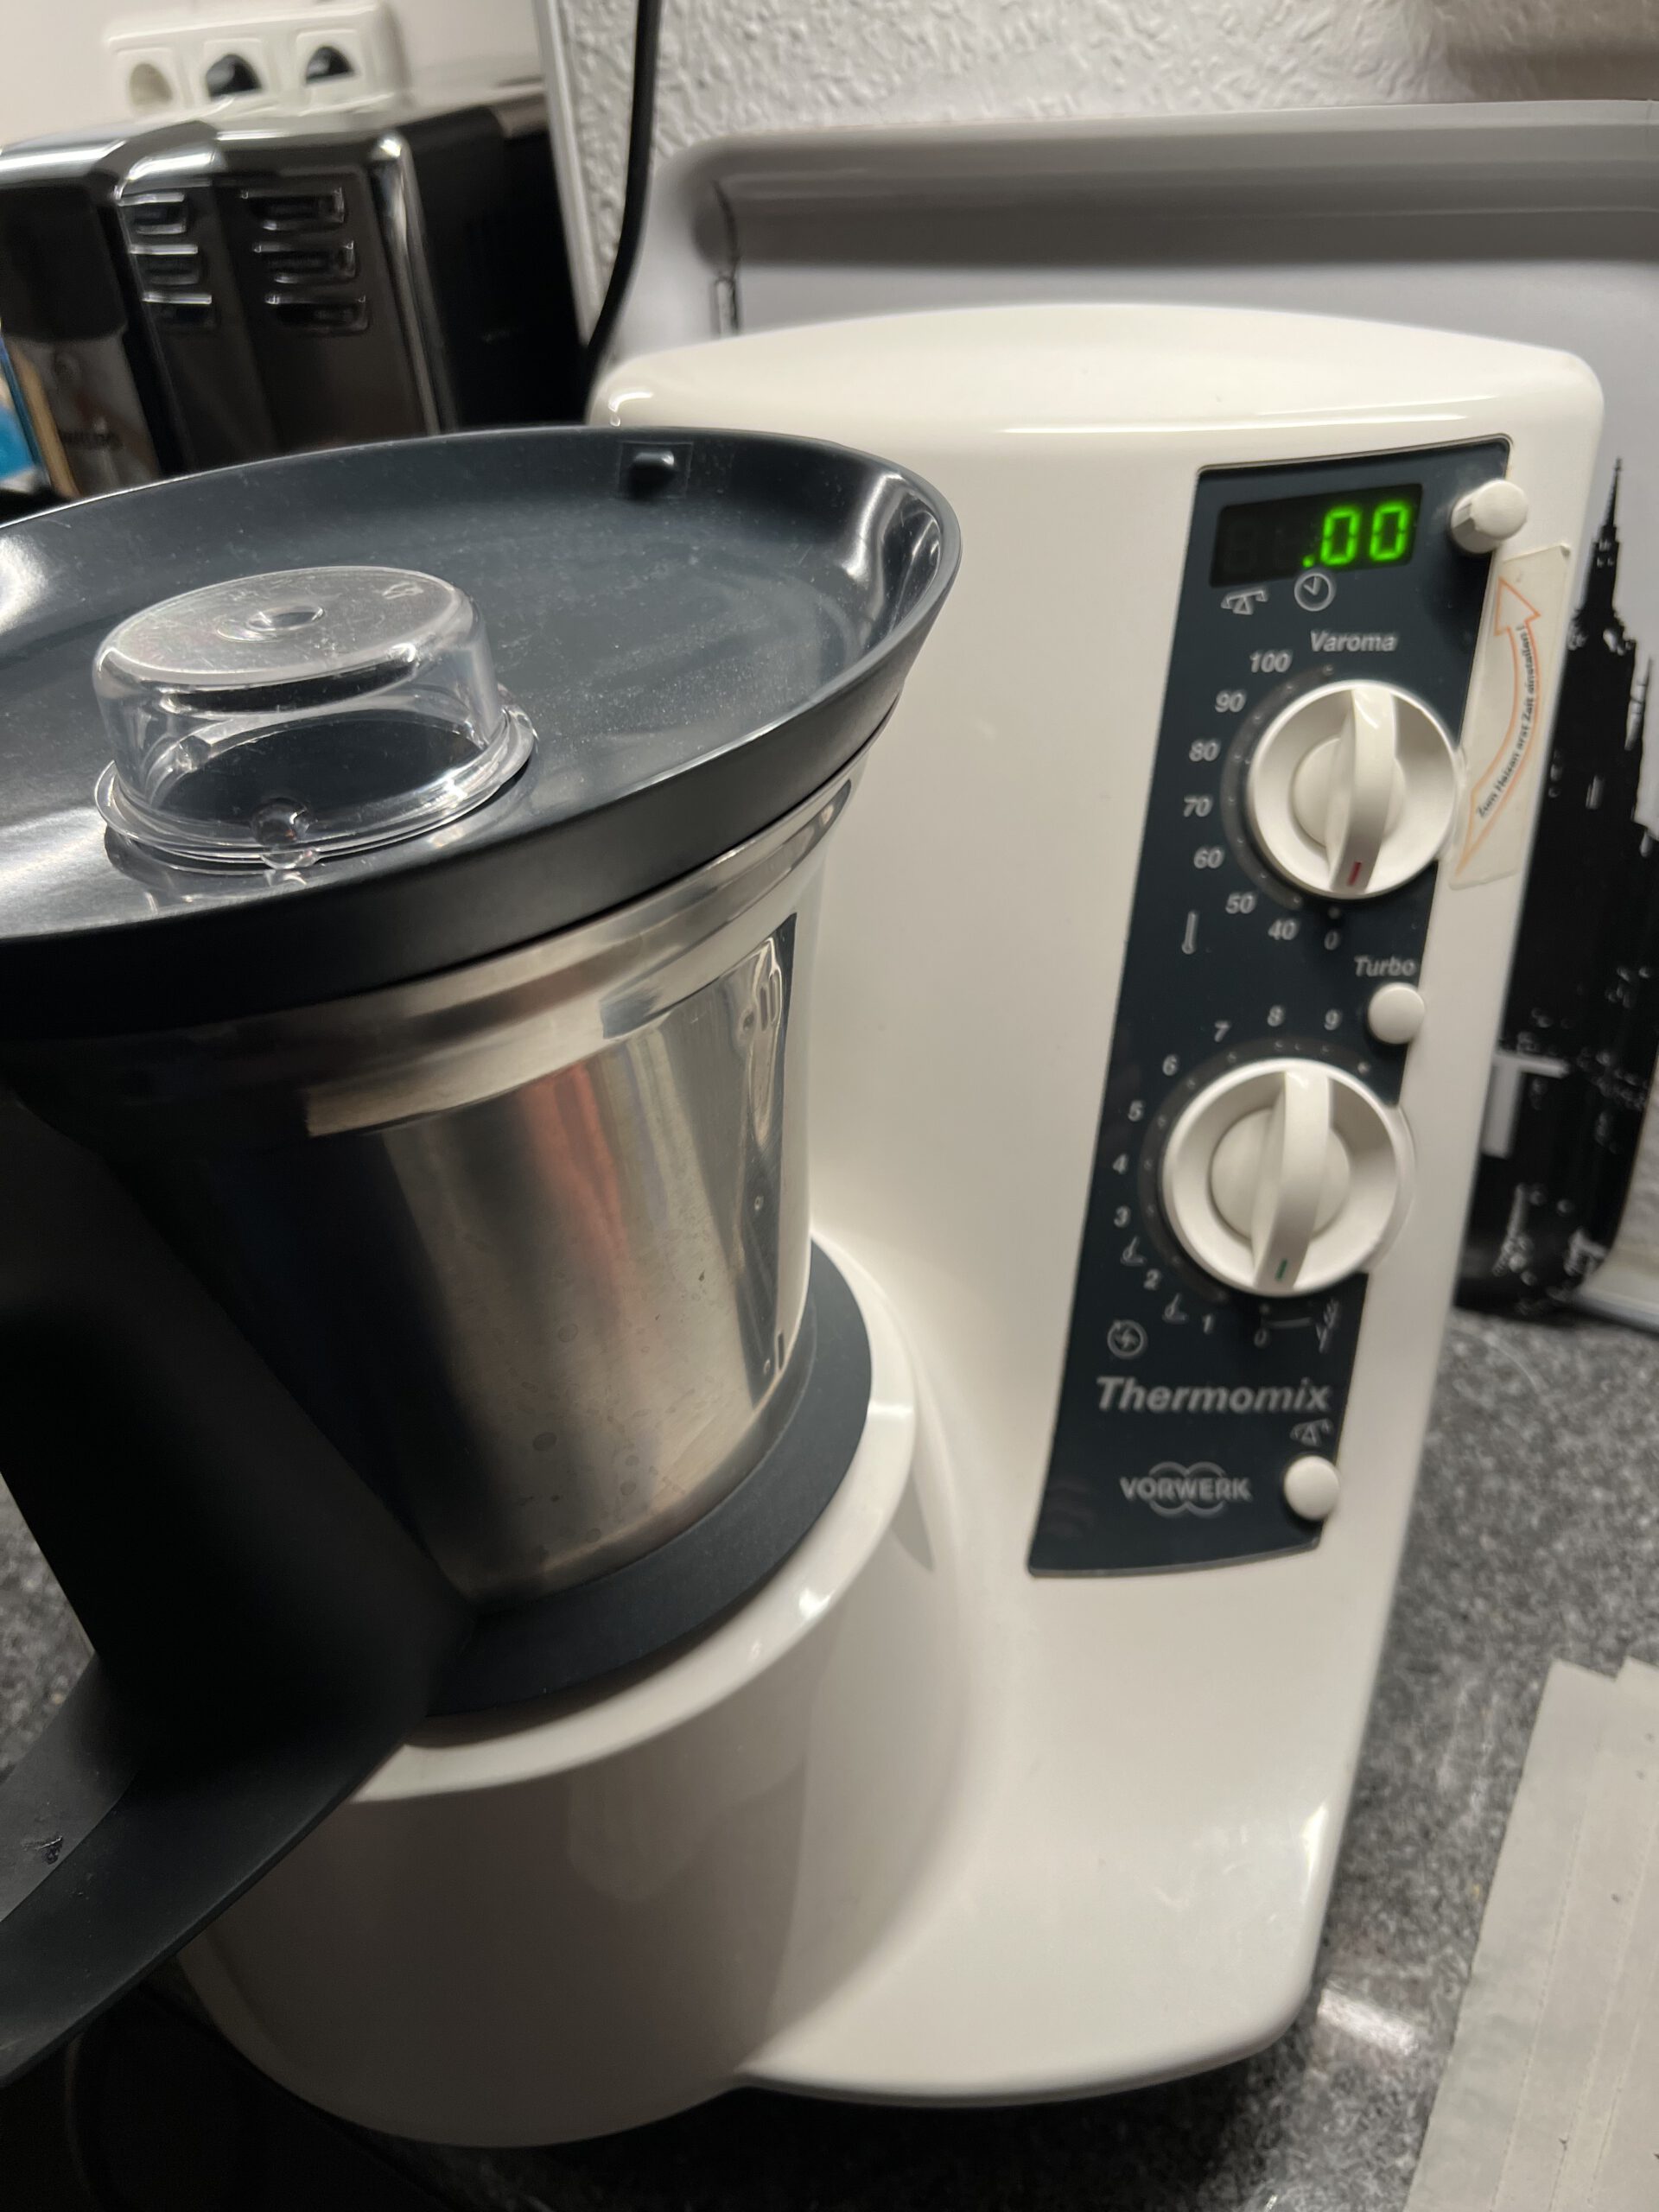
In which I am laying out the reasons for my conviction that the Jura brand coffee machine which I am trying to fix right now is a desaster. German only.