Suddenly, the Mac did no longer click with me: The trackpad in my MacBook Air M1 (end-2020) no longer clicked, seemed to have jammed, gave no haptic feedback. I could no longer click any objects on the screen; without an external mouse, the laptop was unusable.
It was quite easy to solve that problem; some short notes might help you if you have a similar problem.
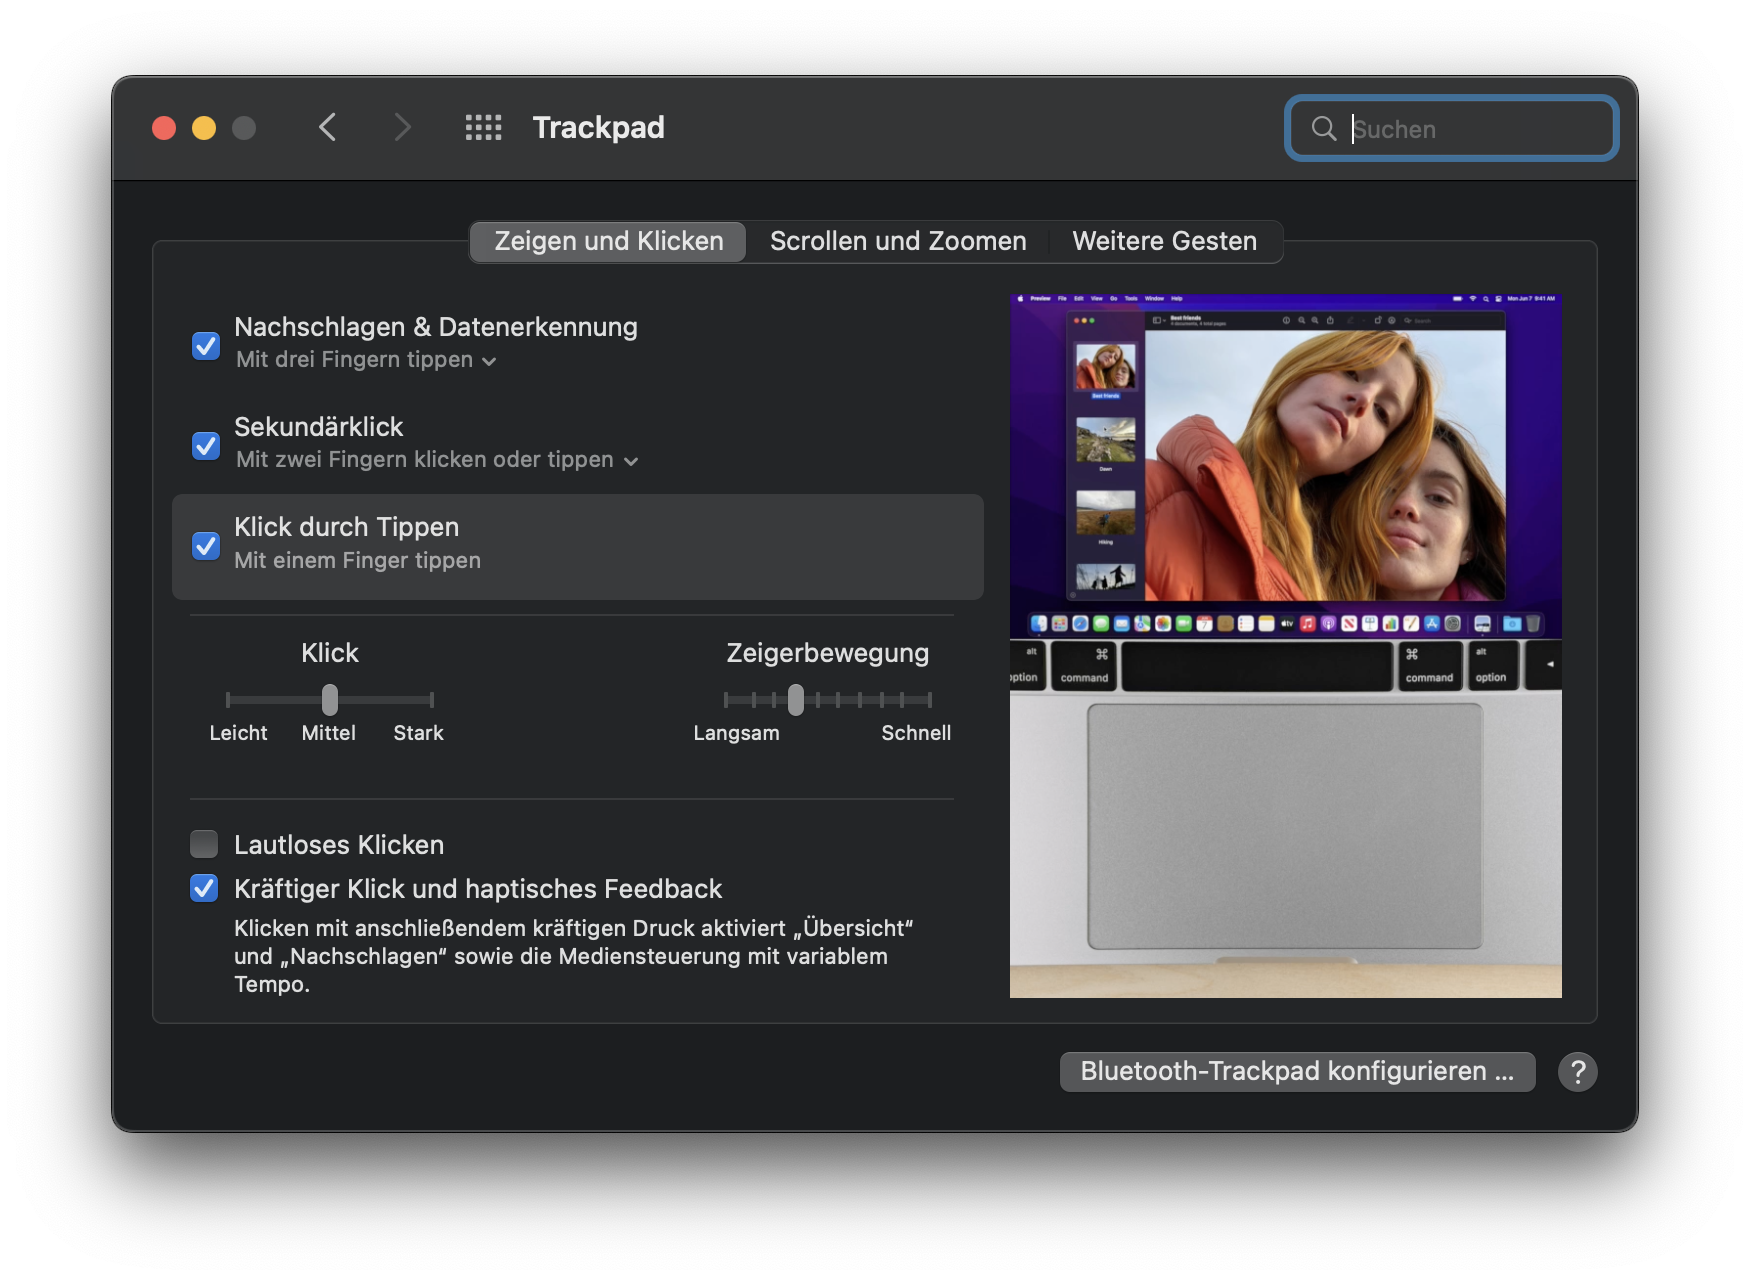
- Fast fix: Activate “Tap to click”. Get a mouse and go to the Trackpad settings and set “Tap to click”. At least you can use the trackpad now with selecting things bei tapping them instead of clicking them.

- It might not be the hardware’s fault. I did not realize it at once, but the click you feel when you click the trackpad is not produced by a mechanical spring but by activen electric components – a couple of small electro magnets producing the haptic feedback. This post by pocket-lint.com does a good job explaining the techonology. This means that it might actually a firmware or OS problem. I read that some people had success temporarily disabling all haptic feedback settings; give it a try.
- It is quite possible to replace the trackpad if necessary. It is not really easy to take a modern Apple device apart, but it is feasible, provided you have the right tools. Remember that Apples patronizing “Genius Bar” technicians might charge you heavily. But: get the tools!
- The right tools for fixing a Macbook Air. You will need them. I had Torx bits for mobile phone screws anyway and bought some more on Amazon. This is what you need:
- a Pentalobe-P5 screwdriver for Apples 5-star-hole housing screws
- a Torx-T4 screwdriver for removing the trackpad cable connector clamp
- a Torx-T5 screwdriver for the trackpad screws
- a magnifying glass
- pincers
- a box with several compartments to keep the 6 different types of screws apart and safe
- good workplace conditions – proper lighting, enough space, a workplace mat
- Taking the Air apart, step by step. ifixit does a brilliant job at explaining and showing every step – have the tutorial on a second screen next to your workplace so that you can look at every step when you need it. Pro tip: Read every step thouroughly before you do it – I didn’t at one point and missed that there are distance shims on top of the trackpad which drop to the floor when you take it out. Some rather undignified crawling ensued.
- Apple supports your Right to Repair. Seriously. A little bit. „Right-to-repair“ laws have forced Apple to move. If you insist on trying to repair your iDevice, Apple gives you information, tools, and parts – provided that the iDevice is rather recent, and that you live in the US. But to be fair: You can find the comprehensive Macbook Air Servide Manual (PDF) for download. You may also order a replacement trackpad for about $100 in the U.S. Apple’s Service Support draws some criticism for its pricing and for its rather complicated procedures, but it is a start.
In short: This is what I did to get the trackpad working again
- Bought the tools.
- Opened the Mac and detached the battery connector. My advice: do that, then reconnect and check whether the trackpad is already working again.
- Took out the trackpad and gave it some menacing looks, carefully poked at the metal strips, and cleaned what seemed worth cleaning.
- Cleaned the trackpad bay in the housing to remove any object that might cause problems
- Reinserted the trackpad. The service manual states that a new trackpad comes with shims in different thicknesses, so I measured the thickness of those I had and found that some were .1mm and some were .15. I inserted the .15mm ones to the front, and the .1mm ones up next to the keyboard.
- Put everything back together. The critical moments: Reconnecting the battery connector with minmal force. Reconnecting the trackpad’s flat cable to the ZIP connector: open, pull out flat cable, reinsert, close locking mechanism. Reconnect the PCB connector plug for the trackpad next to the battery connector.
- Triple-checked the connectors, then attached Macbook to power supply and switched it on. Worked.

