Suddenly, the Mac did no longer click with me: The trackpad in my MacBook Air M1 (end-2020) no longer clicked, seemed to have jammed, gave no haptic feedback. I could no longer click any objects on the screen; without an external mouse, the laptop was unusable.
It was quite easy to solve that problem; some short notes might help you if you have a similar problem.
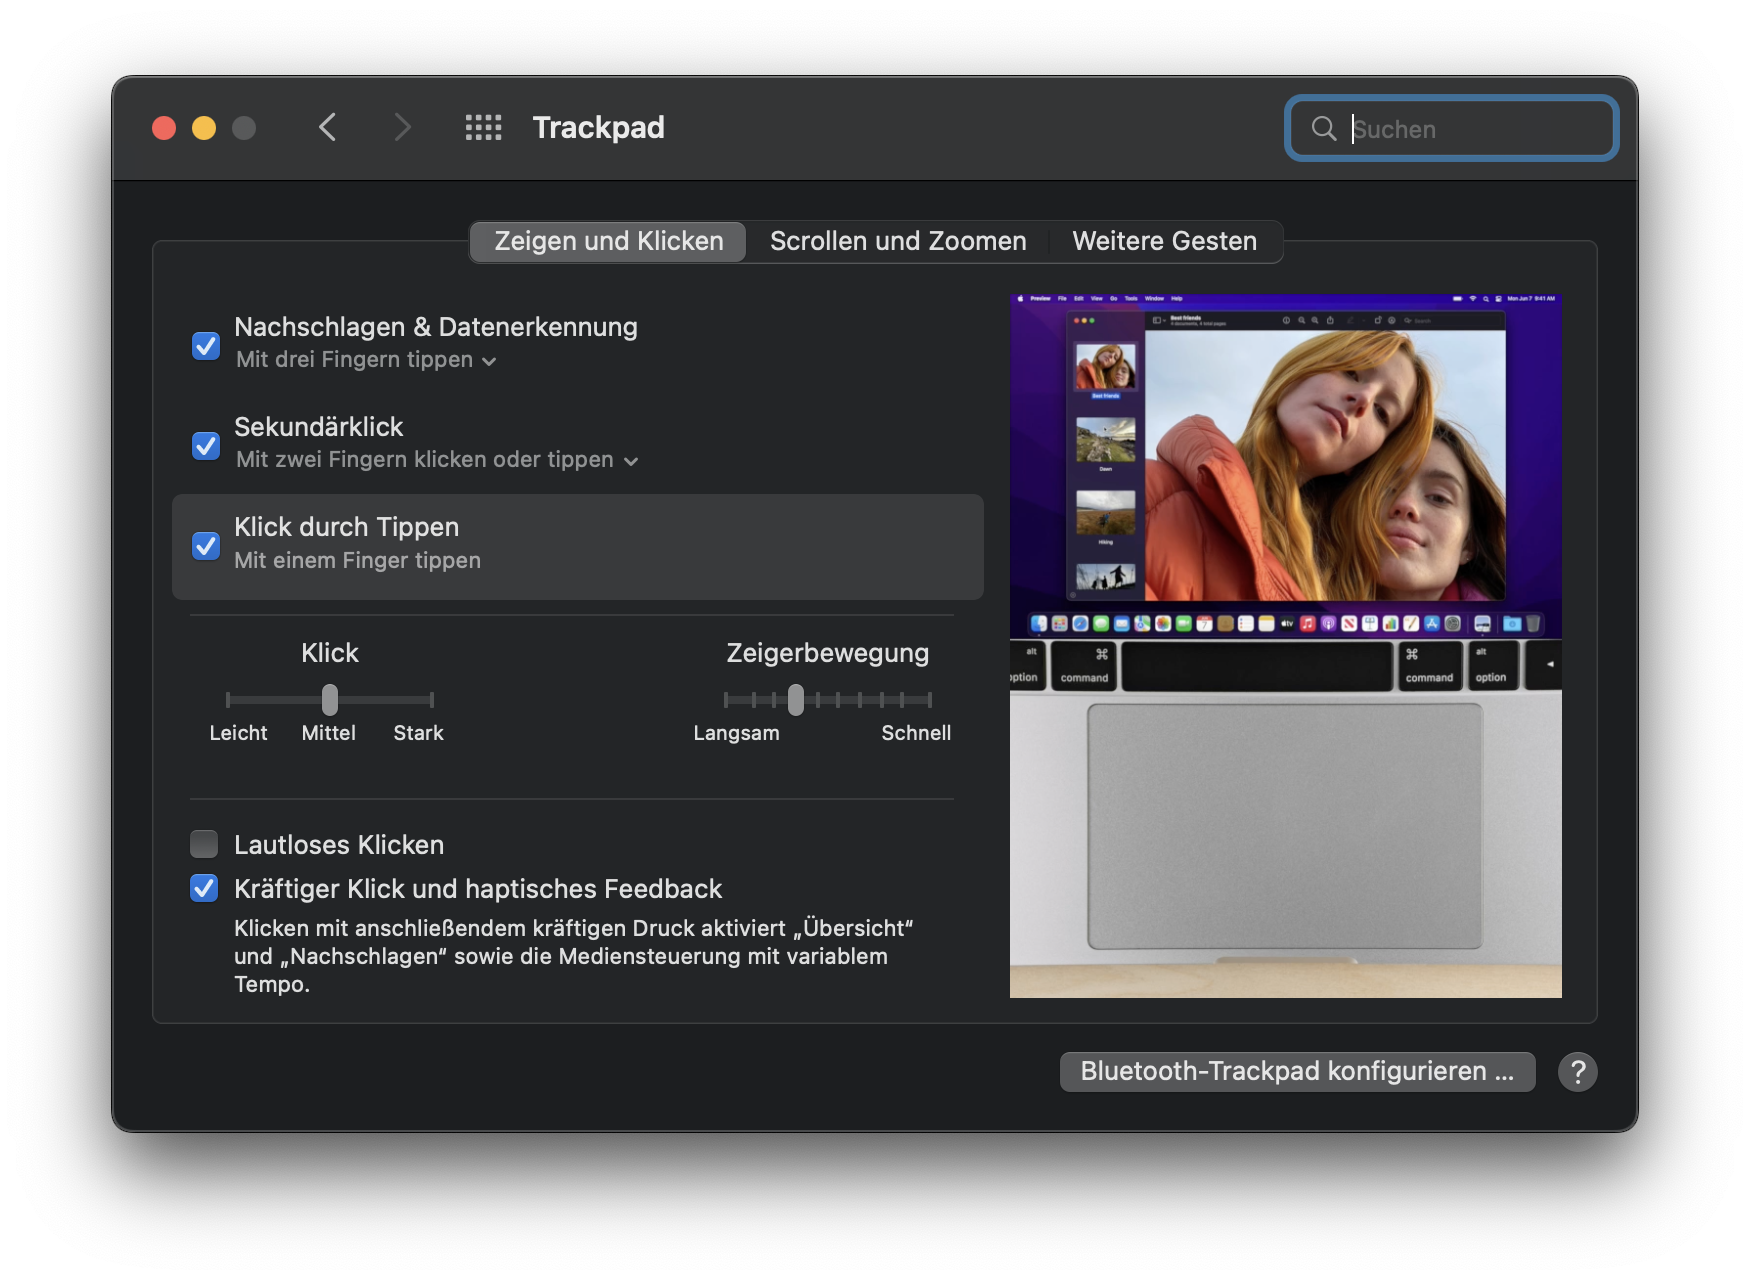
- Fast fix: Activate “Tap to click”. Get a mouse and go to the Trackpad settings and set “Tap to click”. At least you can use the trackpad now with selecting things bei tapping them instead of clicking them.
- It might not be the hardware’s fault. I did not realize it at once, but the click you feel when you click the trackpad is not produced by a mechanical spring but by activen electric components – a couple of small electro magnets producing the haptic feedback. This post by pocket-lint.com does a good job explaining the techonology. This means that it might actually a firmware or OS problem. I read that some people had success temporarily disabling all haptic feedback settings; give it a try.
- It is quite possible to replace the trackpad if necessary. It is not really easy to take a modern Apple device apart, but it is feasible, provided you have the right tools. Remember that Apples patronizing “Genius Bar” technicians might charge you heavily. But: get the tools!
- The right tools for fixing a Macbook Air. You will need them. I had Torx bits for mobile phone screws anyway and bought some more on Amazon. This is what you need:
- a Pentalobe-P5 screwdriver for Apples 5-star-hole housing screws
- a Torx-T4 screwdriver for removing the trackpad cable connector clamp
- a Torx-T5 screwdriver for the trackpad screws
- a magnifying glass
- pincers
- a box with several compartments to keep the 6 different types of screws apart and safe
- good workplace conditions – proper lighting, enough space, a workplace mat
- Taking the Air apart, step by step. ifixit does a brilliant job at explaining and showing every step – have the tutorial on a second screen next to your workplace so that you can look at every step when you need it. Pro tip: Read every step thouroughly before you do it – I didn’t at one point and missed that there are distance shims on top of the trackpad which drop to the floor when you take it out. Some rather undignified crawling ensued.
- Apple supports your Right to Repair. Seriously. A little bit. „Right-to-repair“ laws have forced Apple to move. If you insist on trying to repair your iDevice, Apple gives you information, tools, and parts – provided that the iDevice is rather recent, and that you live in the US. But to be fair: You can find the comprehensive Macbook Air Servide Manual (PDF) for download. You may also order a replacement trackpad for about $100 in the U.S. Apple’s Service Support draws some criticism for its pricing and for its rather complicated procedures, but it is a start.
In short: This is what I did to get the trackpad working again
- Bought the tools.
- Opened the Mac and detached the battery connector. My advice: do that, then reconnect and check whether the trackpad is already working again.
- Took out the trackpad and gave it some menacing looks, carefully poked at the metal strips, and cleaned what seemed worth cleaning.
- Cleaned the trackpad bay in the housing to remove any object that might cause problems
- Reinserted the trackpad. The service manual states that a new trackpad comes with shims in different thicknesses, so I measured the thickness of those I had and found that some were .1mm and some were .15. I inserted the .15mm ones to the front, and the .1mm ones up next to the keyboard.
- Put everything back together. The critical moments: Reconnecting the battery connector with minmal force. Reconnecting the trackpad’s flat cable to the ZIP connector: open, pull out flat cable, reinsert, close locking mechanism. Reconnect the PCB connector plug for the trackpad next to the battery connector.
- Triple-checked the connectors, then attached Macbook to power supply and switched it on. Worked.
Hallo
Wie kann ich denn den Haken setzen wenn das trackpad ja nicht mehr funktioniert???
Ich komm zwar mit dem Zeiger dort hin, kann es ja aber nicht anklicken….
Danke für einen Rat
Karl
Kann man nicht mit Tab und Pfeiltasten und… (versuch…) Okay, kann man nicht. Also, was tun?
Ehrliche Antwort? Ich habe für diesen einen Klick eine externe USB-Maus verwendet. :)
Bei mir hat es gereicht, dass ich einmal mit der externen Maus geklickt habe.
Freut mich! Bei mir war’s wie gesagt ein wenig umständlicher :)
Meeeega herzlichen Dank für den super Tipp zur Soforthilfe! Seit zwei Jahre schleppe ich eine externe Maus mit mir rum, bis ich heute, dank dir, den Haken bei Tippen gesetzt habe. Bin geflasht! Und krass dankbar.