An Italian beauty, fallen on hard times – starting her career as a budget singer, forced out of business, living in a basement for more than a dozen years – and come to my house by accident. Now I am trying to get her back in shape – and to make her voice fuller than it has ever been. Her full name is JEN SX-1000 Synthetone, but she is affectionately known as Jenny.

Jenny is an all-analog monosynth with a single oscillator, noise source, single LFO, but two envelope generators, simple but capable of quite beautiful PWM sounds. Synth guru Gordon Reid sort of likes her. She is constructed around an analog base oscillator and a custom logic keyboard scan/frequency divider circuit, the rest is straightforward discrete circuitry. Yet, when you open her up,

there is hardly anything inside. Apart from the keyboard scanner/frequency generator sitting under the keyboard (which has been removed for this shot), the four functional blocks are sitting directly on four single-sided pcbs soldered to the front side pots – VCO and waveshaper, VCA and envelope 1, filter and LFO and envelope 2, and noise.
The State She’s In
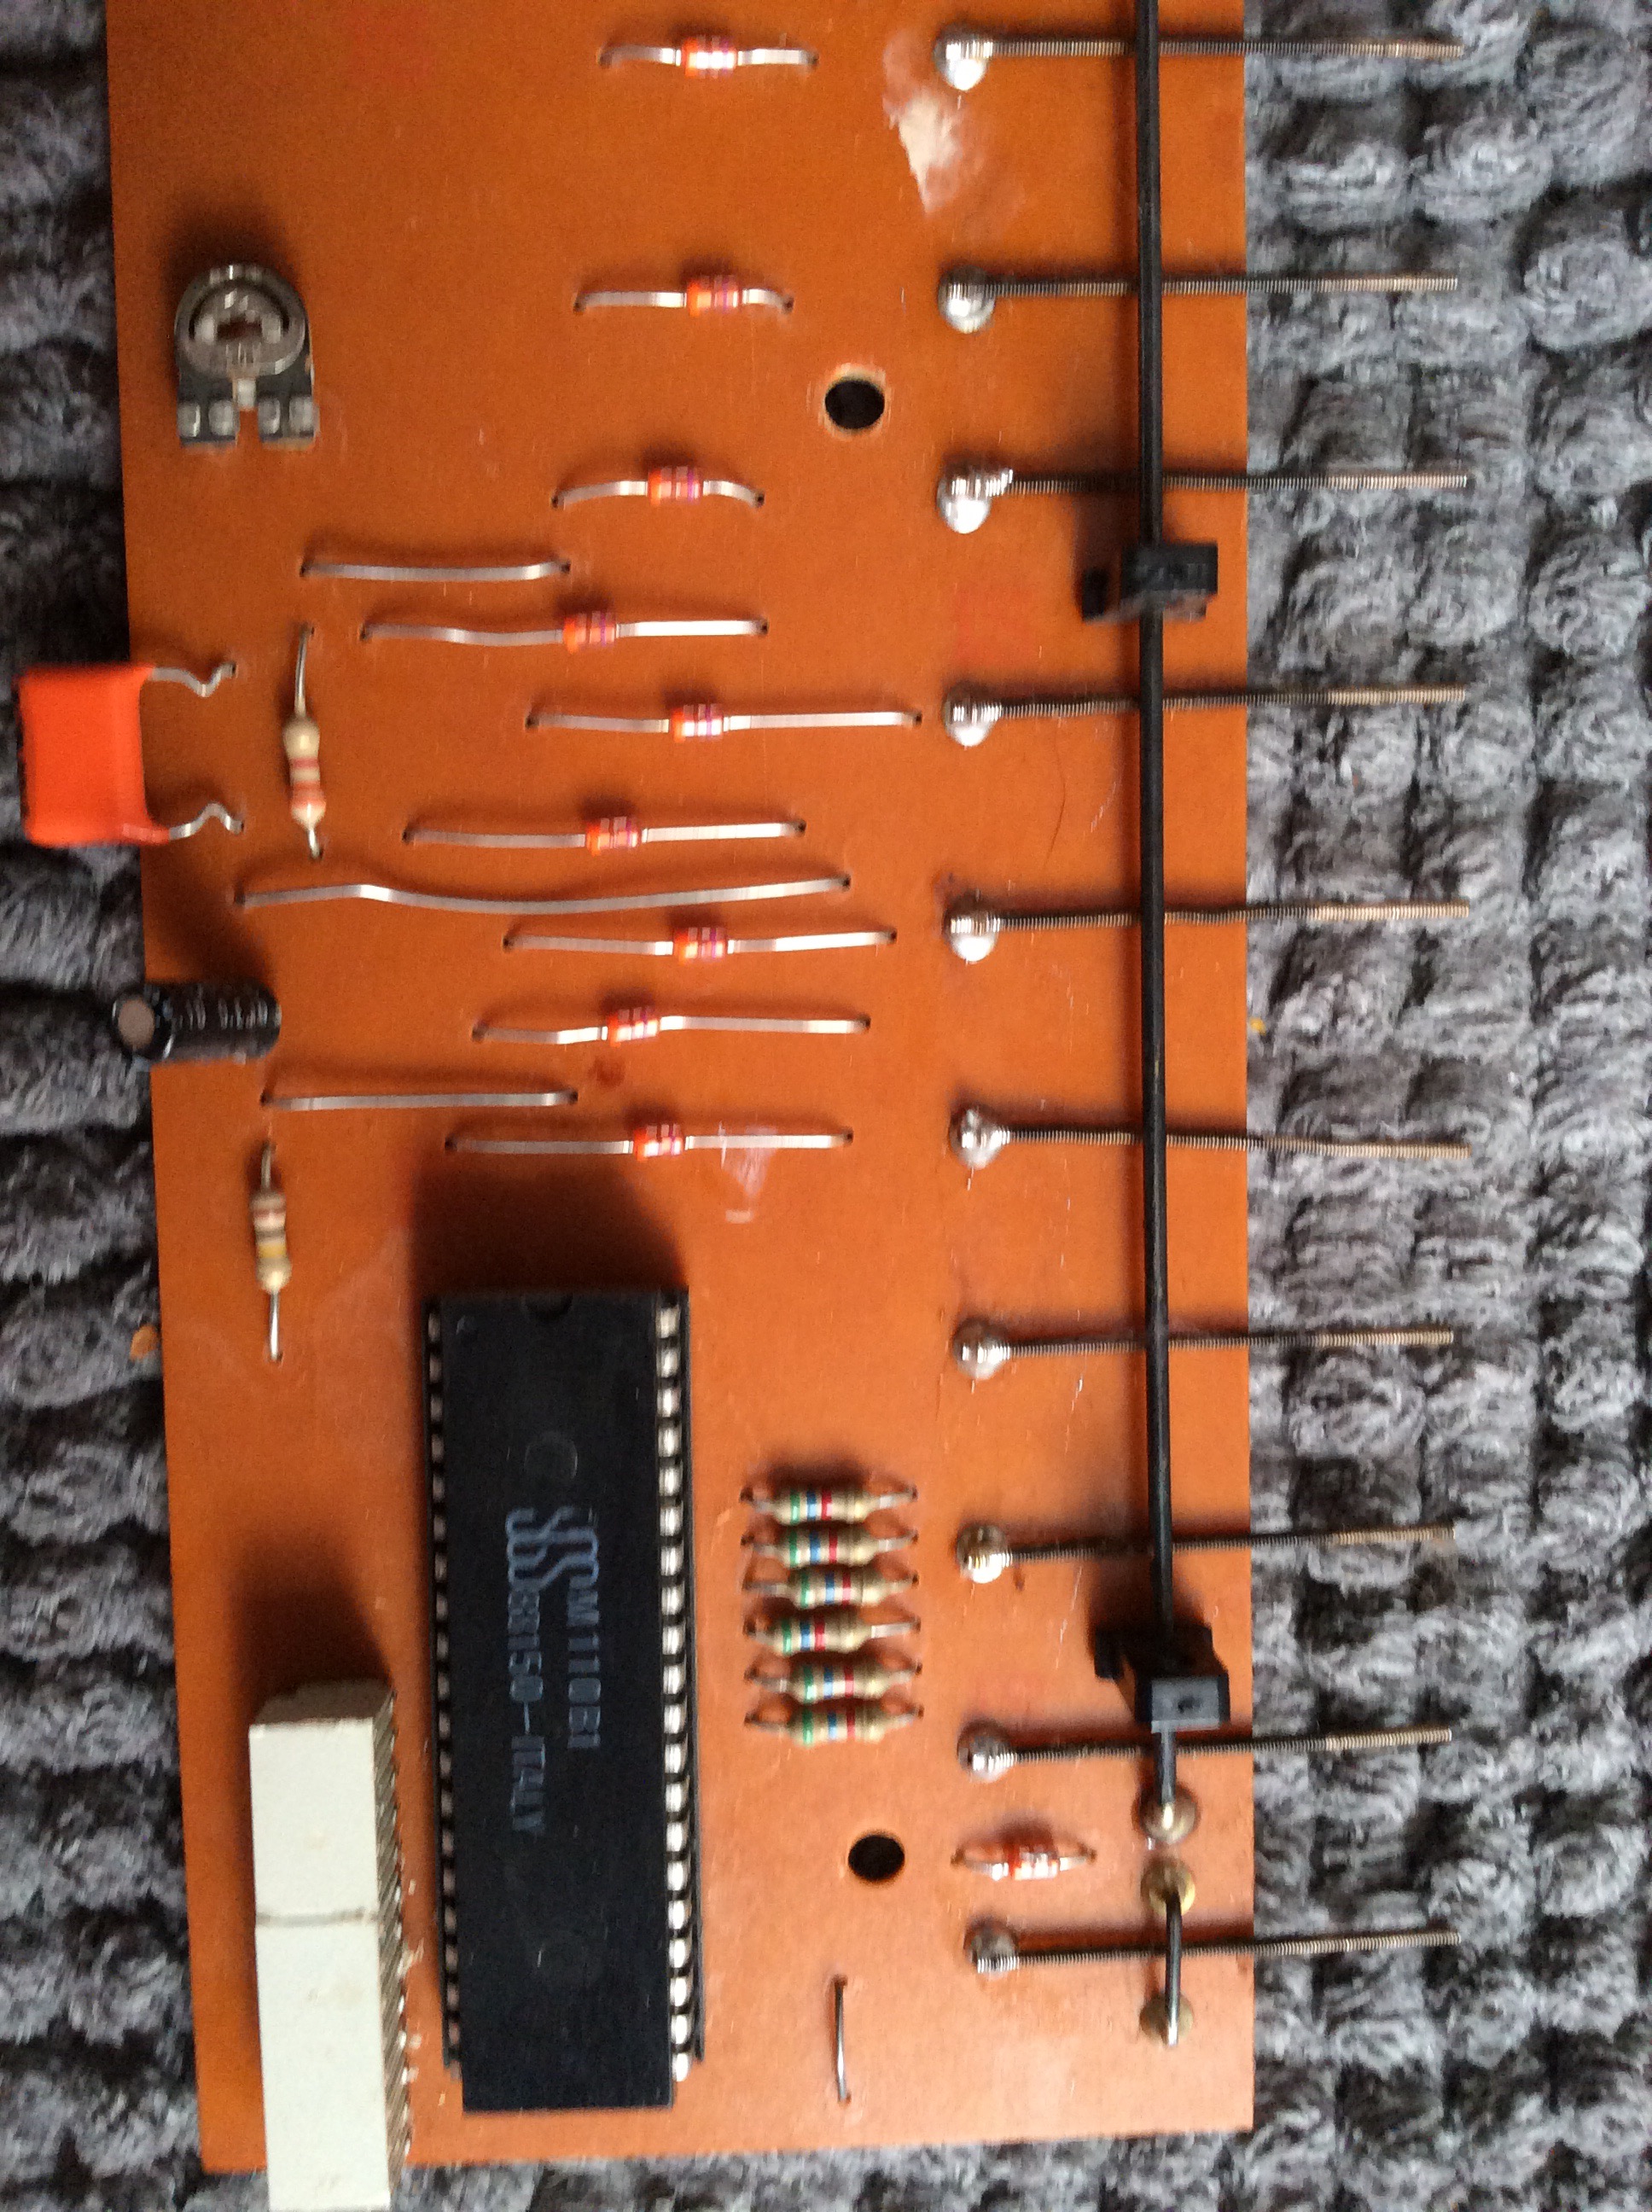
Part of the keyboard PCB before cleaning – the M110 custom chip responsible for key scanning and frequency division is on the left, and the black stuff is indeed supposed to make contact.
When she arrived, Jenny was in no state for music. Her last owner had robbed her of most screws, so she was literally coming apart, presumably having become unstable long before. A first look confirmed that the most urgent problem seemed to be failing contacts.
This is not the way silver contacts are supposed to look. Look at the contact springs, the horizontal little black worms under the equally black contact rail: The black stuff is silver oxide, and it turned out to be all but impossible to clean it away mechanically. The springs are supposed to close the synthesizer’s circuit when a key is pressed, so good cleaning is mandatory.
Don’t use Kontakt on contacts!
The standard answer of German musicians to the problem of failing contacts is: “Kontaktspray.” Kontakt-60 and Kontakt-61 are powerful solvents that are supposed to wash the oxides away; yet applying Kontakt spray is often a bad idea. To explain why, let me share some words of wisdom by my father, who is an experienced engineer and circuitry sleuth. He says that (a) whenever well-designed electronic circuitry fails, it’s almost always due to faulty switches, plugs, cable terminals, IC sockets, potentiometer sliders, or other types of contacts, so diligence pays off. He also maintains (b) that while cleaning contacts is a good idea, solvents usually postpone rather than solve the problem. Spraying Kontakt spray into a switch, for example, dissolves the oxides but does not remove them; once the solvent has dried away, the contact is covered with oxide wastes lumped together by solvent residue, and they are getting harder and harder to remove.
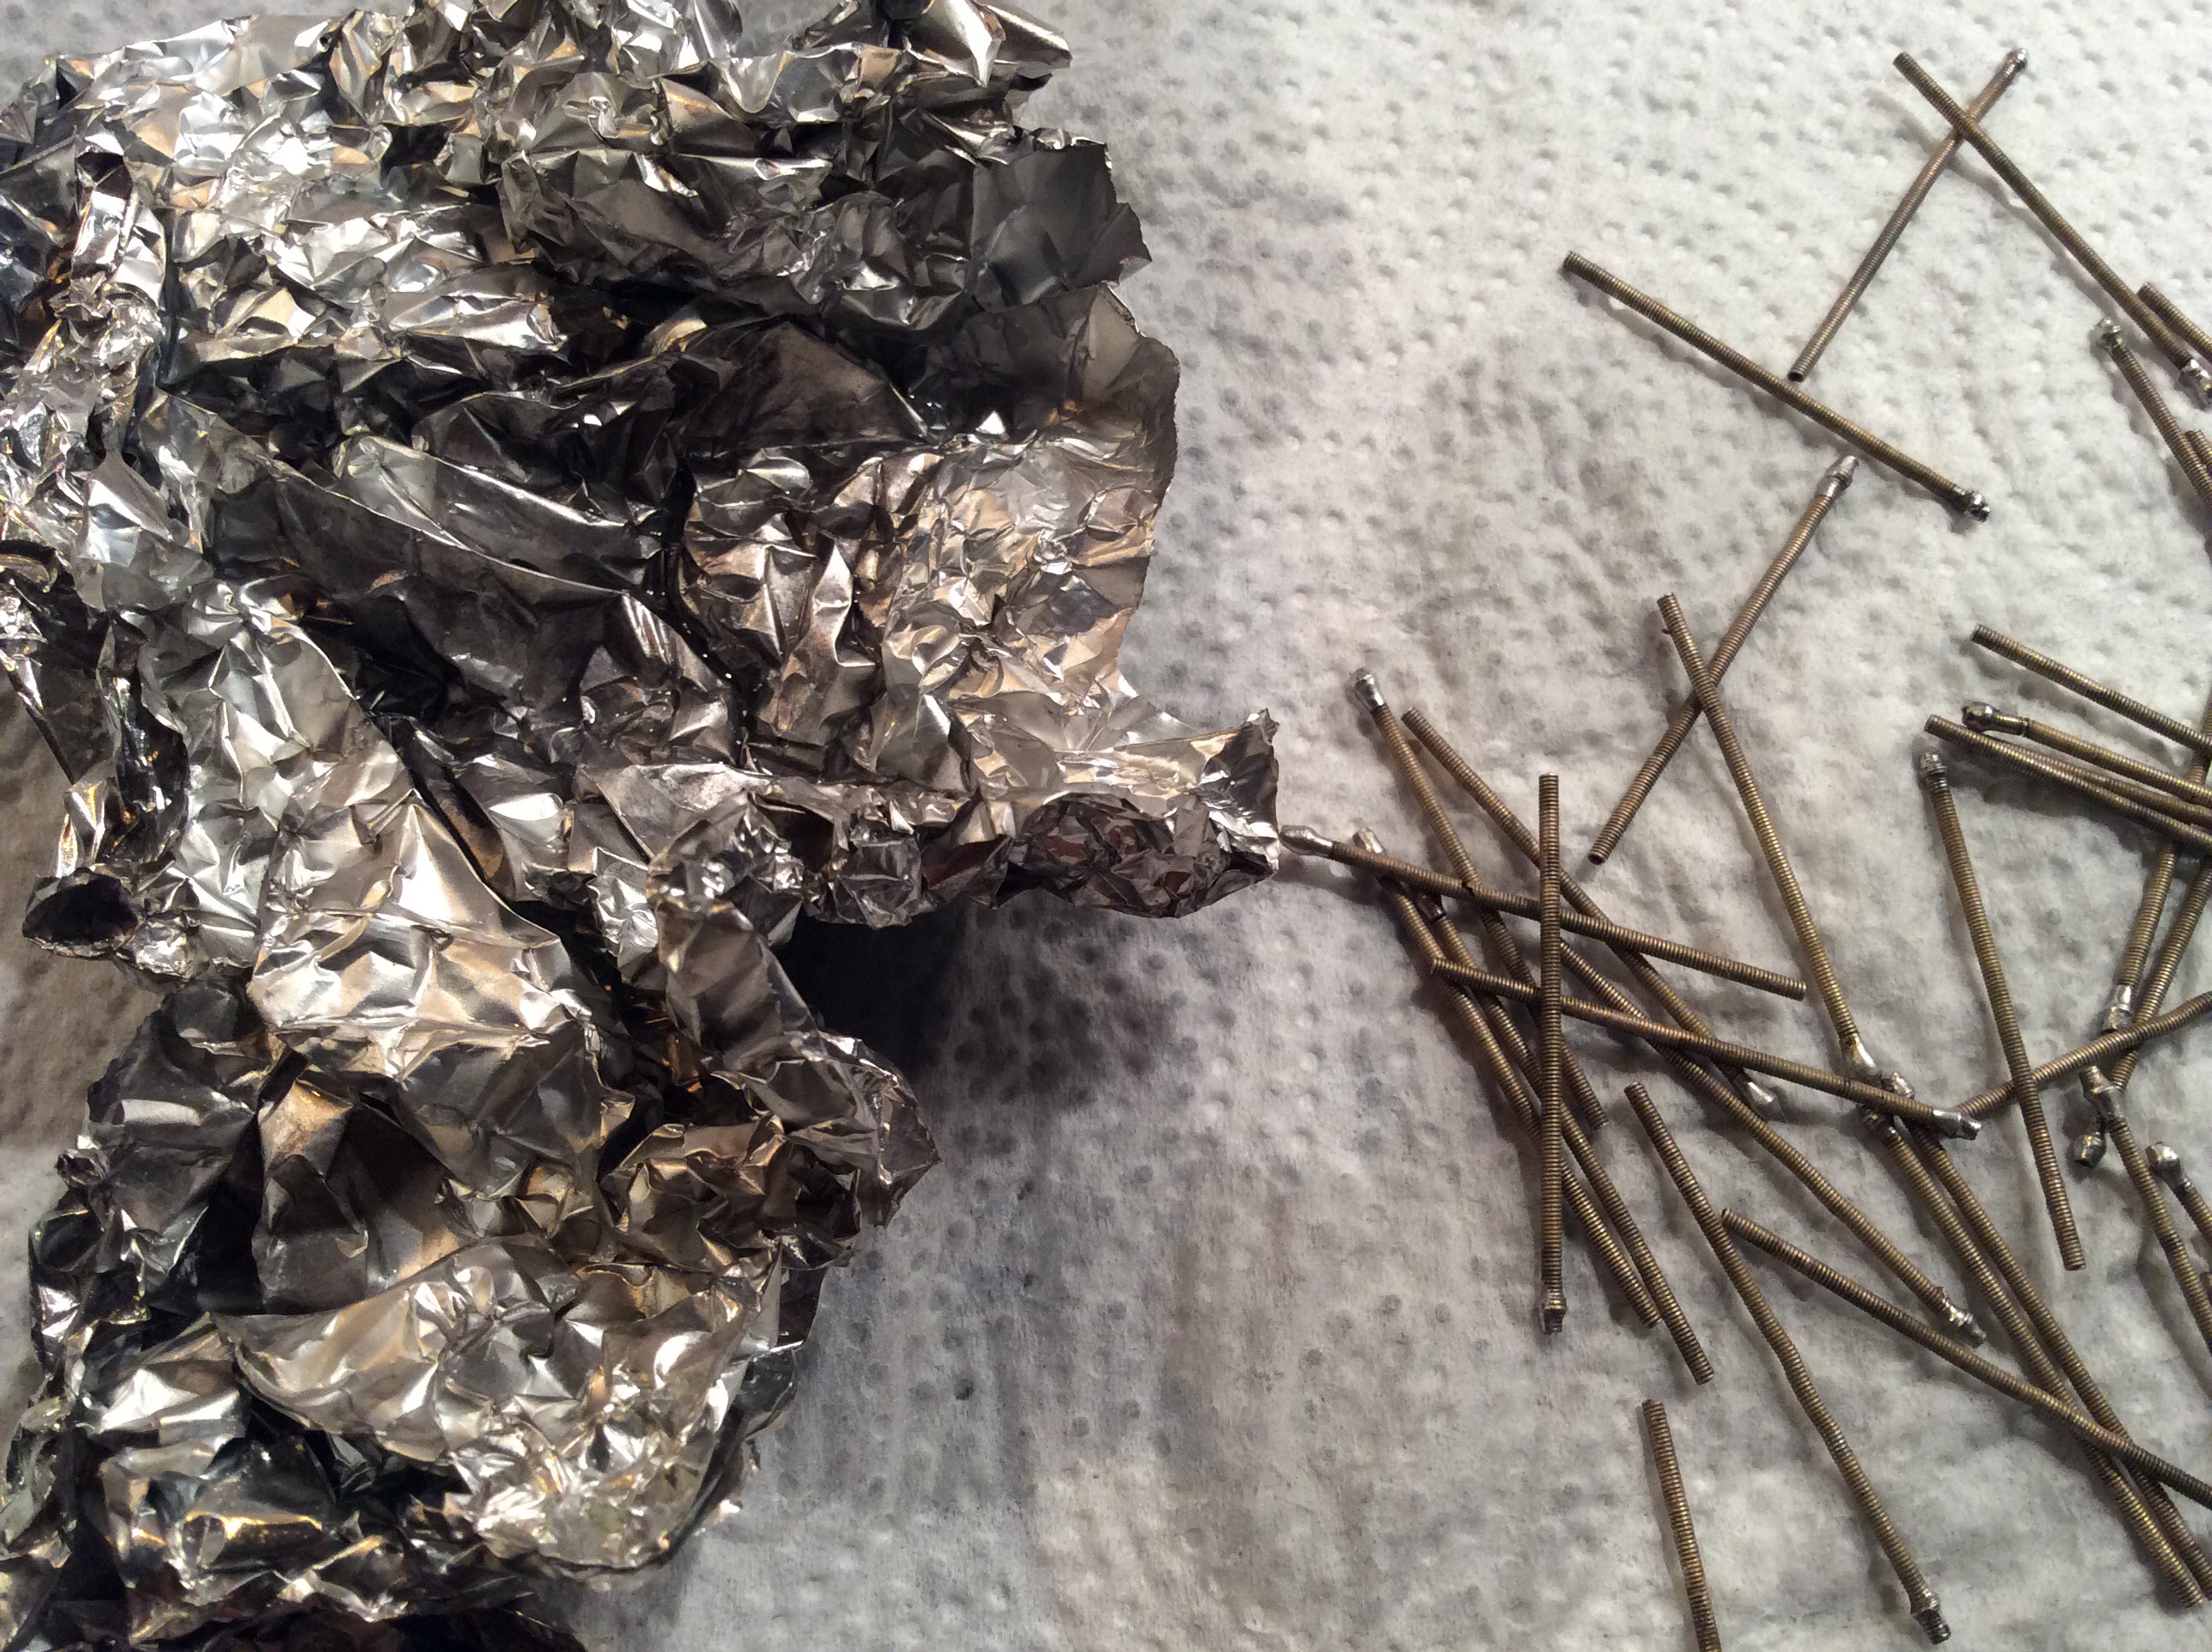
So while I still used Kontakt-60 on the keyboard rail with a toothbrush, paper towels and limited success, I chose a different approach for the contacts: I desoldered the contact springs and deoxidised them by boiling them in salt water on a sheet of aluminium foil. An old housekeeper’s trick that reduces the silver oxide back to silver while producing sulphur hydroxide, the distinct aroma of rotting eggs. This is basic chemistry, but given how much I hated chemistry at school, I’d never have tried this if it wasn’t for the Internet and Walter White.
There’s contact cooking for you. If you want to avoid that, you can also replace the contacts springs with pieces of guitar string, which is an even nicer hack, as done by midierror in this video.
Unfortunately, this approach won’t work for the potentiometers, which are all very scratchy – I guess they have actually been subjected to Kontakt spray treatment several years ago, so I’ll have to replace them, preferrably with capsuled types.
On a side note: When cleaning the front panel with ethanol, applying too much pressure made the paint come off. Start with a mild detergent instead.
Way to go, baby!
So Jenny has started singing again. But this is only a start.
The nice thing about Jenny is not that she is a real beauty, or that she may double as “the poor man’s Prodigy“. The nice thing about Jenny is that she has attracted an active and overly competent modding community due to her straightforward simplicity. It is quite easy to equip Jenny with a front-panel power LED, a sub-oscillator, an improved filter for better bass punch, a logarithmic volume control, wave and noise boost, resonance level compensation, and sawtooth waveshaping to use the LFO as a ramp generator – a very good place to start is this PDF write-up by Kevin Atherton who is a charming writer and, like me, has two daughters, too little time, and is not afraid to try out things way beyond his claimed level of understanding.
Once these mods are in place, I might install a stereo output using old 8-bit digital chorus/delay, a contemporary of Jenny. Or I might even try Neil Johnson’s sawtooth Multiplier circuitry (more like an oscillator sync, really) or replace the scanner/divider chip by a microcontroller capable of interpreting MIDI. Alpha geek Neil Johnson has built that as well, but you could just as well use an Arduino or Teensyduino.
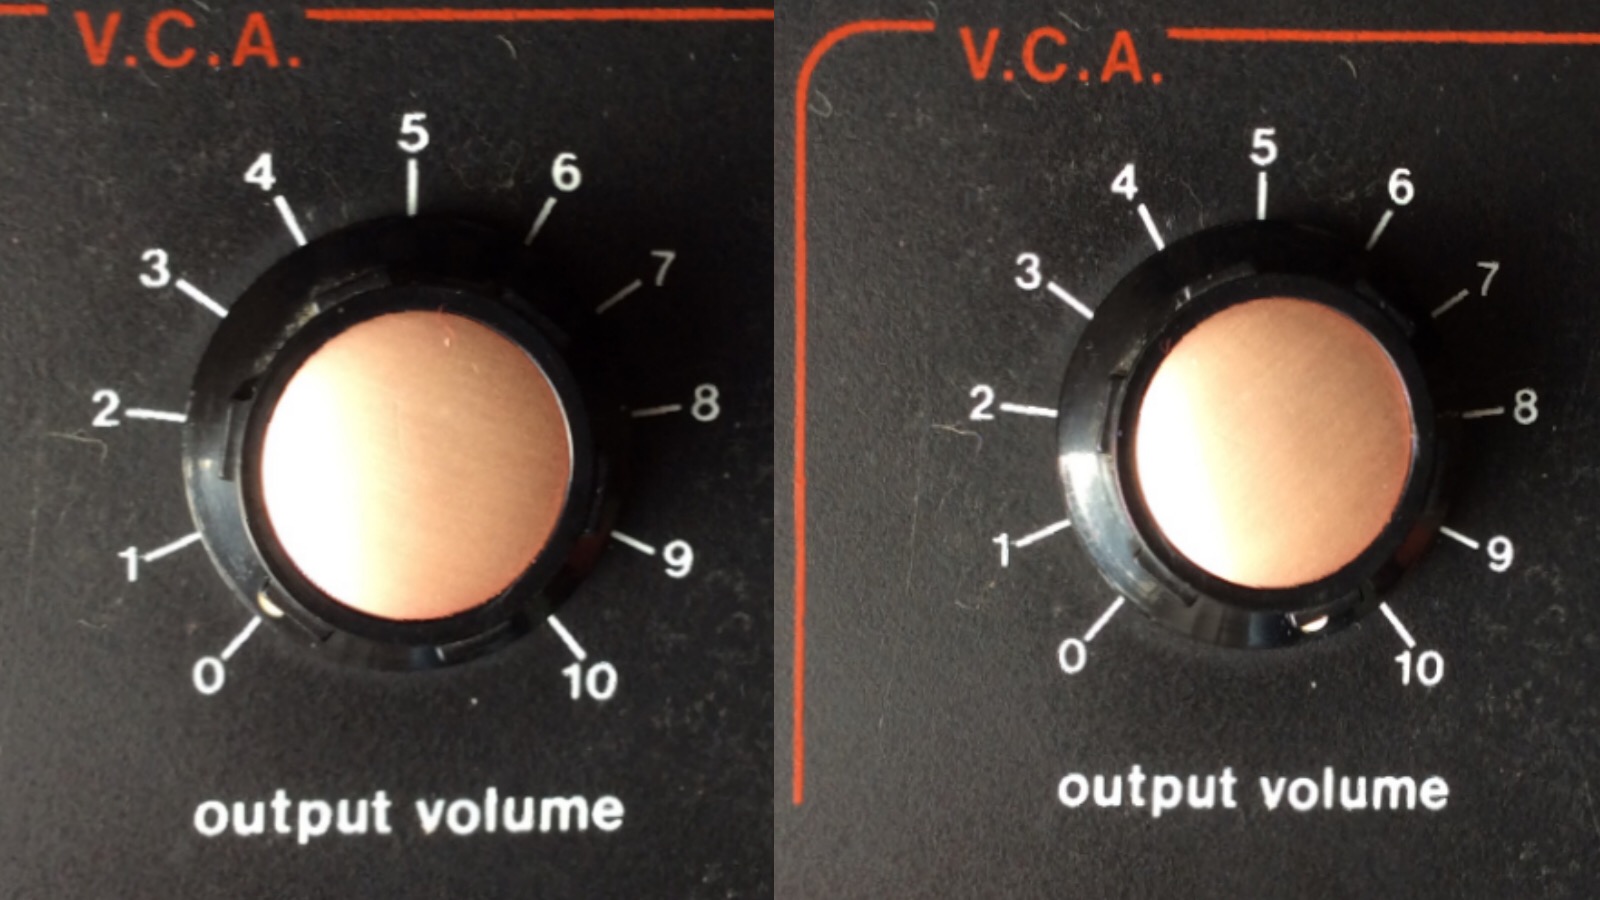
So while I still don’t know yet whether Jenny will really be allowed to stay with me, I’m having big fun planning all that for her. She is definitely worthy of effort and admiration. And her dials go up to 11!