Audulus moves

Not too long ago, I wrote a rant about how music software on my iPad didn’t really live up to its promise: the developers tended to get little things like MIDI wrong, apps wouldn’t work together, designs were flawed. But this is the brilliant thing: you can see the software mature. Most of the things that drove me mad then just is gone now, and all this in less than a year. The software is growing up.

audulus1Even more brilliant is this: You’ve got some question, or some idea, or some issue, so you go to the developer’s forum and let off steam. And they listen, and they reply. Almost instantly. Even though the guy that answers may be some  lone code warrior who does all his coding (and his customer service) from a mobile home he’s traveling the world in – you will get help. You may even, after posting some especially ludicrous ideas, find yourself being beta tester for a smart little thing like Audulus.

Modular Madness: Building Blocks for Music Nerds

Audulus is a software representation of a modular synthesizer, basically the electronic musician’s Lego: Instead of a monolithic device, you have little bulding blogs you can wire and rewire any way you like. Well, modular synths are nothing new, not even in software; I ran into Audulus some weeks after learning about the open-source modular synthesis system PureData.

Steve Porcaro (Toto) and his  massive modular synthesizer. (CC BY jamesthephotographer via Wikimedia Commons)

Steve Porcaro (Toto) and his massive modular synthesizer. (CC BY jamesthephotographer via Wikimedia Commons)

What drew me to Audulus was it’s elegance, and its natural usability in the iOS environment. (Although, originally, Audulus is a native Mac OS X app.) And it looks gorgeous.

Audulus' welcome gift - a rich polyphonic synth pad with a soul

Audulus’ welcome gift – a rich polyphonic synth pad with a soul

To be frank: for me, Audulus now is more of a brilliant toy rather than your everyday universal tool, but it will be one day – you can see it grow. It just got Audiobus support, so now you can wire up your own custom effects module. (You’ll find some extremely weird examples in the Audulus forum.) And in the upcoming 1.9 release which I had the honour to beta-test, you can build your own custom modules, or “nodes”, as they are termed, and re-use them wherever you like.

Foto 09.01.13 22 49 03

Demo for a custom-built waveshaper module

Ah, and you get a shiny new patch browser.

Foto 09.01.13 22 46 42

It’s extremely satisfying to see a great project on the move.

Tech Hack: Alesis IO Dock with USB Hub

Update, May 2014. I’ve put the unit on eBay. And I’ve summarised lessons learned from this hack here.

The Alesis IO Dock is a great product for iPad musicians – this small hack makes it even greater. It overcomes one limitation of the IO Dock: You can’t simply hook it to a USB hub. So I decided to build in an additional hub – which allows me to hook up additional class-compliant interfaces like my M-Audio Axiom master keyboard, and power them via the hub.

Yes, it works. No, it hasn’t been thoroughly tested yet. So try at your own risk.

The hacked IO Dock

The hack isn’t too sophisticated or demanding. Yet there are a couple of things we need to discuss before going to the step-by-step description. I’ve also tried to answer some questions that might arise in the FAQ.

What we’re doing:

We’re smuggling the USB hub into the connection between the iPad and the IO dock. (The video explains why.)

What you need:

  • A USB hub. Edit, 4-Jan-2012:  After giving it some more consideration I think that you might start with a normal hub rather than a powered one. (I used a powered hub Belkin F5U404.) This has certain limitations, though. Why? USB knows two basic types of port power – normal USB ports are supposed to deliver a 5V supply current of up to 100mA. That is enough to power simple interfaces and USB sticks. It is not enough to charge your phone, or to power a USB master keyboard.  So using a hub without power supply would normally mean that the iPad is not properly charged – but the way the iPad charges is actually hard-wired in the IO Dock’s iPad connector, so the iPad will charge even without a powered hub. (It is connected to the USB port’s input rather than to its output anyway).  IMPORTANT: As we will be using the IO Dock’s power supply, there are some limits to what we can drive with our hub. Please: See the FAQ. And I’ll have a more thorough look at the IO Dock’s power supply circuitry soon.
  • The hub’s connector cable. These cables have a flat A-type USB plug to go into your computer, and usually a micro-USB B-type plug like the ones for charging your phone (if you don’t have an iPhone, that is). We are going to cut up this cable and configure it to supply and interface the hub within the IO dock.
  • 2x 1.27mm 2mm grid pinstripe connectors – one 6-pin male, one 6-pin female. If you can, get connector strips with turned sockets; you can use them as plug and as female connector, like these ones. The original connector is like this one: [sample]
    EDIT, 19-Aug-13: Corrected the “these ones” link to RS Components. Also see FAQ section.  EDIT, 10-Sep-14: Modelmakers may look in their boxes for JST PH connectors (thanks Wolfgang!)
  • A small 100uF/6.3V capacitor – or something along these lines – as a buffer for the hub’s power supply. If you haven’t already, see the FAQ.
  • Basic soldering tools and skills. 
  • A Dremel tool to cut out a hole for the additional USB ports in the IO Dock.
  • Glue to fix the hub within the housing – I used a run-of-the-mill hot glue gun.
  • A class-compliant USB device for testing. (What’s that? See the FAQ.)
  • Approximately 2 hours to do it.
Me with a surgical mask and a Dremel tool

Not really a project for the aspiring Evil Mad Scientist – there’s hardly any rocket science involved – but especially the Dremel brought out my inner Walter White.

So let’s get started!

Continue reading

Proof-of-concept: Alesis IO Dock bekommt einen Hub

iPad im IO Dock - macht das Midikabel am wackeligen Camera Connection Kit überflüssig

iPad im IO Dock – macht das Midikabel am wackeligen Camera Connection Kit überflüssig

Am Alesis IO Dock führt kaum ein Weg vorbei, wenn man mit dem iPad Musik machen möchte. Zugegeben: man kann Verstärker auch an den Kopfhörerausgang anschließen, und für die Verbindung zum Midi-Masterkeyboard sorgt auch die Kombination aus Camera Connection Kit und einfachem Midi-Adapter. Wirklich betriebssicher ist das nicht, dafür sorgt allein der 30-polige Apple-Stecker. Das IO Dock gibt dem iPad nicht nur eine stabile Heimstatt, in der es mit Strom versorgt wird, es bietet vor allem exzellente Audio-Ein- und Ausgänge in stereo, einen regelbaren Kopfhörerausgang, Goodies wie Phantomspeisung für Kondensatormikros und Midi- Ein- und Ausgänge. Unverzichtbar.

In einem Punkt ist das IO Dock einem Camera Connection Kit allerdings unterlegen: es bietet keine Möglichkeit, zusätzliche USB-Geräte einzuschleifen. Bei mir wäre das ein kleines Masterkeyboard namens M-Audio Axiom; man kann es entweder über die klassische Midi-Schnittstelle anschließen – wobei es seinen Strom dann über ein klassisches 12V-Steckernetzteil bekommt – oder einfach über USB: dann hat das Keyboard nicht nur Anschluss, sondern wird auch gleich über die USB-Speisespannung mit Strom versorgt. Man muss nur darauf achten, einen USB-Hub mit eigener Stromversorgung zwischenzuschalten, weil das iPad auf alle größeren Verbraucher äußerst allergisch reagiert.

1 Netzteil sparen, 1000 neue Möglichkeiten gewinnen

Wäre es nicht schön, das Keyboard direkt an das IO Dock anschließen zu können und auf diesem Weg ein Netzteil (a.k.a. “Wandwarze”) loszuwerden? Leider hat das Dock den falschen Stecker: An den eingebauten USB-B-Stecker (das sind die fast quadratischen, wie sie sich in Druckern und externen Festplatten finden) muss man irgendwo einen Computer anschließen. Ein USB-Bus braucht nämlich einen Master – einfach nur einen Hub anzustöpseln würde nicht reichen. Was aber auch heißt: es gibt leider keine einfache Möglichkeit, weitere USB-Peripherie anzustöpseln – sei es ein weiteres Audio-Interface, sei es eine Kamera, sei es ein Keyboard. Spätestens, wenn mein von mir via Kickstarter stolz mitfinanzierter Superluxus-Musik-Controller kommt, ist das kein Zustand mehr – der hat nämlich ohne Zusatz-Hardware gar kein Midi mehr, und ich wäre gekniffen.

Deshalb reifte in mir schon länger die Vorstellung, dem IO Dock mit einem kleinen chirurgischen Eingriff einen Extra-Hub zu verpassen. Der könnte Geräte wie mein Keyboard problemlos mit Strom versorgen – und für ausreichend Anschluss sorgen. Seit heute weiß ich, dass das nicht nur eine theoretische Möglichkeit ist: man kann den Hub zwischen iPad und Dock einschleifen – und wie beim Camera Connection Kit ist das iPad dann der USB-Master. Das IO Dock funktioniert wie gewohnt, aber man kann weitere Geräte anschließen und aus dem Hub mit Strom versorgen. Das lässt sich alles sogar bequem ins IO Dock einbauen!

Testweise frei verdrahtet: Ein USB-Hub "im" IO Dock

Testweise frei verdrahtet: Ein USB-Hub “im” IO Dock

Loopy HD erkennt das Dock ohne Probleme - trotz zwischengeschleiften Hubs.

Loopy HD erkennt das Dock ohne Probleme – trotz zwischengeschleiften Hubs.

Wie das lief, darüber demnächst mehr. Detailliertes Howto und Video folgen, wenn der Einbau fertig ist.

Nebenbei: Wahnsinn, was sich alles getan hat, als ich mich über die Unstimmigkeiten der Musiksoftware auf dem iPad ausgemährt habe. In diesem Dreivierteljahr sind viele der Probleme, die ich beschrieben habe, verschwunden; die Software ist erwachsen geworden. Man kann ihr regelrecht beim Reifen zusehen. Und großen Anteil daran haben Einzelkämpfer wie der Loopy- und Audiobus-Entwickler Michael Tyson. Wie die sich mit ihrer Nutzergemeinde austauschen, um Bugs auszubügeln und neue Features zu erfinden, ist großartig. Wäre doch nur Apple auch so offen – dann wäre uns der zu nichts kompatible Steckverbinder im neuen neuen iPad erspart geblieben, es würde weiter ins IO Dock passen und ich hätte mir mit Sicherheit eins gekauft – die zusätzliche Prozessorleistung kann man für Musik gut brauchen. Seufz.

iPad-Animoog: Killer!

An sich freue ich mich ja immer noch diebisch über die Animoog-App auf meinem iPad, trotz kleinere und größerer Zipperlein bei Bedienung und Systemintegration. Getrübt wurde diese Freude allerdings vom letzten Update auf V1.1.0: das führte nämlich auch bei mir dazu, dass gar nichts mehr ging – die App stürzte gleich wieder ab. Etwas Rumexperimentieren hat die Lösung gebracht: einfach löschen und nochmal neu installieren.

Nachtrag: Manchmal hilft es, erst die FAQ zu lesen – auch wegen der Warnung: Vor dem Löschen alle Sounds zu iTunes speichern, sonst sind sie weg!

The Humble Art of iPad Music: A Rant

Aaaah, the iPad! Loads of screen real estate to convey intuitive information, smart touch interfaces to provide groundbreaking usability, and enough processing power to emulate almost any synthesizer you ever dreamt of. For pennies. If only the programmers were up to a simple task: implementing a standard that has been around for 30 years.

I’m writing this post in the feeble hope that it’s my knowledge that needs to be updated rather than nearly all of the iOS music software I’m using, but I fear it’s really that simple: Suppliers of state-of-the-art virtual synthesizers for the iPad are, in general, incapable of a few simple things. Like enabling their instruments to change preset on a base MIDI command. Or respond to the most standard controllers, the modulation and pitch wheel and the sustain pedal, by default. In the 30 years that MIDI has been around, obviously no one taught them that MIDI commands are paired with a bus ID, a “Channel”, and that there are 16 around so that it’s possibly not a good idea to have every instrument listen to Channel 1. The idea of multitimbrality – one synth engine responding to different channels doing different sounds – seems way too advanced for most of them.

Poor lot. But not as poor, ill-informed and illiterate as the guys writing the manuals.

Anyway, here’s what I’m using, and I’m proud to say that all of my music equipment can be hauled around in a backpack, including the amp box. Not like in the olden days when playing keyboards made you strong because it was quite a lot of really, really heavy gear you had to move.
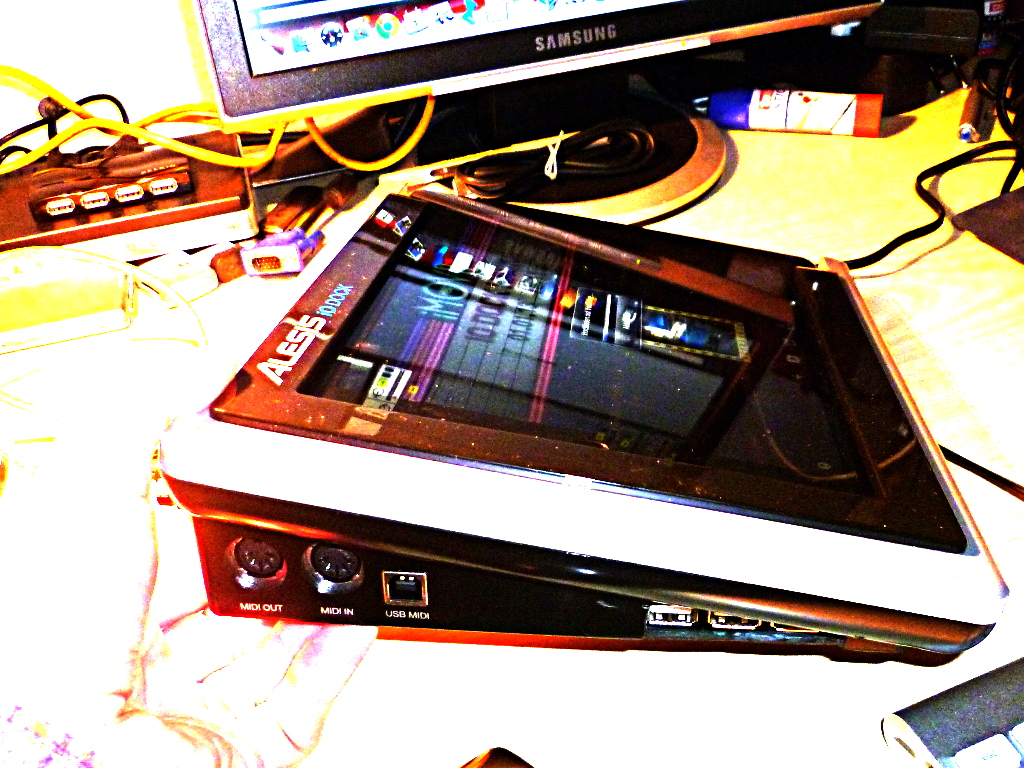
ESI MidiMate II

Actually the only no-brainer on this list. Connected to the iPad Camera Connection Kit, it just works – as would any other class-compliant USB-to-MIDI interface. This one’s cheap and has the additional benefit that you can plug the MIDI connectors into MIDI IN or MIDI OUT – the interface figures it out for itself.

M-Audio Axiom 25

Not an app but actual hardware. Simple, lightweight, versatile. A decent 2-octave keyboard comes with a bunch of pads, controls and trigger pads that can be programmed to send almost any MIDI command. Hardware’s fine, software’s dodgy, as far as usability is concerned.

But what I really admire the Axiom for is it’s manual. I think that you couldn’t make the simple task of programming a controller any more incomprehensible if you tried. It almost makes the thing unusable – until you’ve found out for yourself how it works. Which takes some resolution not to consult the manual – which you have to, if only for the MIDI charts.

Animoog

20120320-223453.jpg

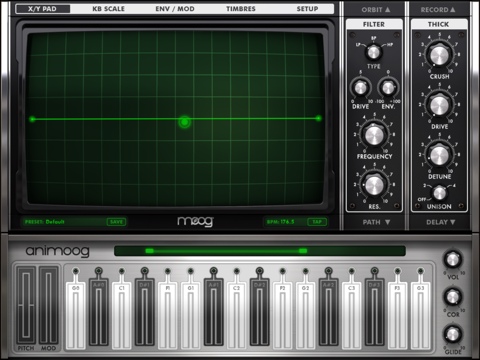
I bought this app when it was still 99 cent rather than the regular 24 €, which is a bit over the top if you ask me. Still: A brilliant softsynth, great sounds, and an ingenious user interface. Loads of fun. Kinda makes you hope that it would receive notes on any other channel than 1, doesn’t it? Not that the CoreMIDI implementation is any fun to play with – any time you plug/unplug the MIDI port you have to reload the configuration. Couldn’t get it to run in the background either. No MIDI implementation chart in the manual (and I’m using that term in the most liberal fashion here). Did I mention it does only work on Channel 1?
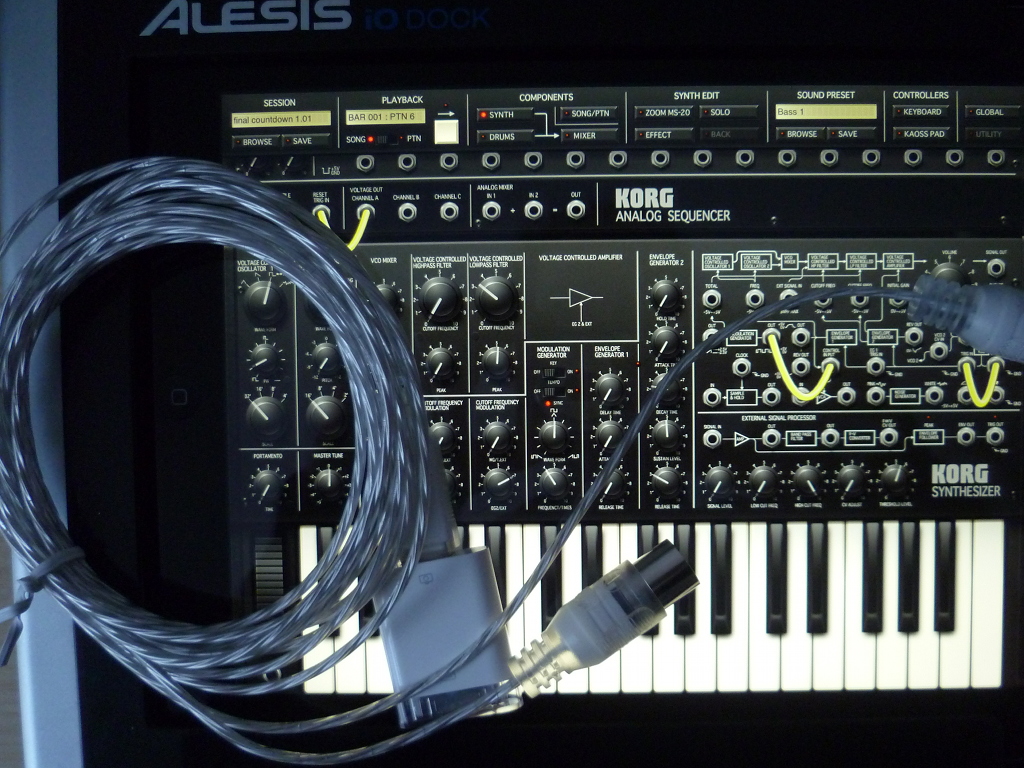
Korg iMS-20

20120320-225555.jpg

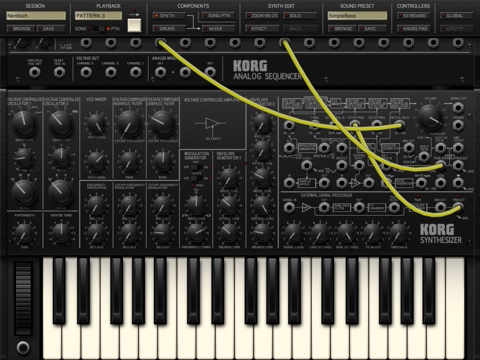
Cheap it isn’t, as apps go: € 26 for one music app? Well, this app is worth it – considering that it’s a true reproduction of an 80s vintage production system, the MS-20. They say that the MS-20’s filters did not resonate as much as distort, and judging from the iMS-20 app, it’s so true. Analog basses and drums delivering incredible punch – and it looks great, too.

It’s even multitimbral. Sort of. Seven voices can be produced at once, each of them can sport a different sound and is controlled by a different MIDI channel. Now guess by which ones. Channels 1-7 are hard-wired. So is a limitation of the original: No changing sounds on Voices 2-7 while a song is running. This even makes sort of sense – those voices are supposed to be the drum section, and obviously, you wouldn’t expect anyone to change drum voices, would you? Voice no. 1 is for expressive bass, even for solo.

Now: wouldn’t it be nice to use this lovable monster to trigger loops while playing along, or even running a sequencer? Sorry: It does not run in the background. It does not understand Program Change commands. Or standard start-stop commands for the pattern sequencer. And you can’t actually trigger the loop “pads” via MIDI – according to the painstakingly detailed MIDI controller map, you can’t. Unless you own some special hardware that used to control MS-20 soft synths via some kind of “native mode” that kept Korg from bothering to implement this functionality in MIDI.

The SynthX

20120320-230551.jpg

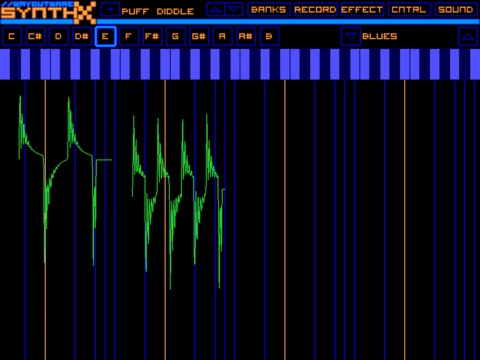
The SynthX is that little, skinny guy in your class that constantly tried to make everybody laugh. It’s a brilliant idea: Take a “vintage” (read: outdated) one-oscillator-per-voice ARP monosynth as a model, make it polyphonic and make it use effects, and give it a unique, fretboard-like, touch user interface. Which keeps you entertained for about 15 minutes – no, you’ve guessed wrong, it’s not stuck on Channel 1, it does not understand MIDI at all, as far as I can see. The poor thing even refuses to load on my iPad HD most of the time any other music app is running in the background. Which kind of sabotages the humble plan of playing it as a solo/pad voice over a background drum track. This is why I won’t dwell on the fact that in my humble opinion, the usability concept is stuck half the way: No using the iPad’s motion sensors as a modulation source – or midi controllers, by the way. Sounds would have been so much less boring.
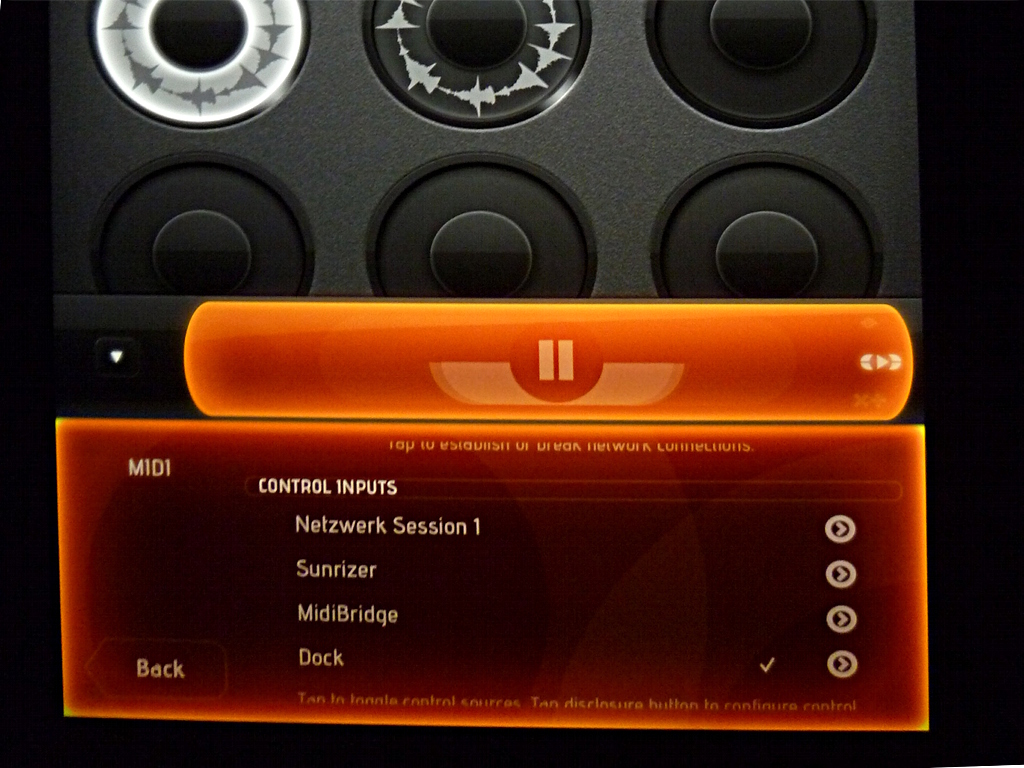
Sunrizer Synth

20120320-224324.jpg

This one’s actually great – and though the guy who made this app seems to have had a rather sketchy knowledge of MIDI controllers, he is willing to learn – and is constantly updating his soft synth machine: It knows how to deal with a sustain pedal now. It has learned to understand Program Change commands. Well, Program Change, not Bank Change, which is a hassle because you can’t reorder preset banks, but no nitpicking now. It has a MIDI learn mode to route any controller to any control, and it runs spotlessly in the background of software like the Genome sequencer app. All the parameters are on one page. You can even switch off the faux keyboard and use valuable screen estate for the effects section controls.

I used to play a borrowed Polysix for a couple of months, a rather simple and cheap machine as synths went, even at that time, but with the instant fun of turning knobs and achieving great sounds – just because it was simple. The Sunrizer app gives me exactly that sort of fun – but is so much more powerful. Combine stacked sawtooth waves with a traditional lowpass filter and manipulate depth and resonance of a formant filter in row, and you can cross over from rich, warm pads to Zombie-like solo voices in an instant.

And, believe it or not: it’s not even stuck on MIDI channel 1.

Summarizing a Humbling Art

There are so many more missed opportunities. Modrum is nice and lean -but no preset change via MIDI. NLog Pro, a soft synth from a guy in my home town Frankfurt, is a proper professional instrument – unfortunately it was programmed for looks rather than usability. What’s the point of having gorgeous little knob dial panel graphics if you have to switch (!) between six (!!) of them to control your sound? It’s an iPad, for Christ’s sake, learn how to use it! And don’t let me even get started on Garage Band and MIDI.

So the iPad is not really your ultimate music machine yet, although you can almost see how the software is becoming more and more mature – having a decent sequencer/drum/synth combination up and running is possible now, after all. This is the good news, and it almost makes you forget the bad news: Never forget that in terms of processing power, an iPad is a rather weak piece of equipment. Any old Celeron laptop packs more power – so you are bound to run into some limitations at some point.
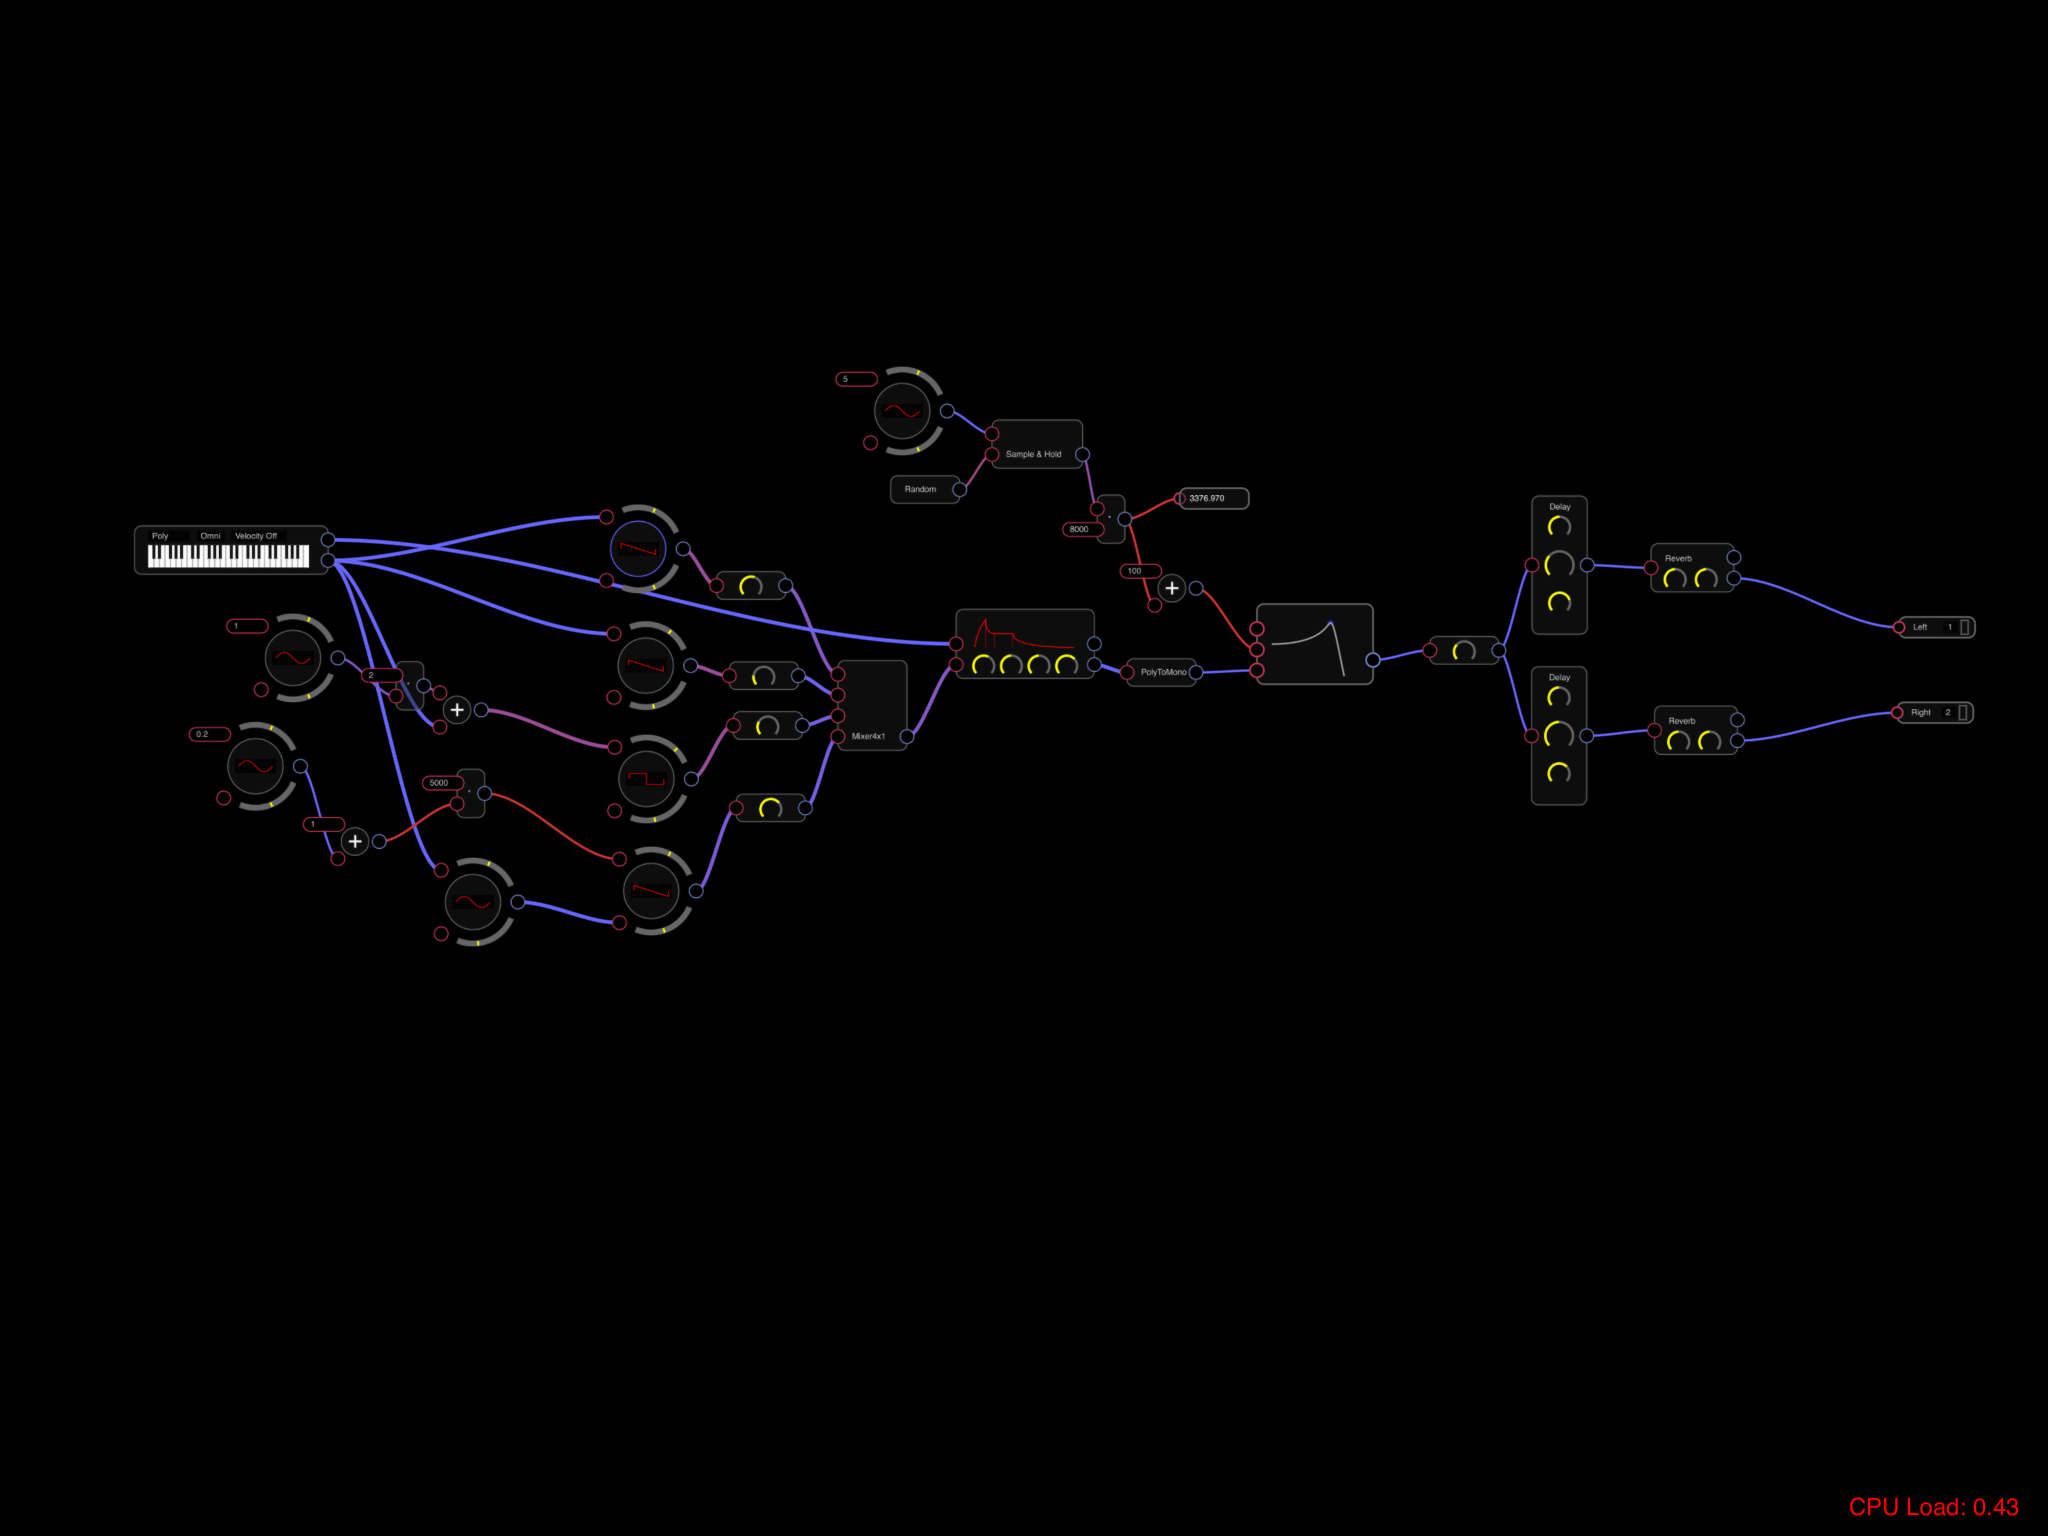
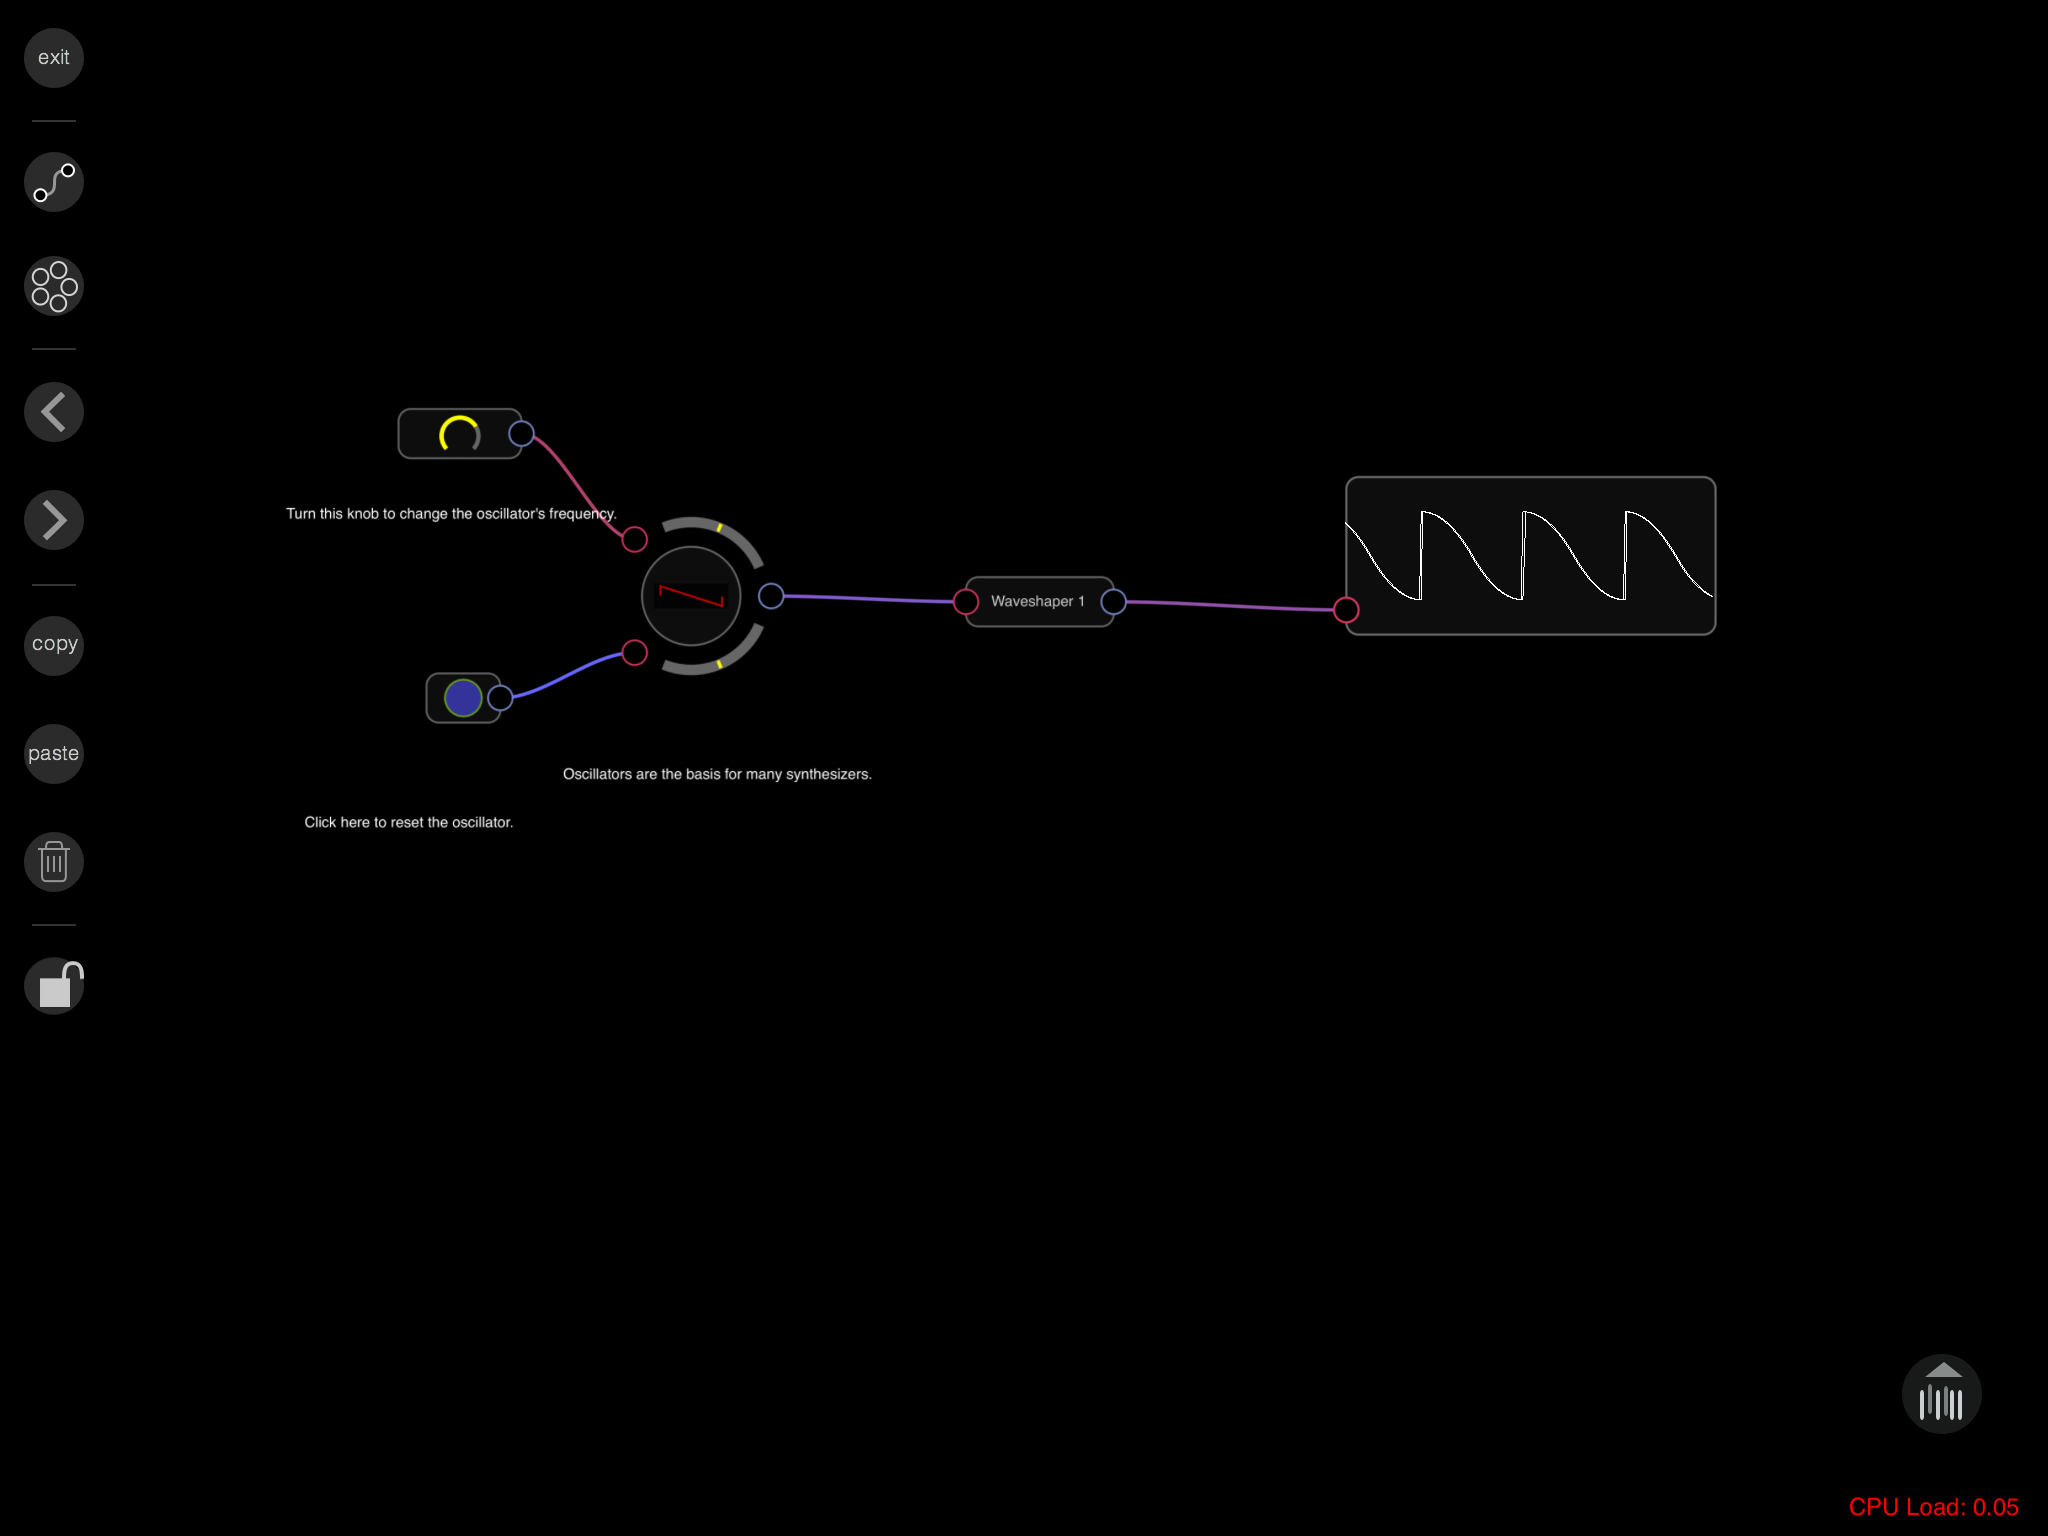
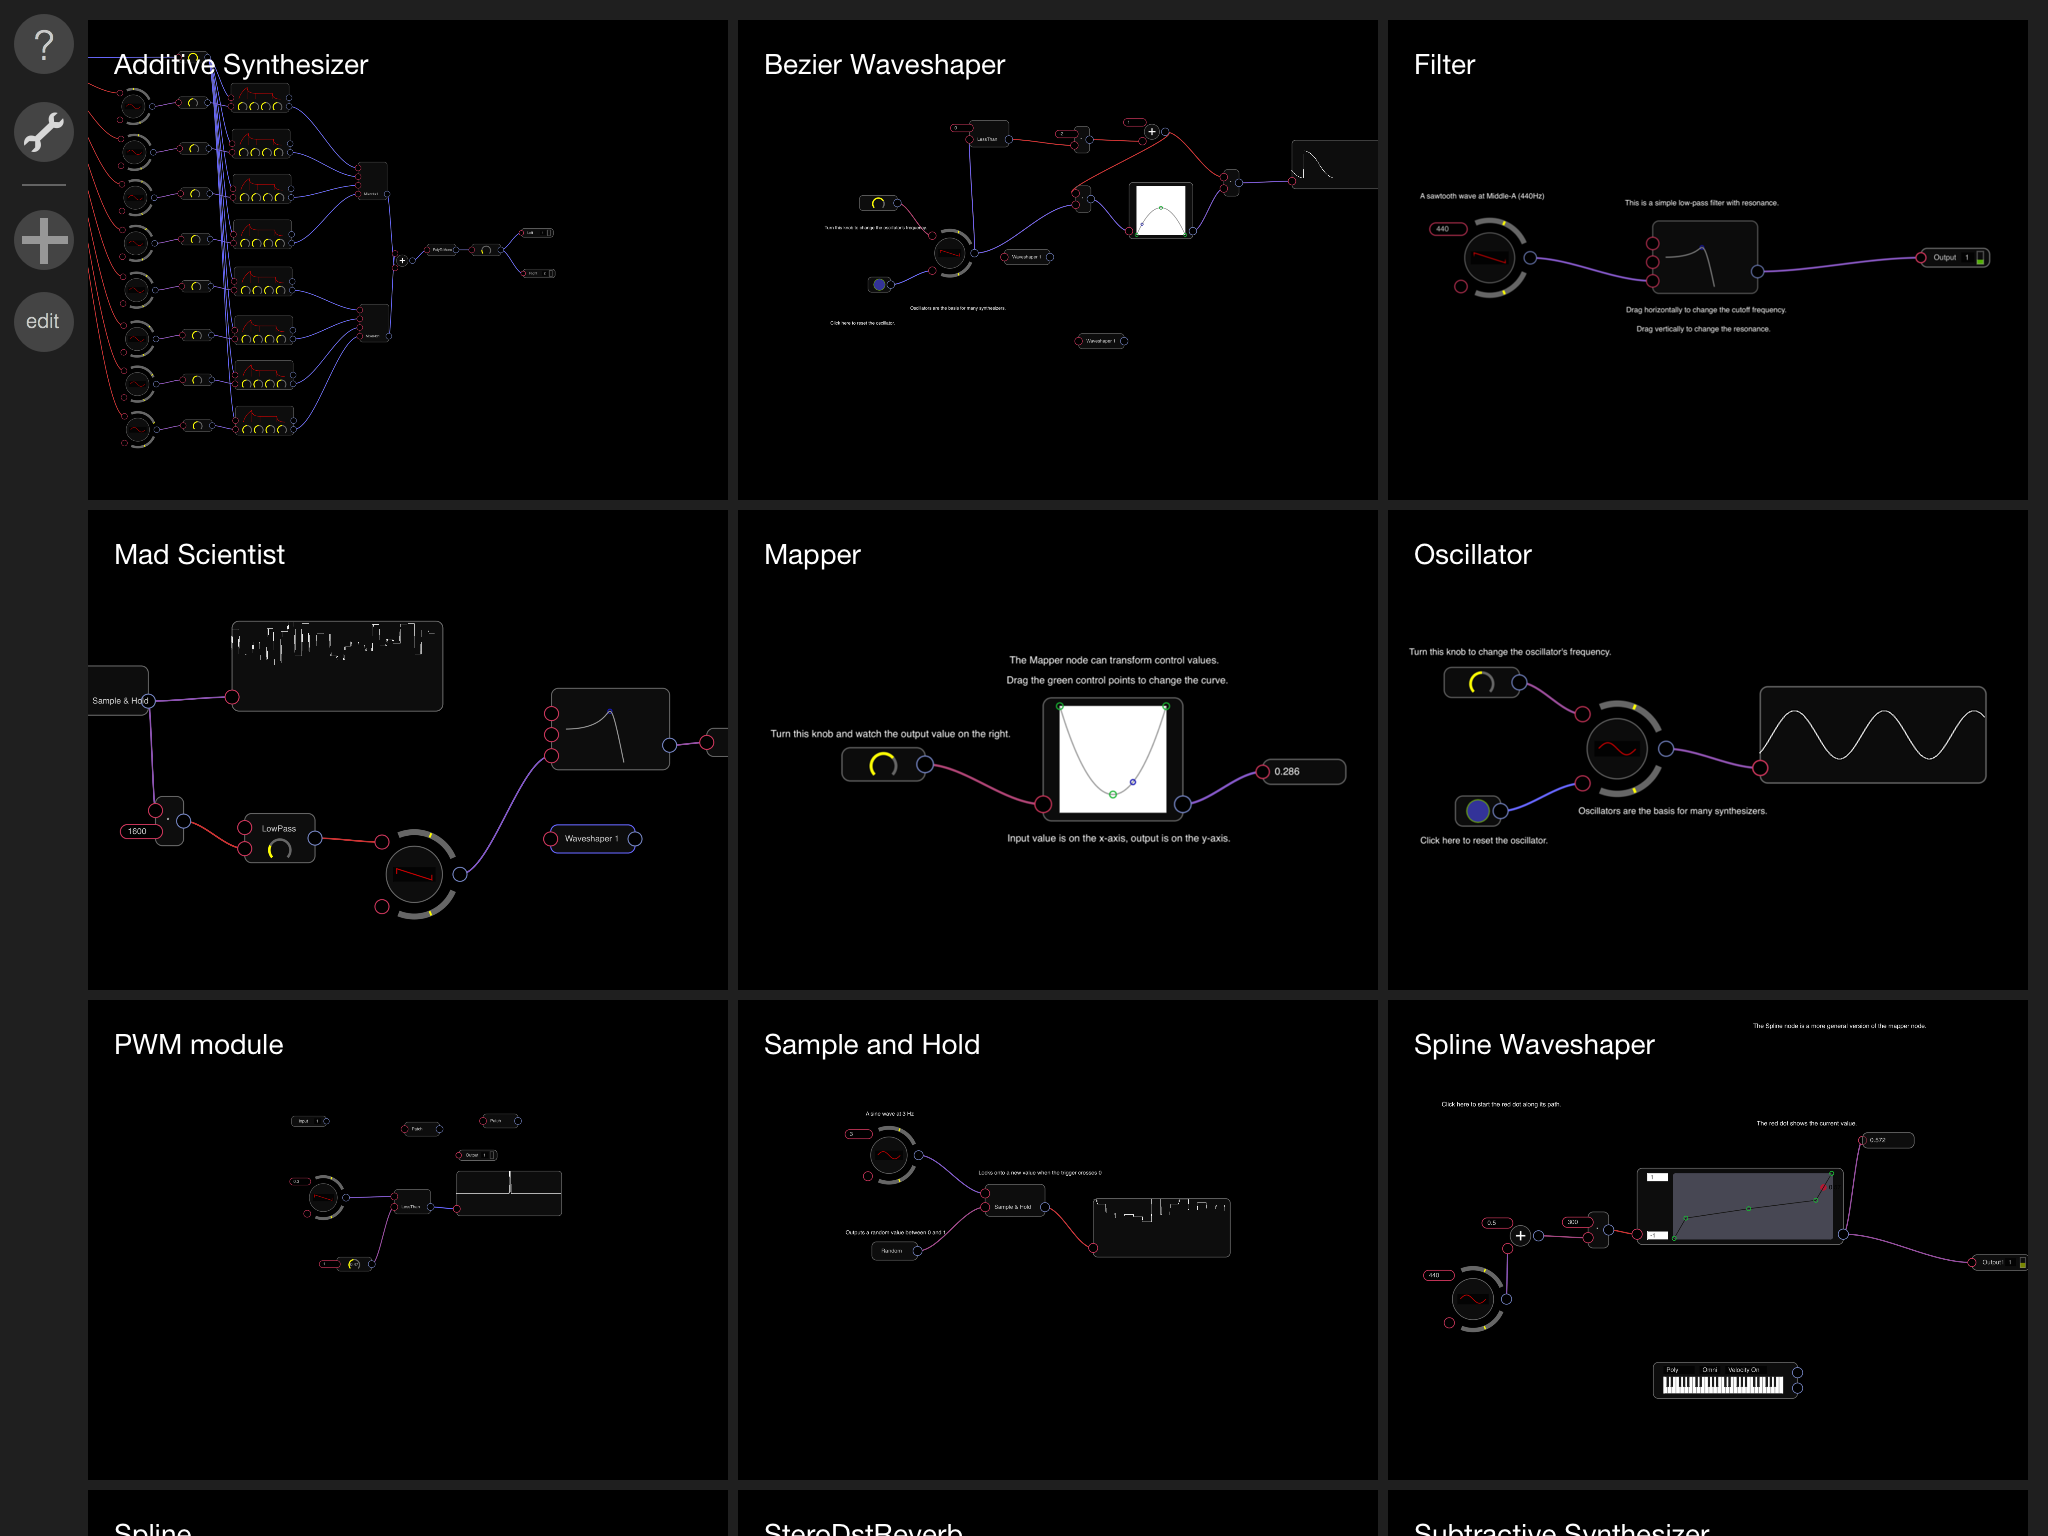
“This device isn’t eligible for the requested build” – hä? Das Sch***Ding ist neu!?

Also sowas: Endlich kommt mein vor vier Wochen bestelltes iPad 2 (ich bin auserwählt – danke, Steve!), macht sich ganz wunderprächtig, und dann beim dritten oder vierten Sync schon das:
"Das iPad 'untergeekPad' konnte nicht aktualisiert werden. This device isn't eligible for the requested build."

<Sarkasmus>Super-Fehlermeldung, und richtig viel Hilfe dazu von Apple. </Sarkasmus>

Auf einmal ist meine neue Maschine des Updates auf die neueste Version nicht würdig – wieso denn bitte das? Eine kurze Google-Suche fördert viel Ratlosigkeit zutage – und zudem die Erkenntnis, dass das Phänomen offenbar quer durch den Apple-Gerätezoo auftreten kann: iPad2, iPad, iPhones aller Generationen… you name it. Bei einigen verschwindet das Problem, wenn man zum Updateauf einen anderen Mac wechselt. Andere versetzen ihr Gerät in den “DFU”-Wartungsmodus und haben Erfolg, wieder andere nicht.

Die Lösung brachte am Ende für mich dieser Post bei LEI Mobile: Er erklärt mir – vollkommen zutreffend – dass mein altes iPhone 3G Schuld ist an der iPad2-Sperre. Genauer gesagt: Das Downgrade auf iOS 3.1.3, das ich diesem Telefon nach erfolgreicher Reparatur habe angedeihen lassen – wenn ich meiner Liebsten das iPhone 3G als iOS4-Schnecke überreiche, landet es binnen kürzester Zeit an der Wand. – Weiter: Das Downgrade also war Schuld, noch genauer: das (ansonsten außerordentlich empfehlenswerte) Programm TinyUmbrella, das ich für diesen Zurückbuchungs-Vorgang auf iOS 3.1.3 eingesetzt habe.

Was normalerweise bei einem Update passiert, ist wohl folgendes: iTunes telefoniert kurz heim zu Apple und fragt nach, ob es denn mit dem Einspielen der Software so seine Richtigkeit habe. Das wundert uns versierte Apple-Paranoiker ja nicht wirklich und ist auch mit ursächlich dafür, dass Downgrades so ein Nerv sind. TinyUmbrella hebelt diesen Prozess aus und schaltet konsequent um auf den Update-Server für gejailbreakte jailgebreakte geknackte iPhones, Cydia. Und iTunes bekommt kein “Go” für das Update.

"Set hosts to Cydia on exit": Diese Option muss man abwählen (Klick für Vollansicht)

Also muss man dies tun: TinyUmbrella öffnen, in die “Advanced”-Einstellungen gehen, einmal tief durchatmen – ja, wir wissen, was wir tun! Sort of. – und die obige Einstellung aushaken: “Set Hosts to Cydia” muss abgewählt sein. Dann TinyUmbrella beenden und über iTunes updaten – jetzt flutscht’s.

Ach, übrigens: An der Update-Sperre könnte natürlich auch eine vorsichtige Firewall Schuld sein, die iTunes daran hindert, nach Hause zu telefonieren. Kommt uns das nicht irgendwie bekannt vor…?