Jenny – my old 70s monosynth – is a beauty, and I love her knobby face. Her smile, though, has yellowed over the decades. So to make Jenny even more attractive, I decided to try and bleach the keys with hydrogen peroxide.
TL;DR: Effect has been minimal, so it’s probably not worth it. But it was fun. If you try it, make the Retrobright bleaching gel, don’t use a hydrogen peroxide bath. And have a good UV source.
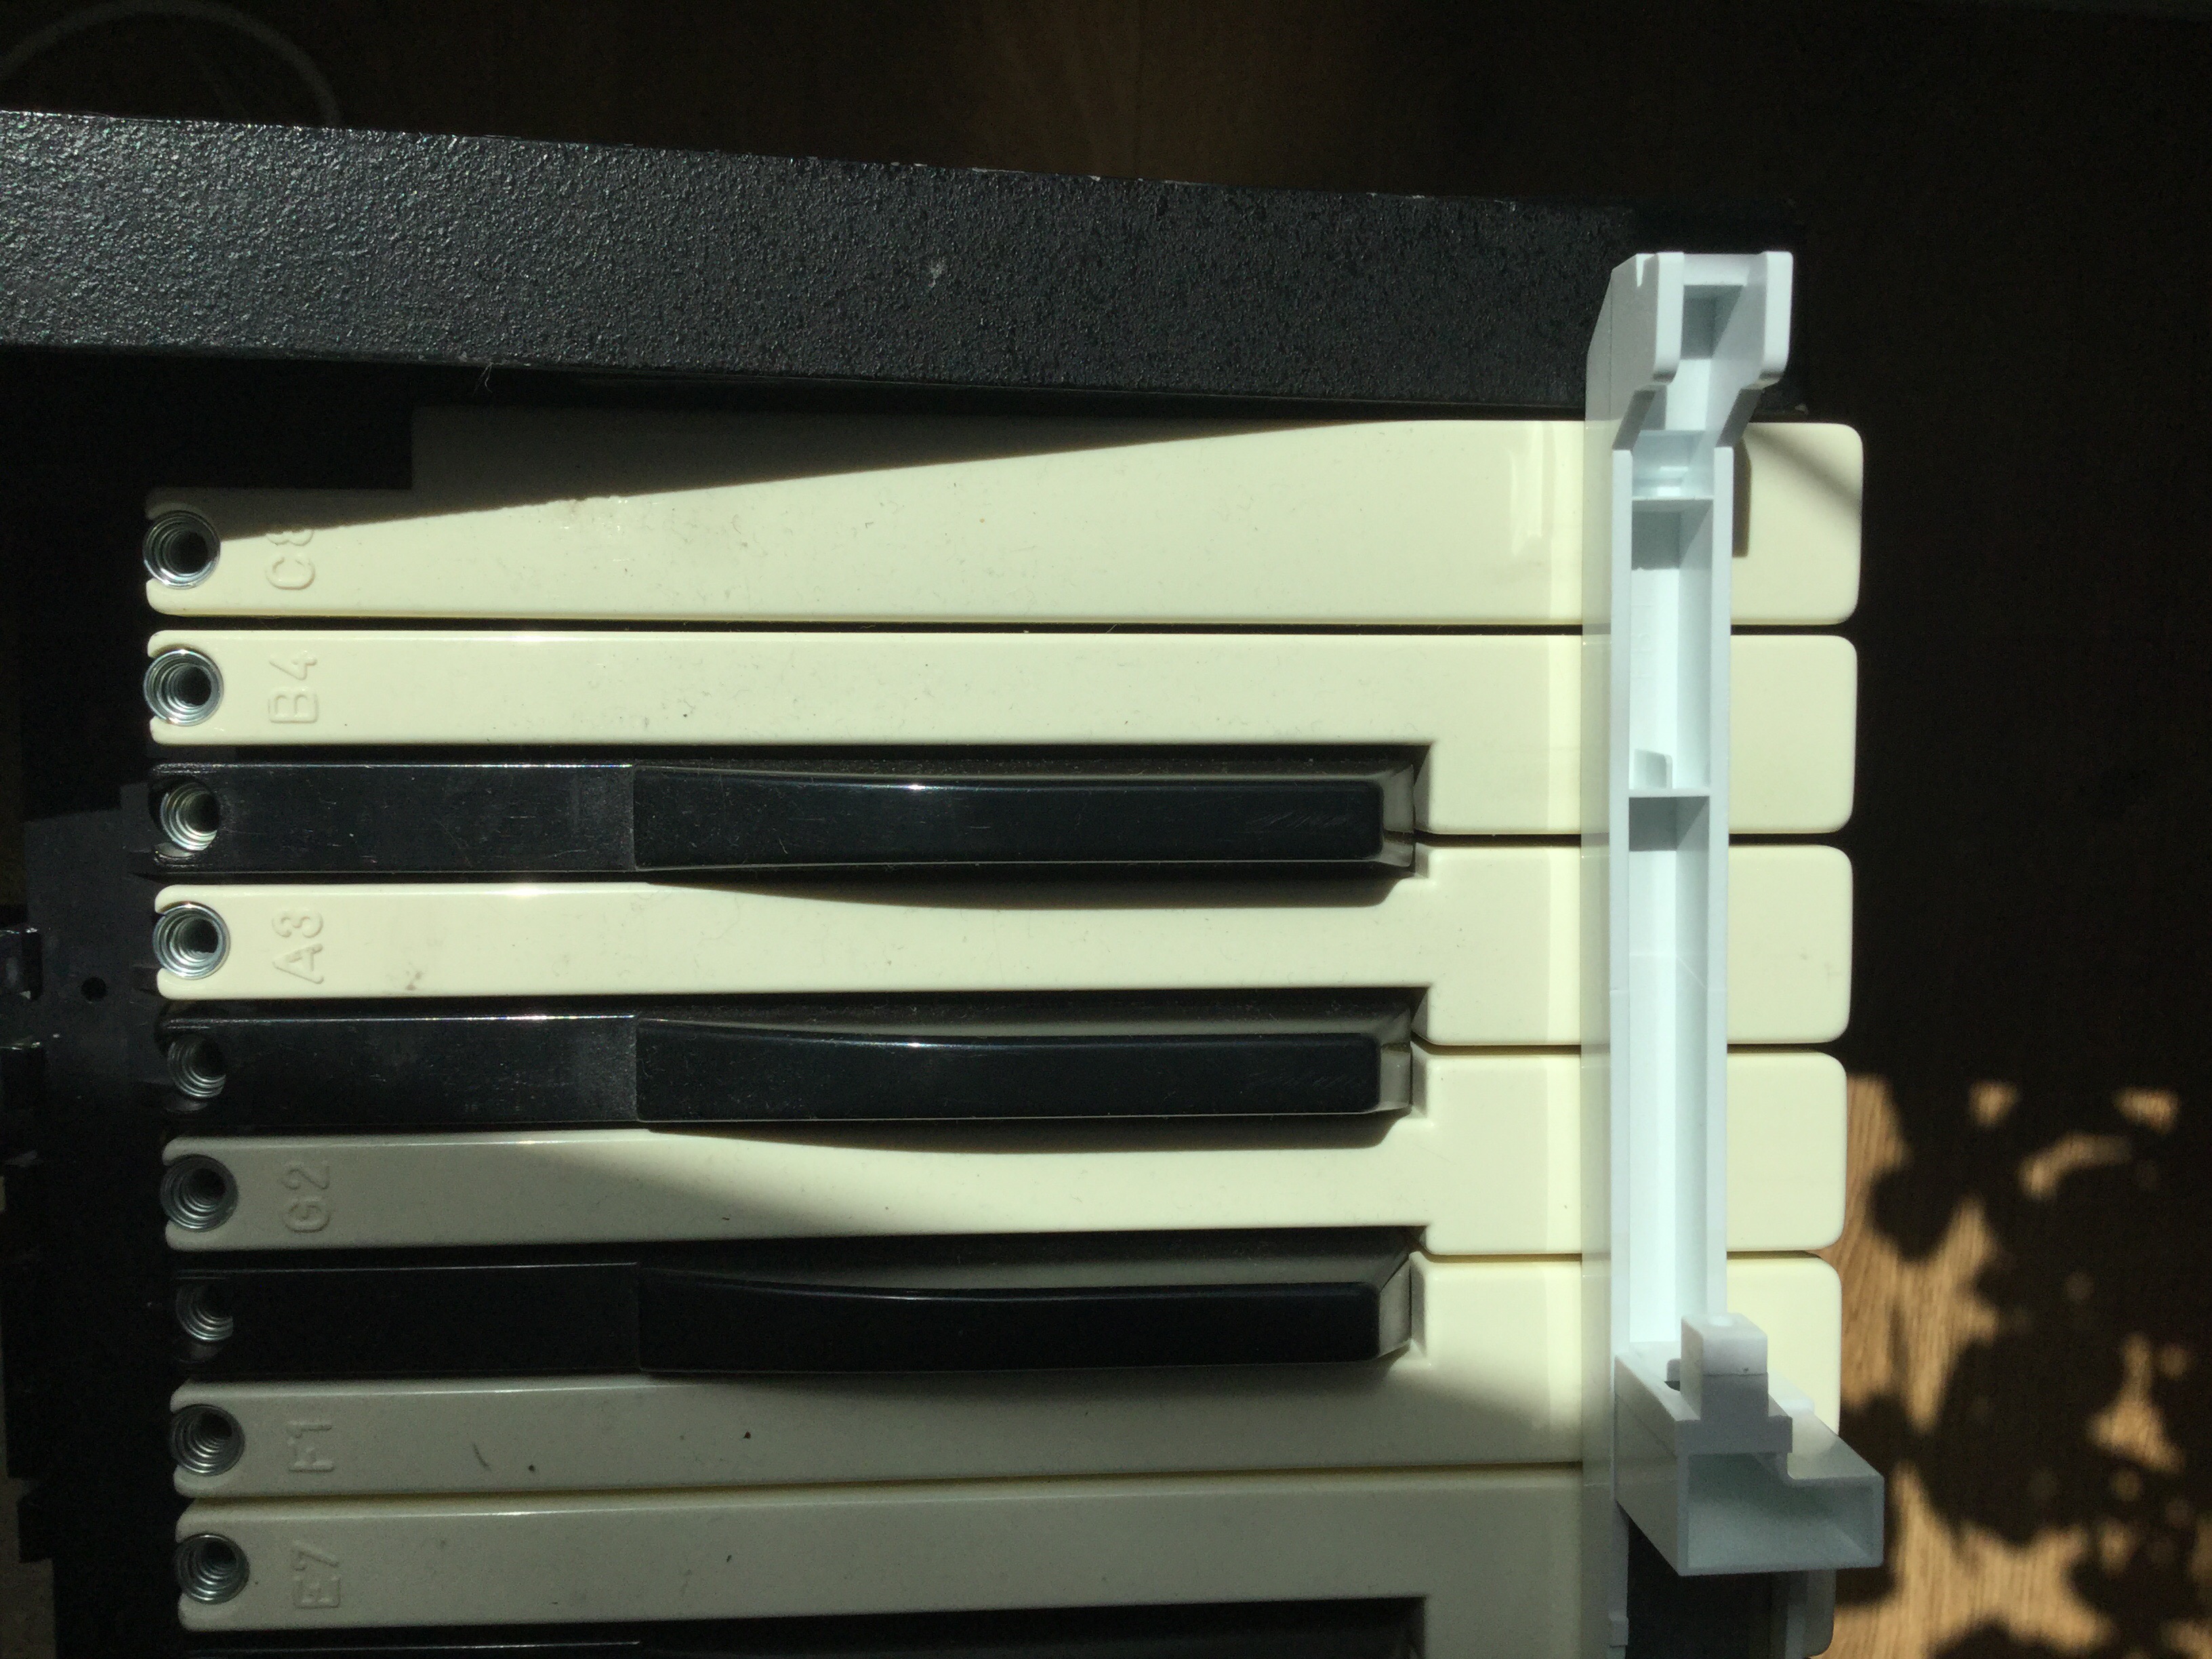
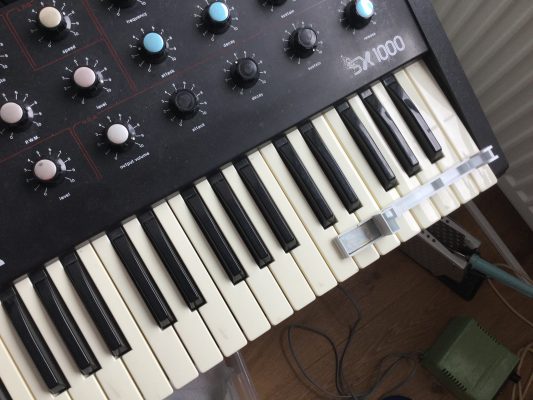
Jenny’s keyboard compared to a key from a mid-80s Roland JX8P synth
In School, I used to hate chemistry. Did I mention that I used to hate chemistry? Okay, I did (when successfully reviving Jenny’s keyboard contact springs by cooking them)
So here’s what I did.
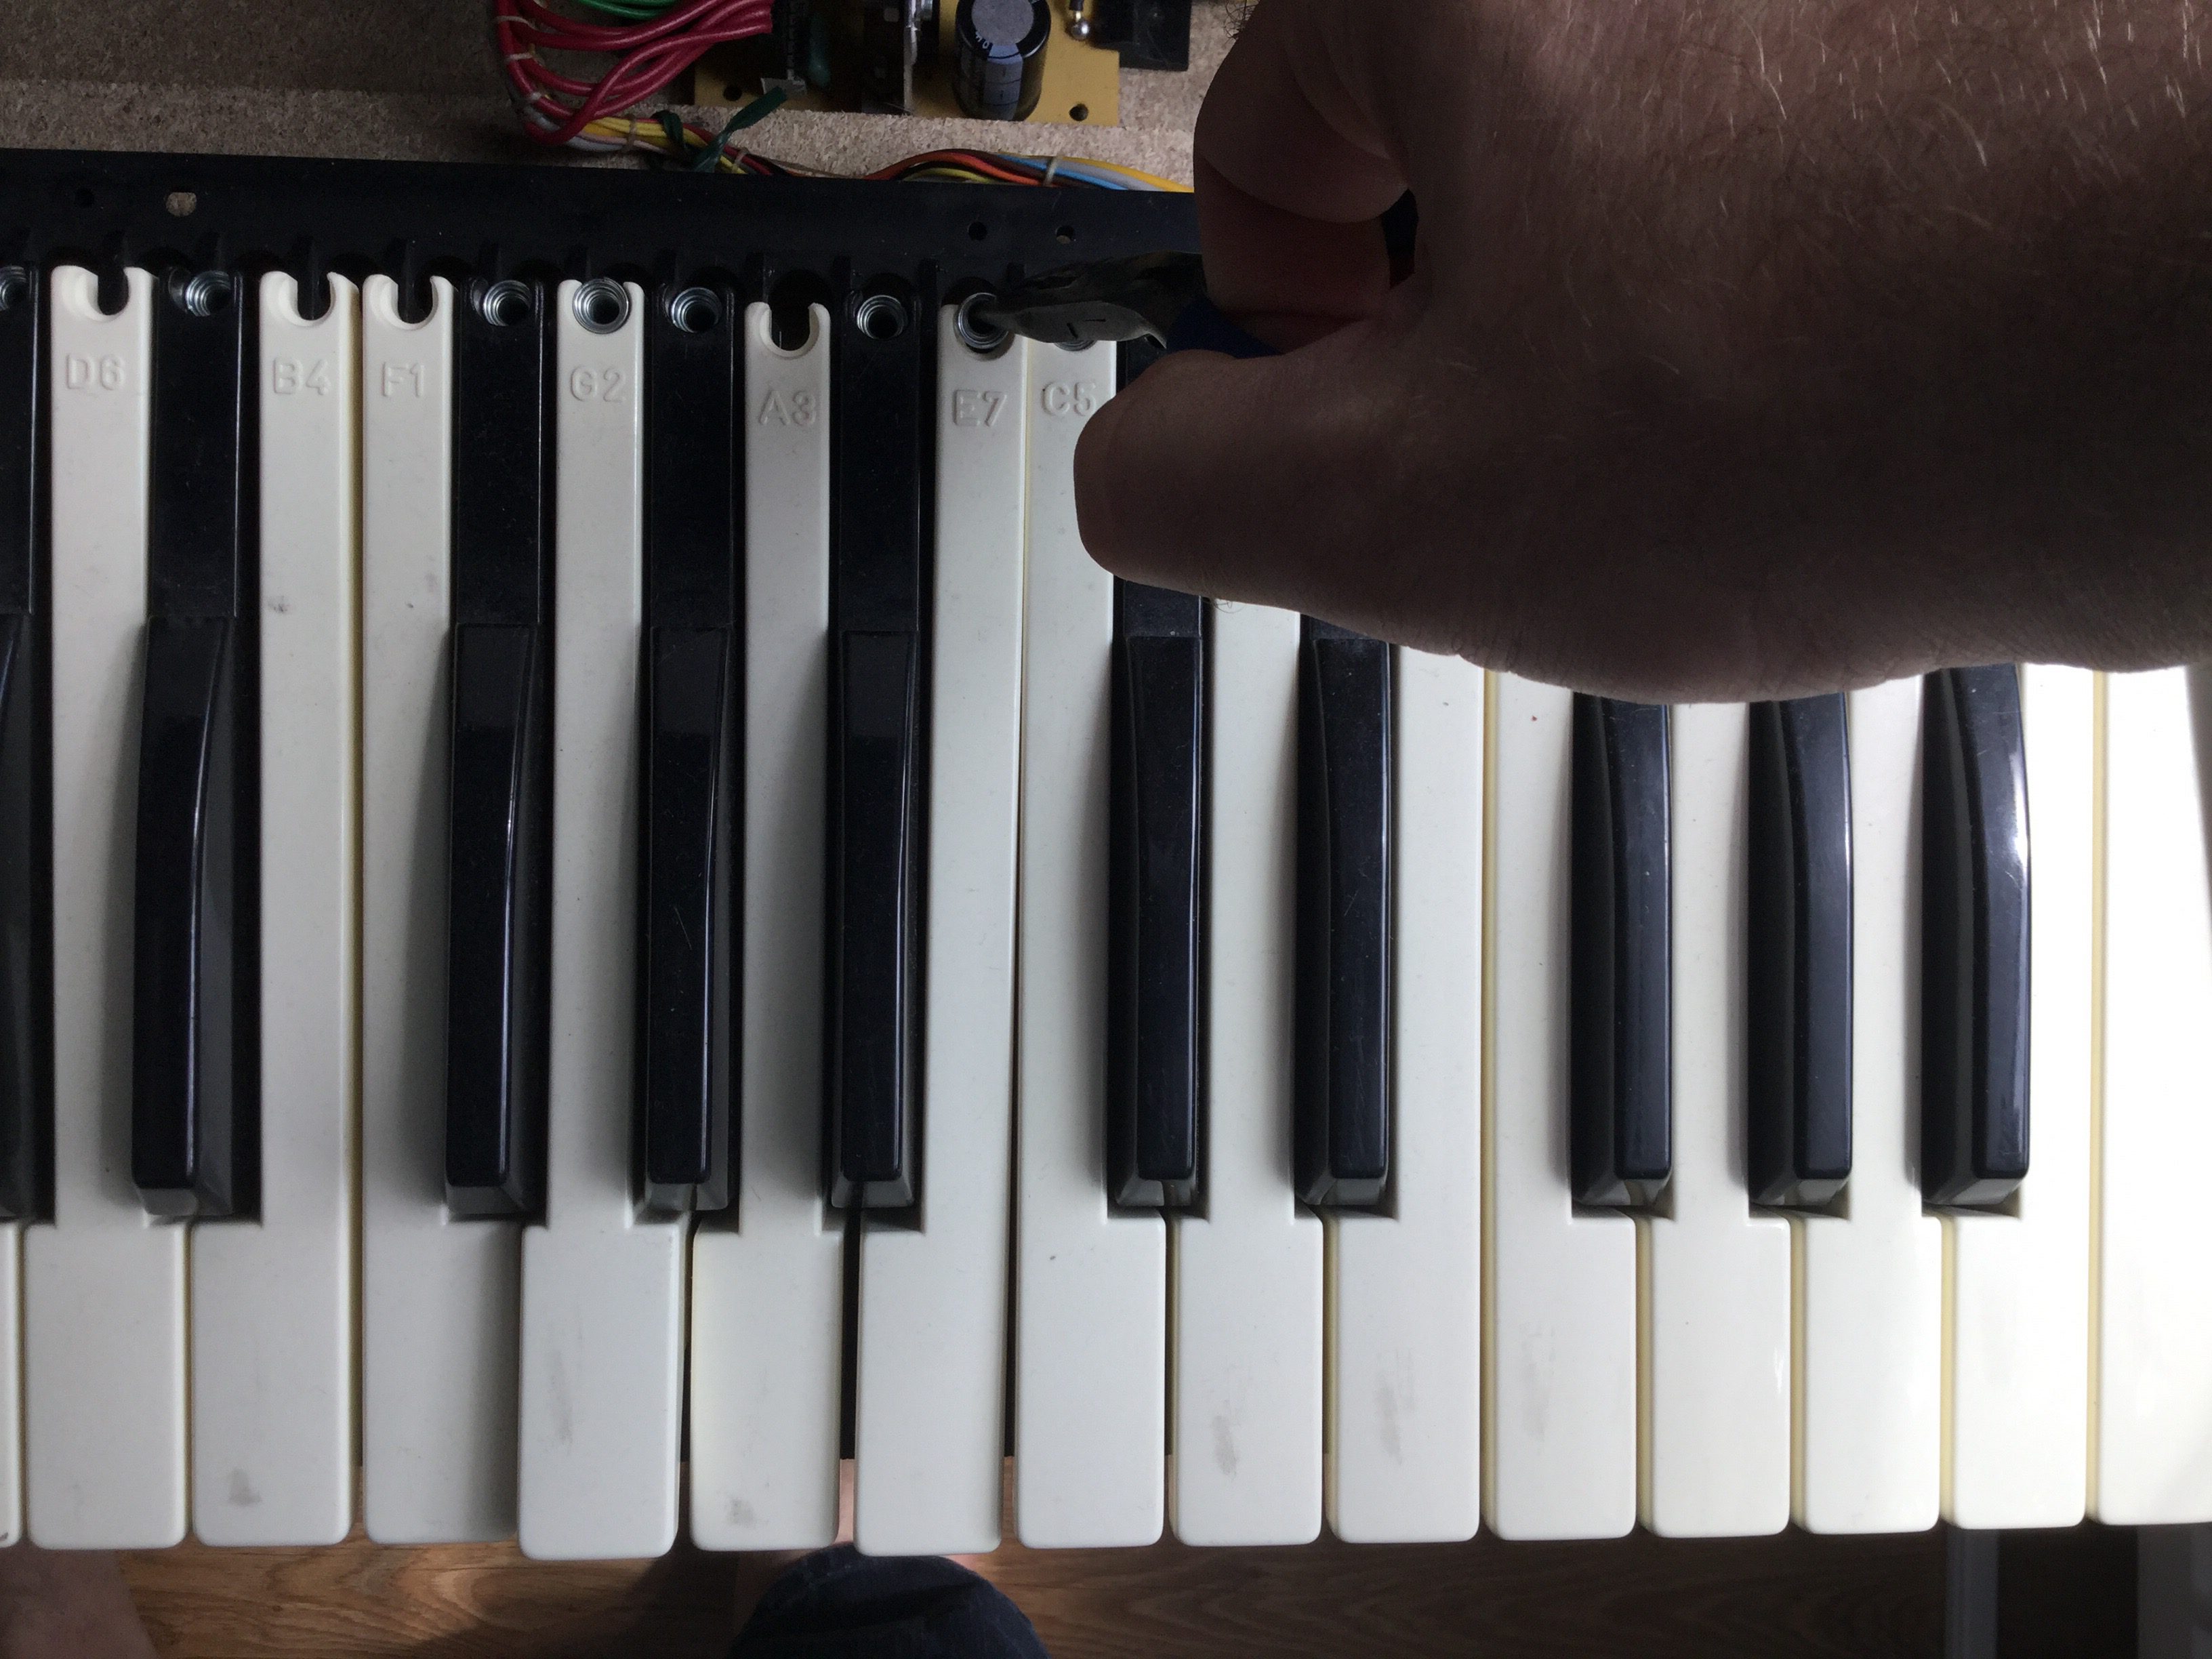
It is quite easy to take Jenny’s keyboard apart – just remove the six housing screws, and the two screws holding the keyboard plate from below. Then take out the keys by removing the key springs.
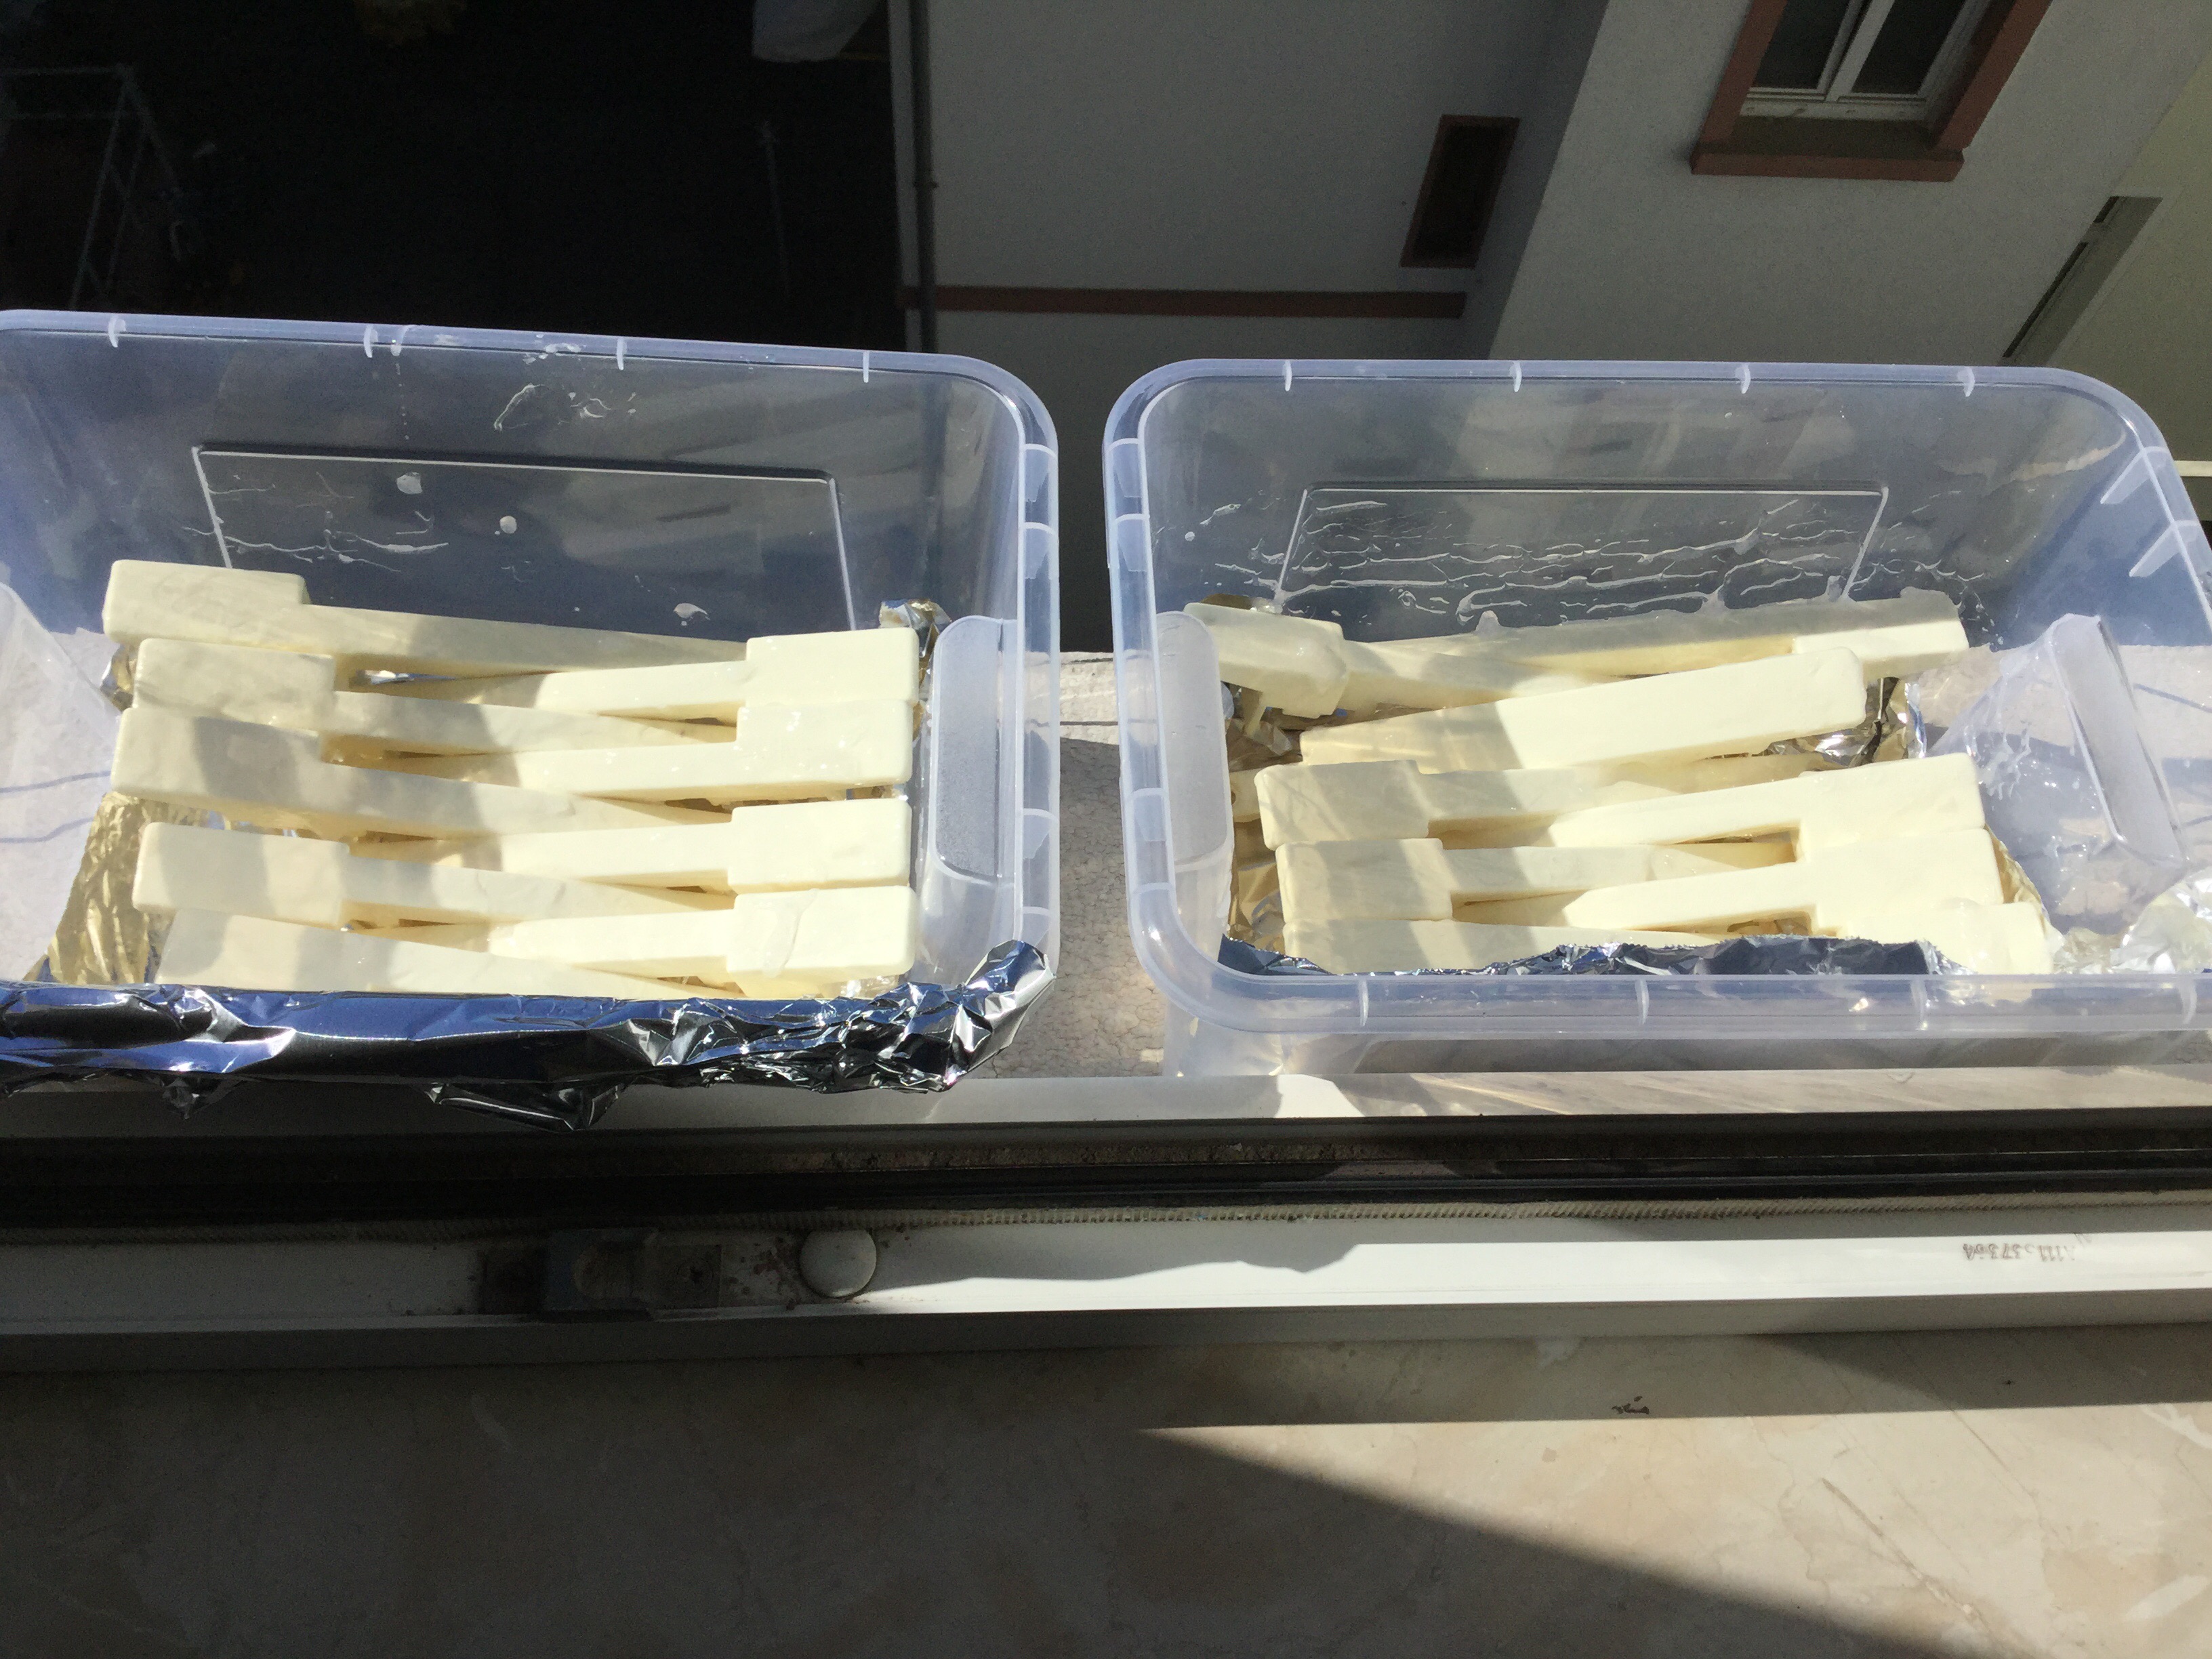
The 25 white keys fit just about right into two transparent Samla boxes from Ikea.

Now, the chemical agent. I used a 12-percent hydrogen peroxide solution. 10 litres of it cost me about 20 Euros, and I used three litres for this experiment.
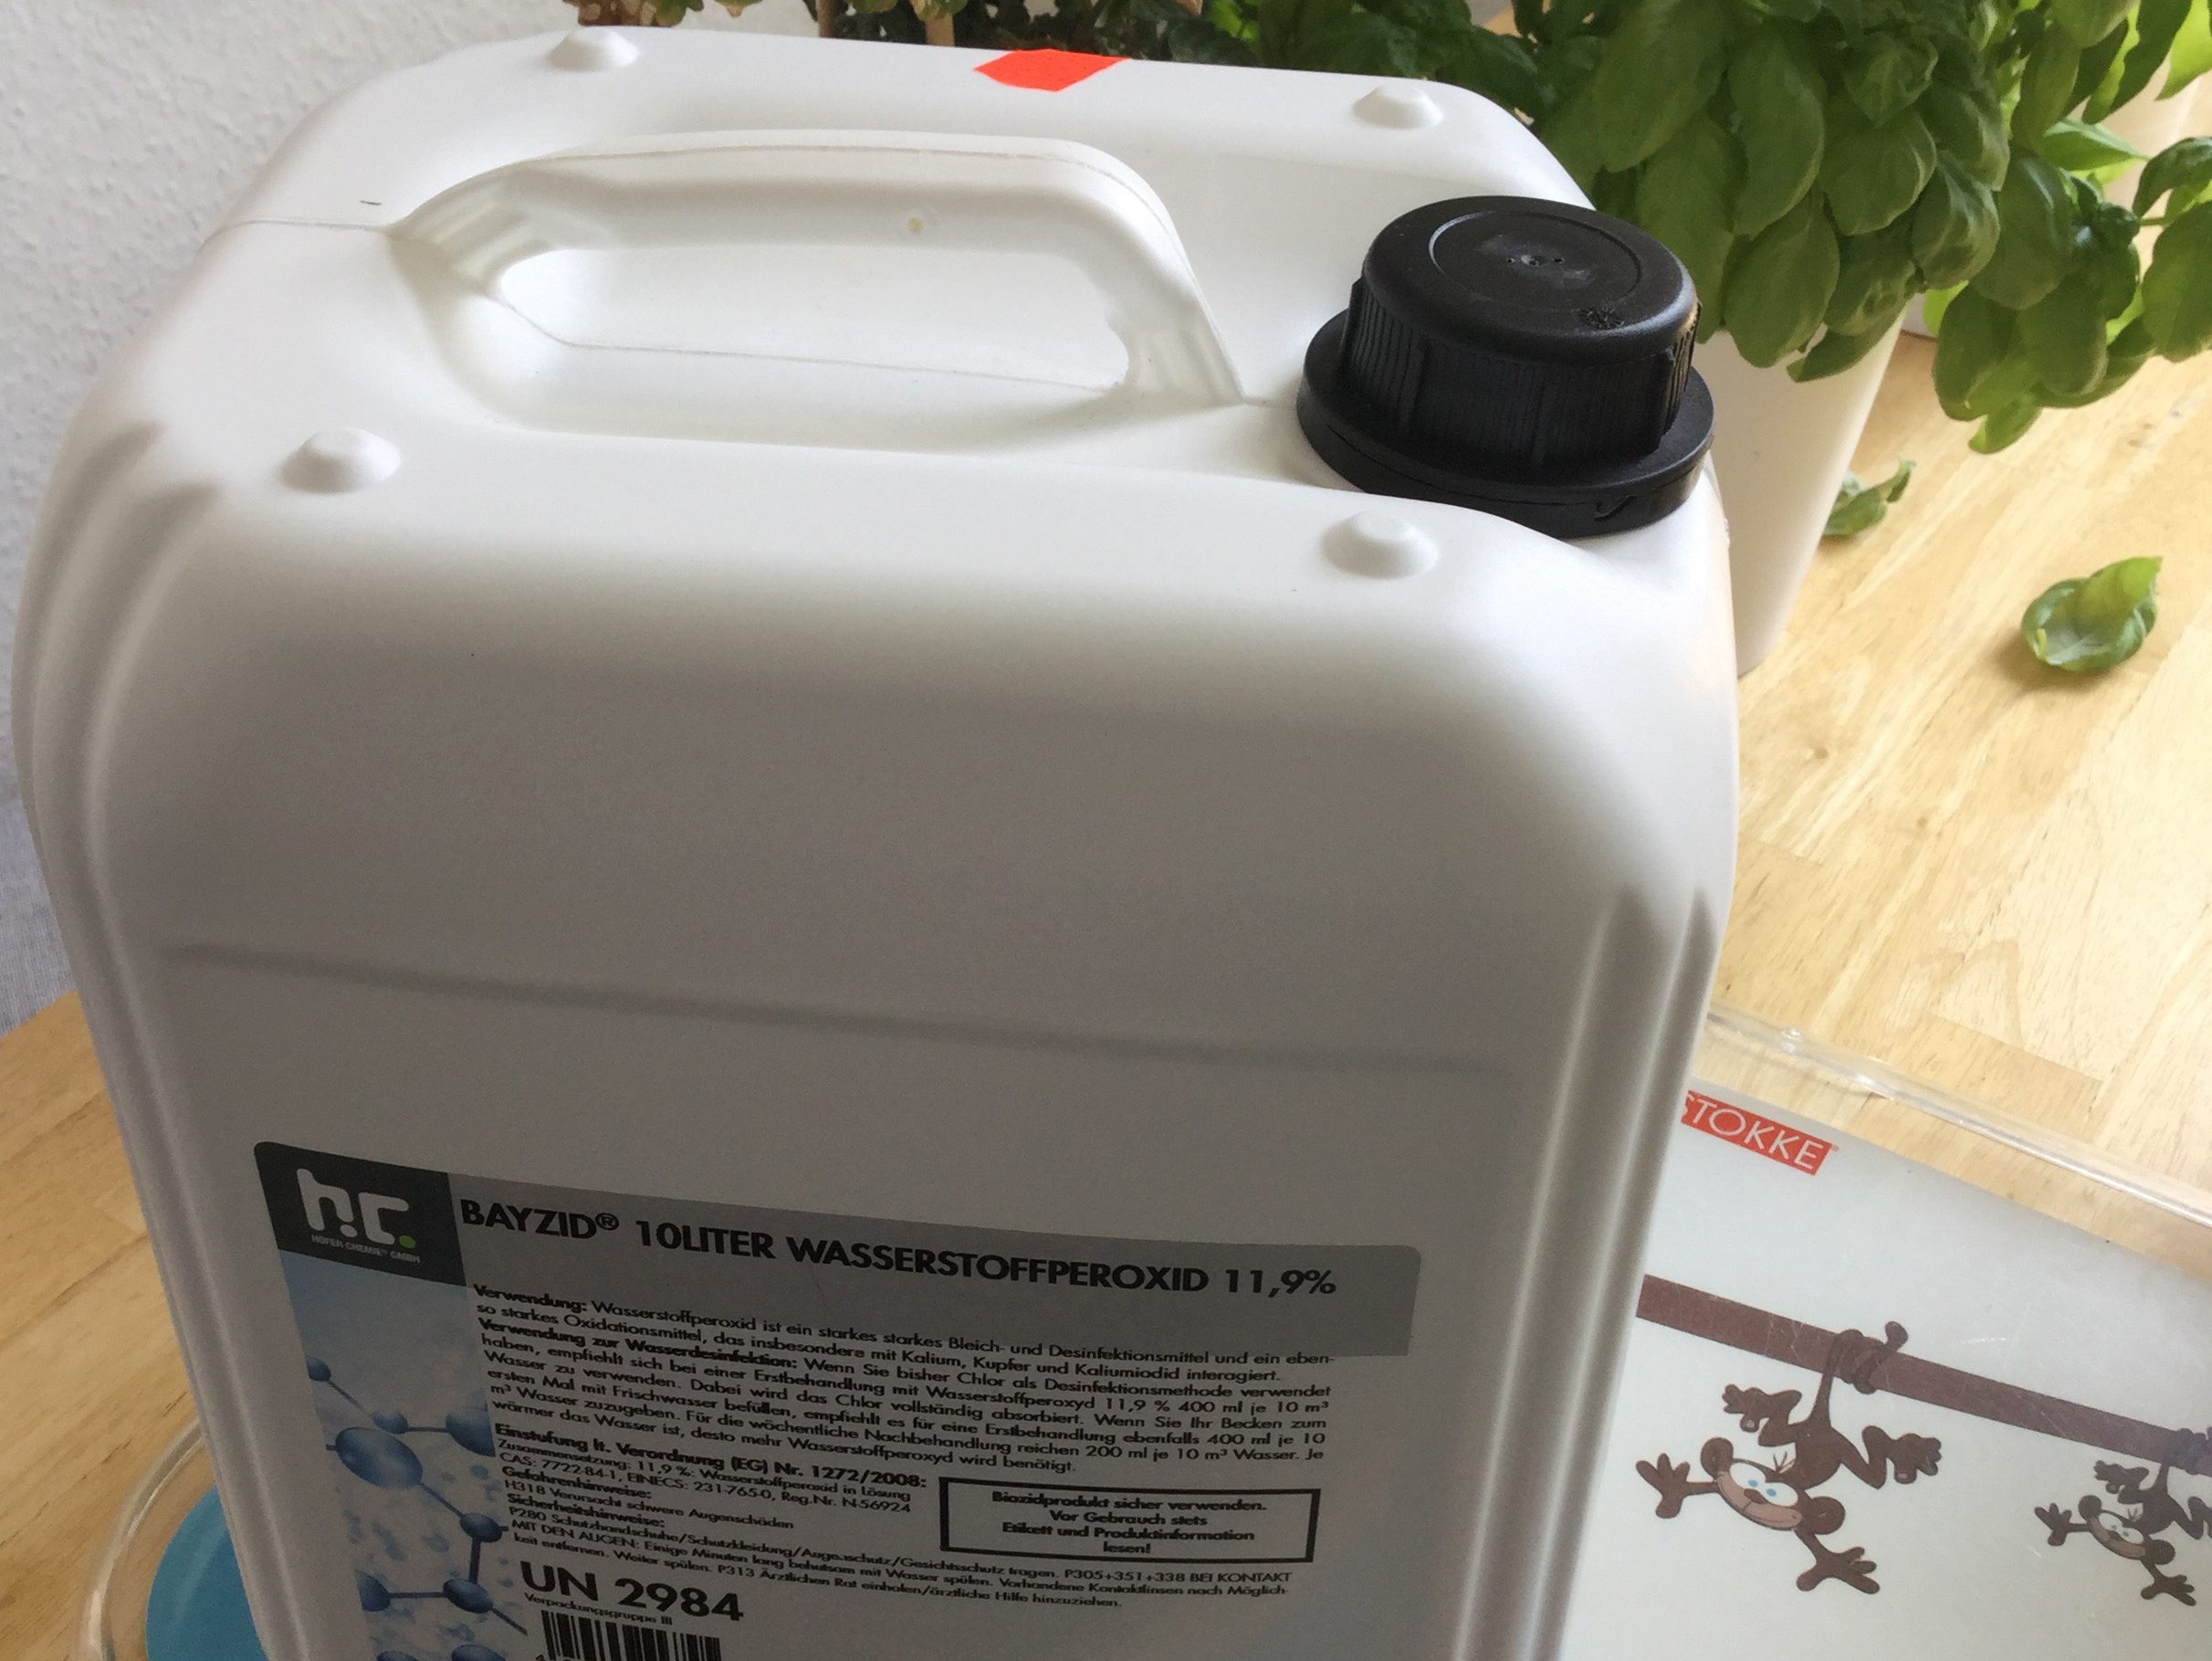
Don’t want to know into what kinds of database I have landed by buying this. There was the case of an alleged terrorist bomber who was arrested after trying to obtain three litres of hydrogen peroxide under an assumed name. I bought ten, albeit in a weaker concentration. Well, you can just order it via Amazon, so I guess it’s not really that relevant.
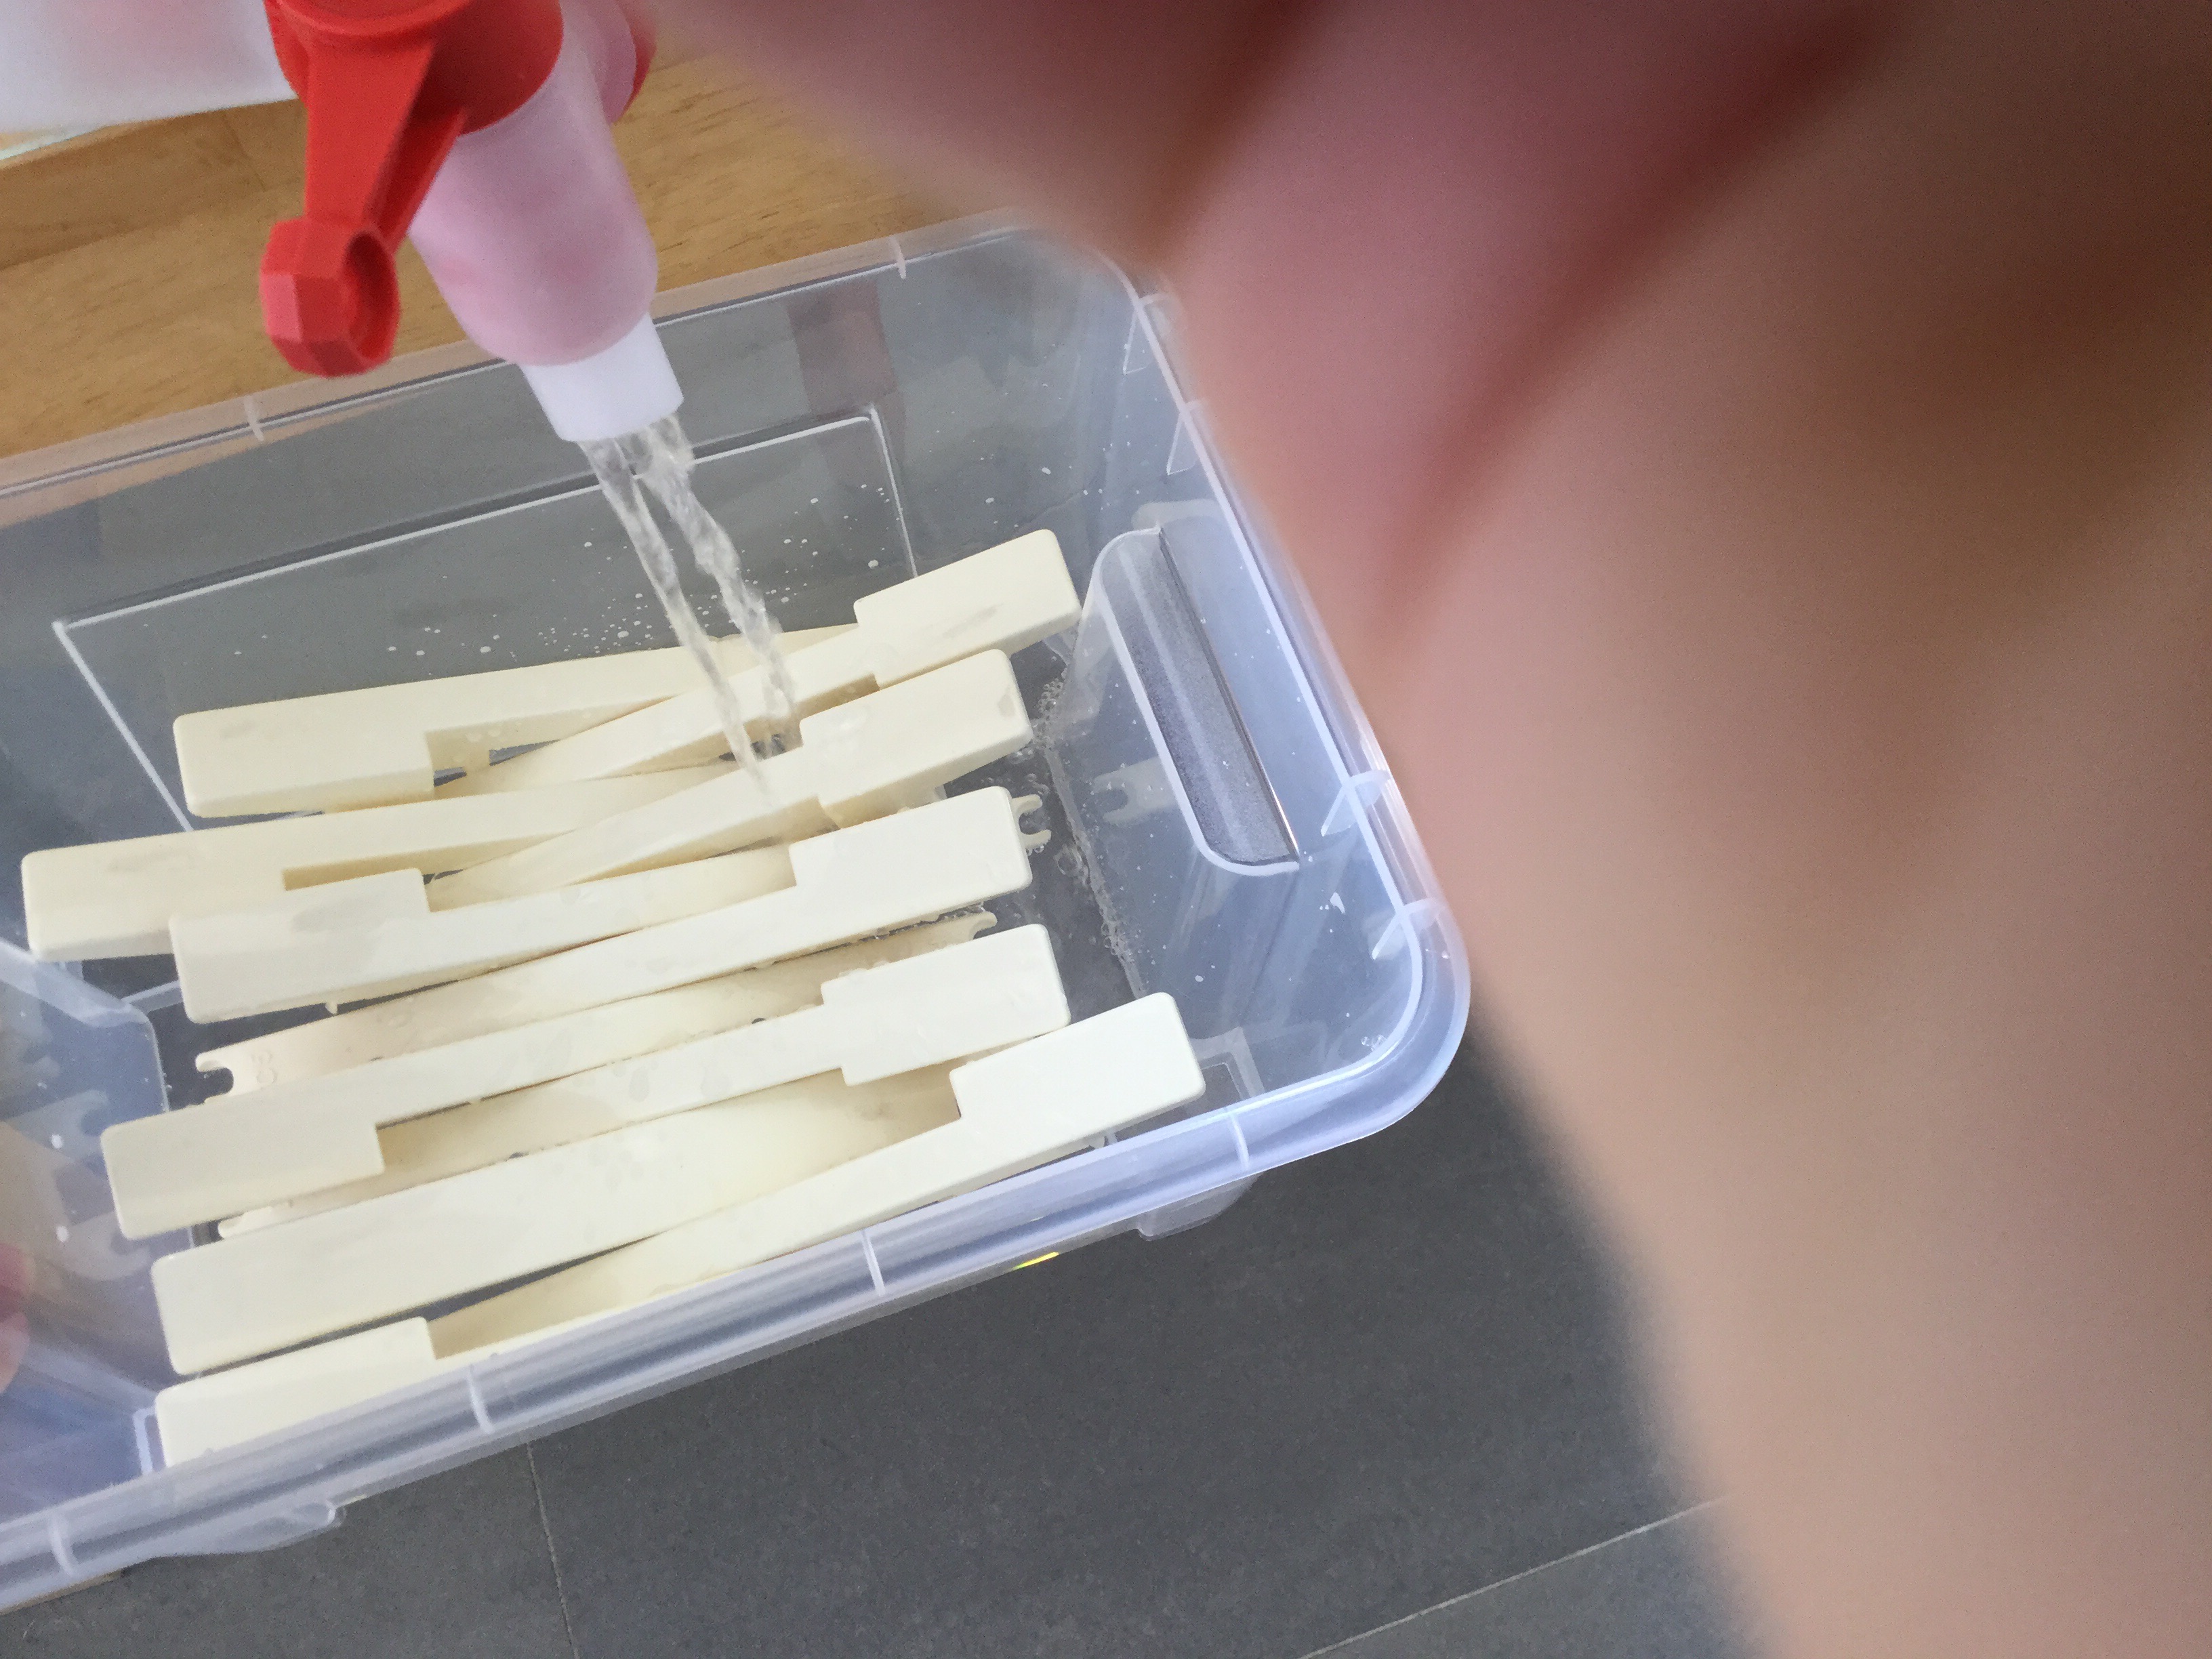
As mentioned before, it took about 1.5 litres for each container to have all the keys covered. I had not expected that they would swim though. JEN keys float – you’ll have to put a weight on top of them if you want to submerge them properly.
Then, the containers went into the sunlight, to a spot normally reserved to grow our tomatoes.
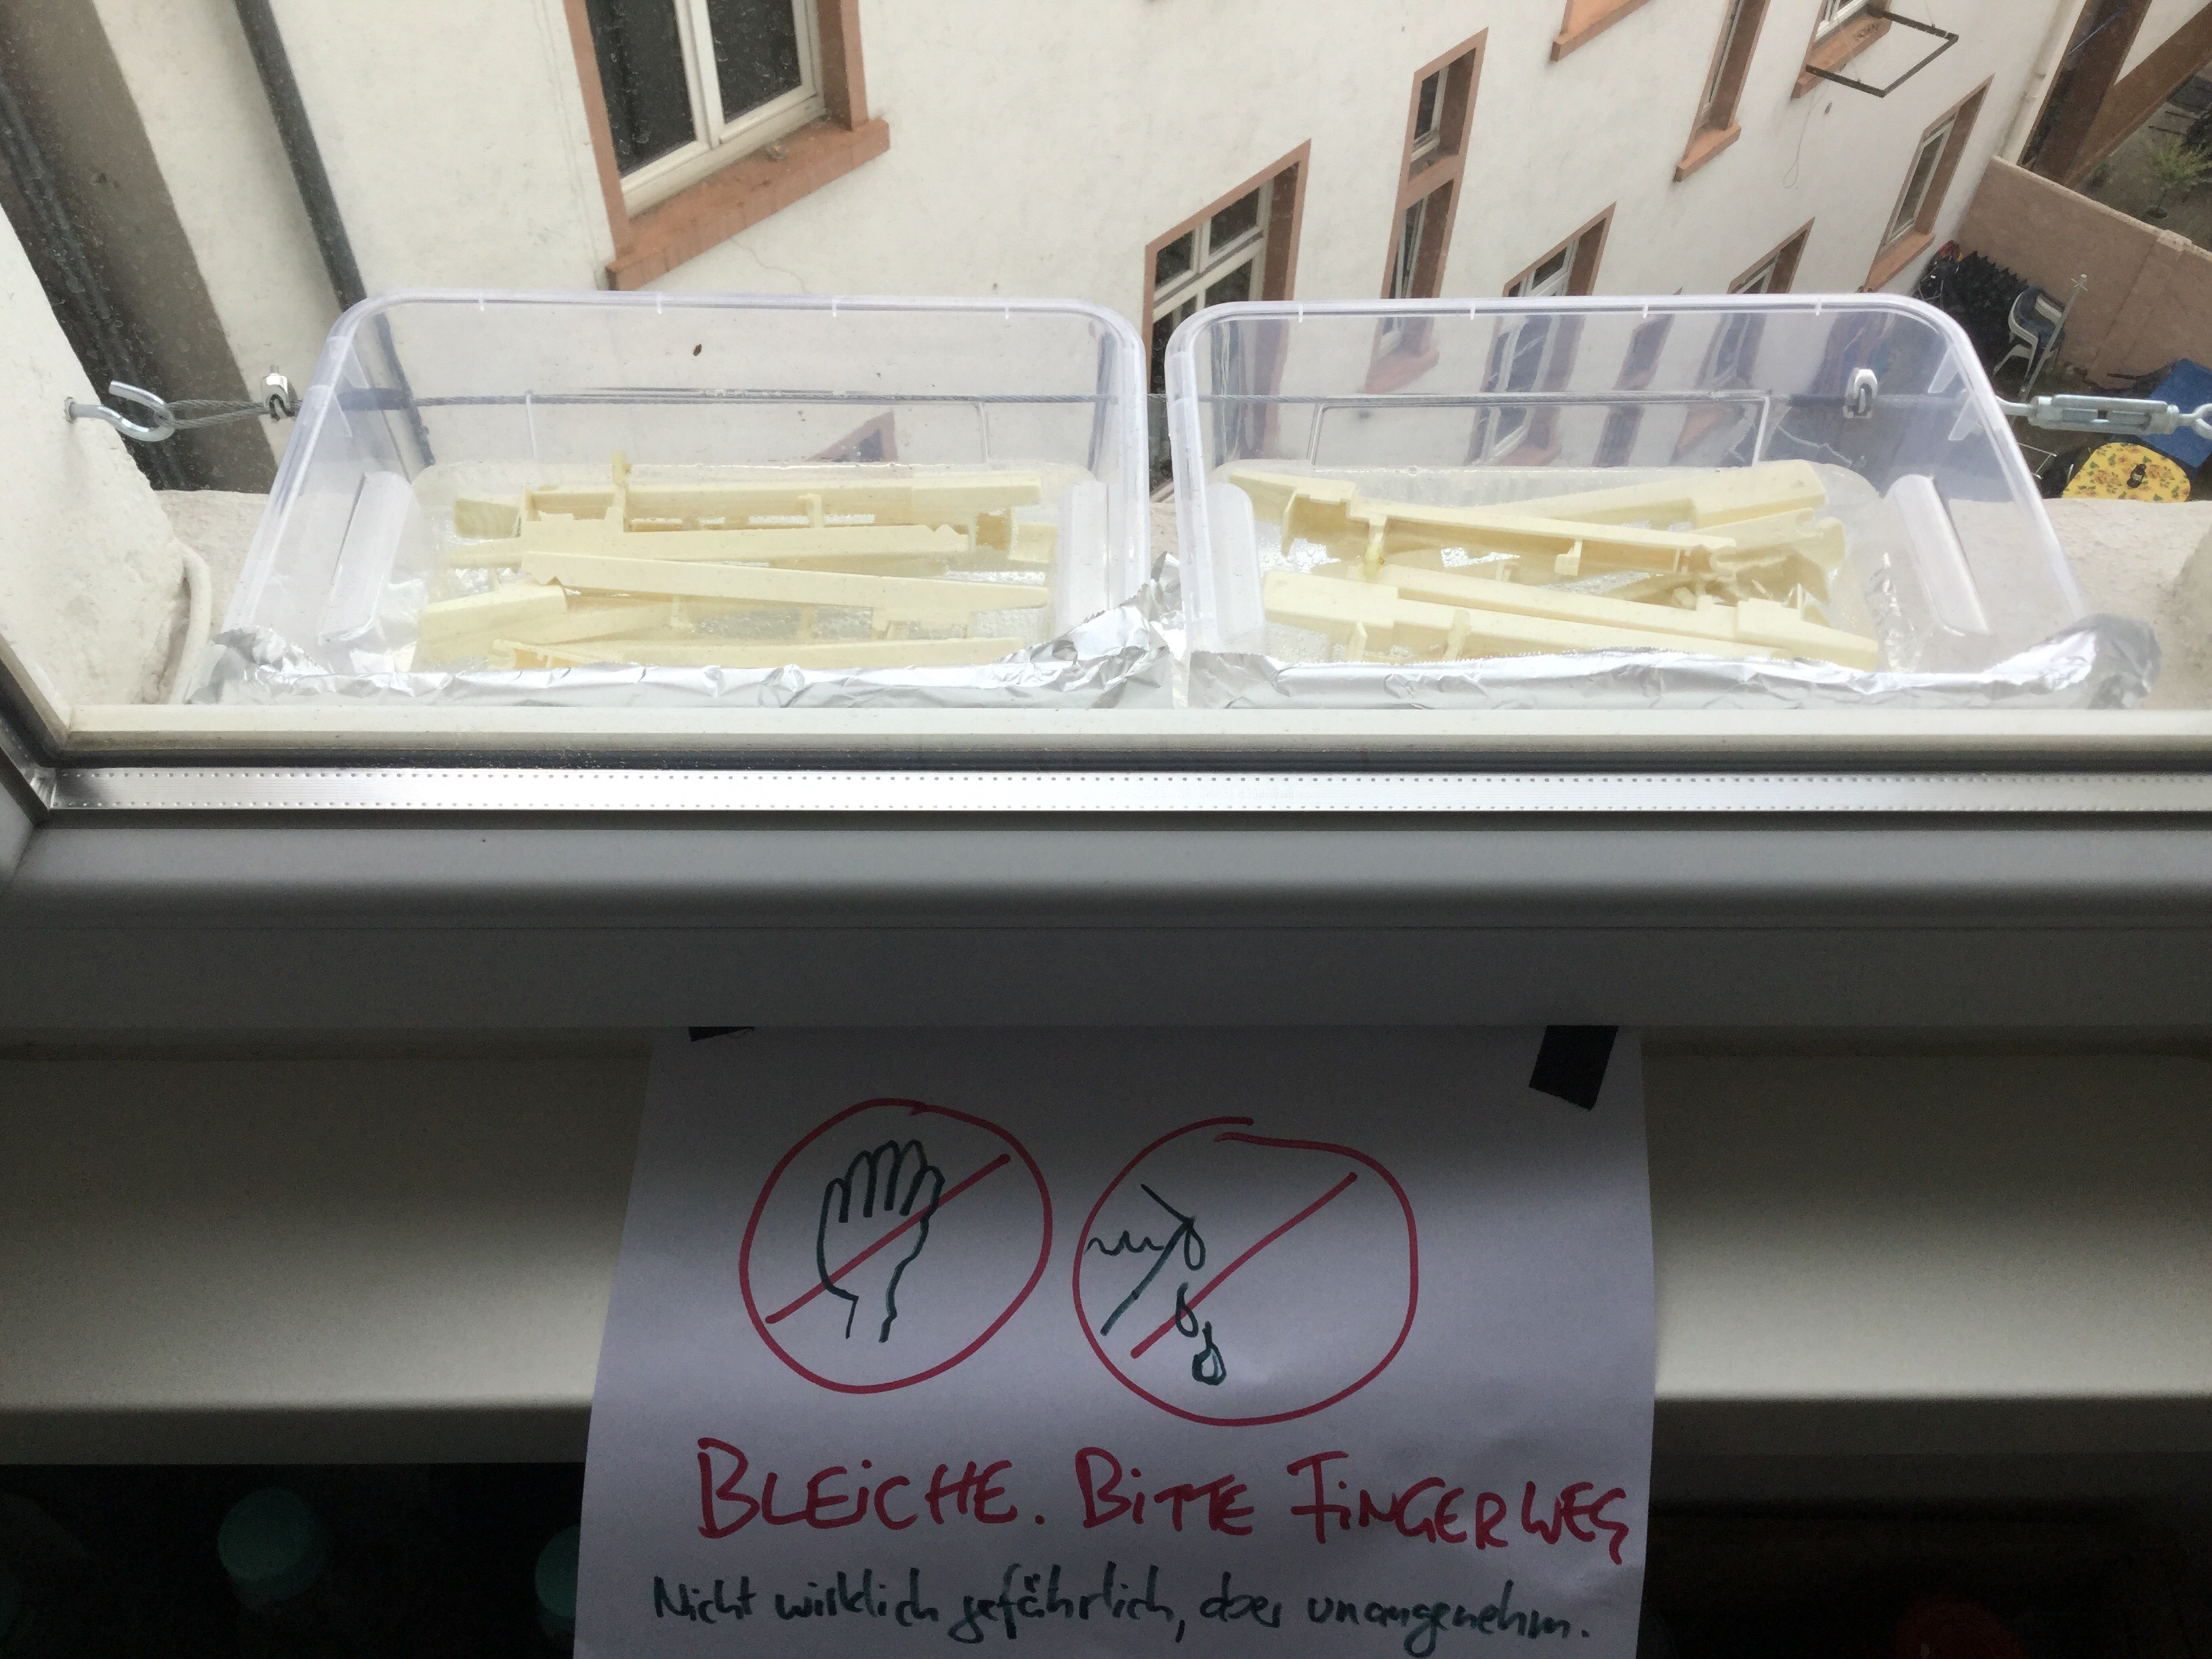
Warning sign reads: “Bleach. Don’t touch. Not really dangerous but unpleasant.”
This is what should happen: Ultraviolet radiation splits the H2O2 into water and oxygen radicals, which then oxidize the yellowing molecules. So the containers went to the window sill, well protected from the hands of curious little children, and well secured.
I also made a simple reflector from aluminium foil to catch all UV rays. Unfortunately, the 2016 summer is a mixed bag in Germany. If you can, pick a sunny day/area.
In case it rains, it is good to have the lids for the Ikea boxes ready.
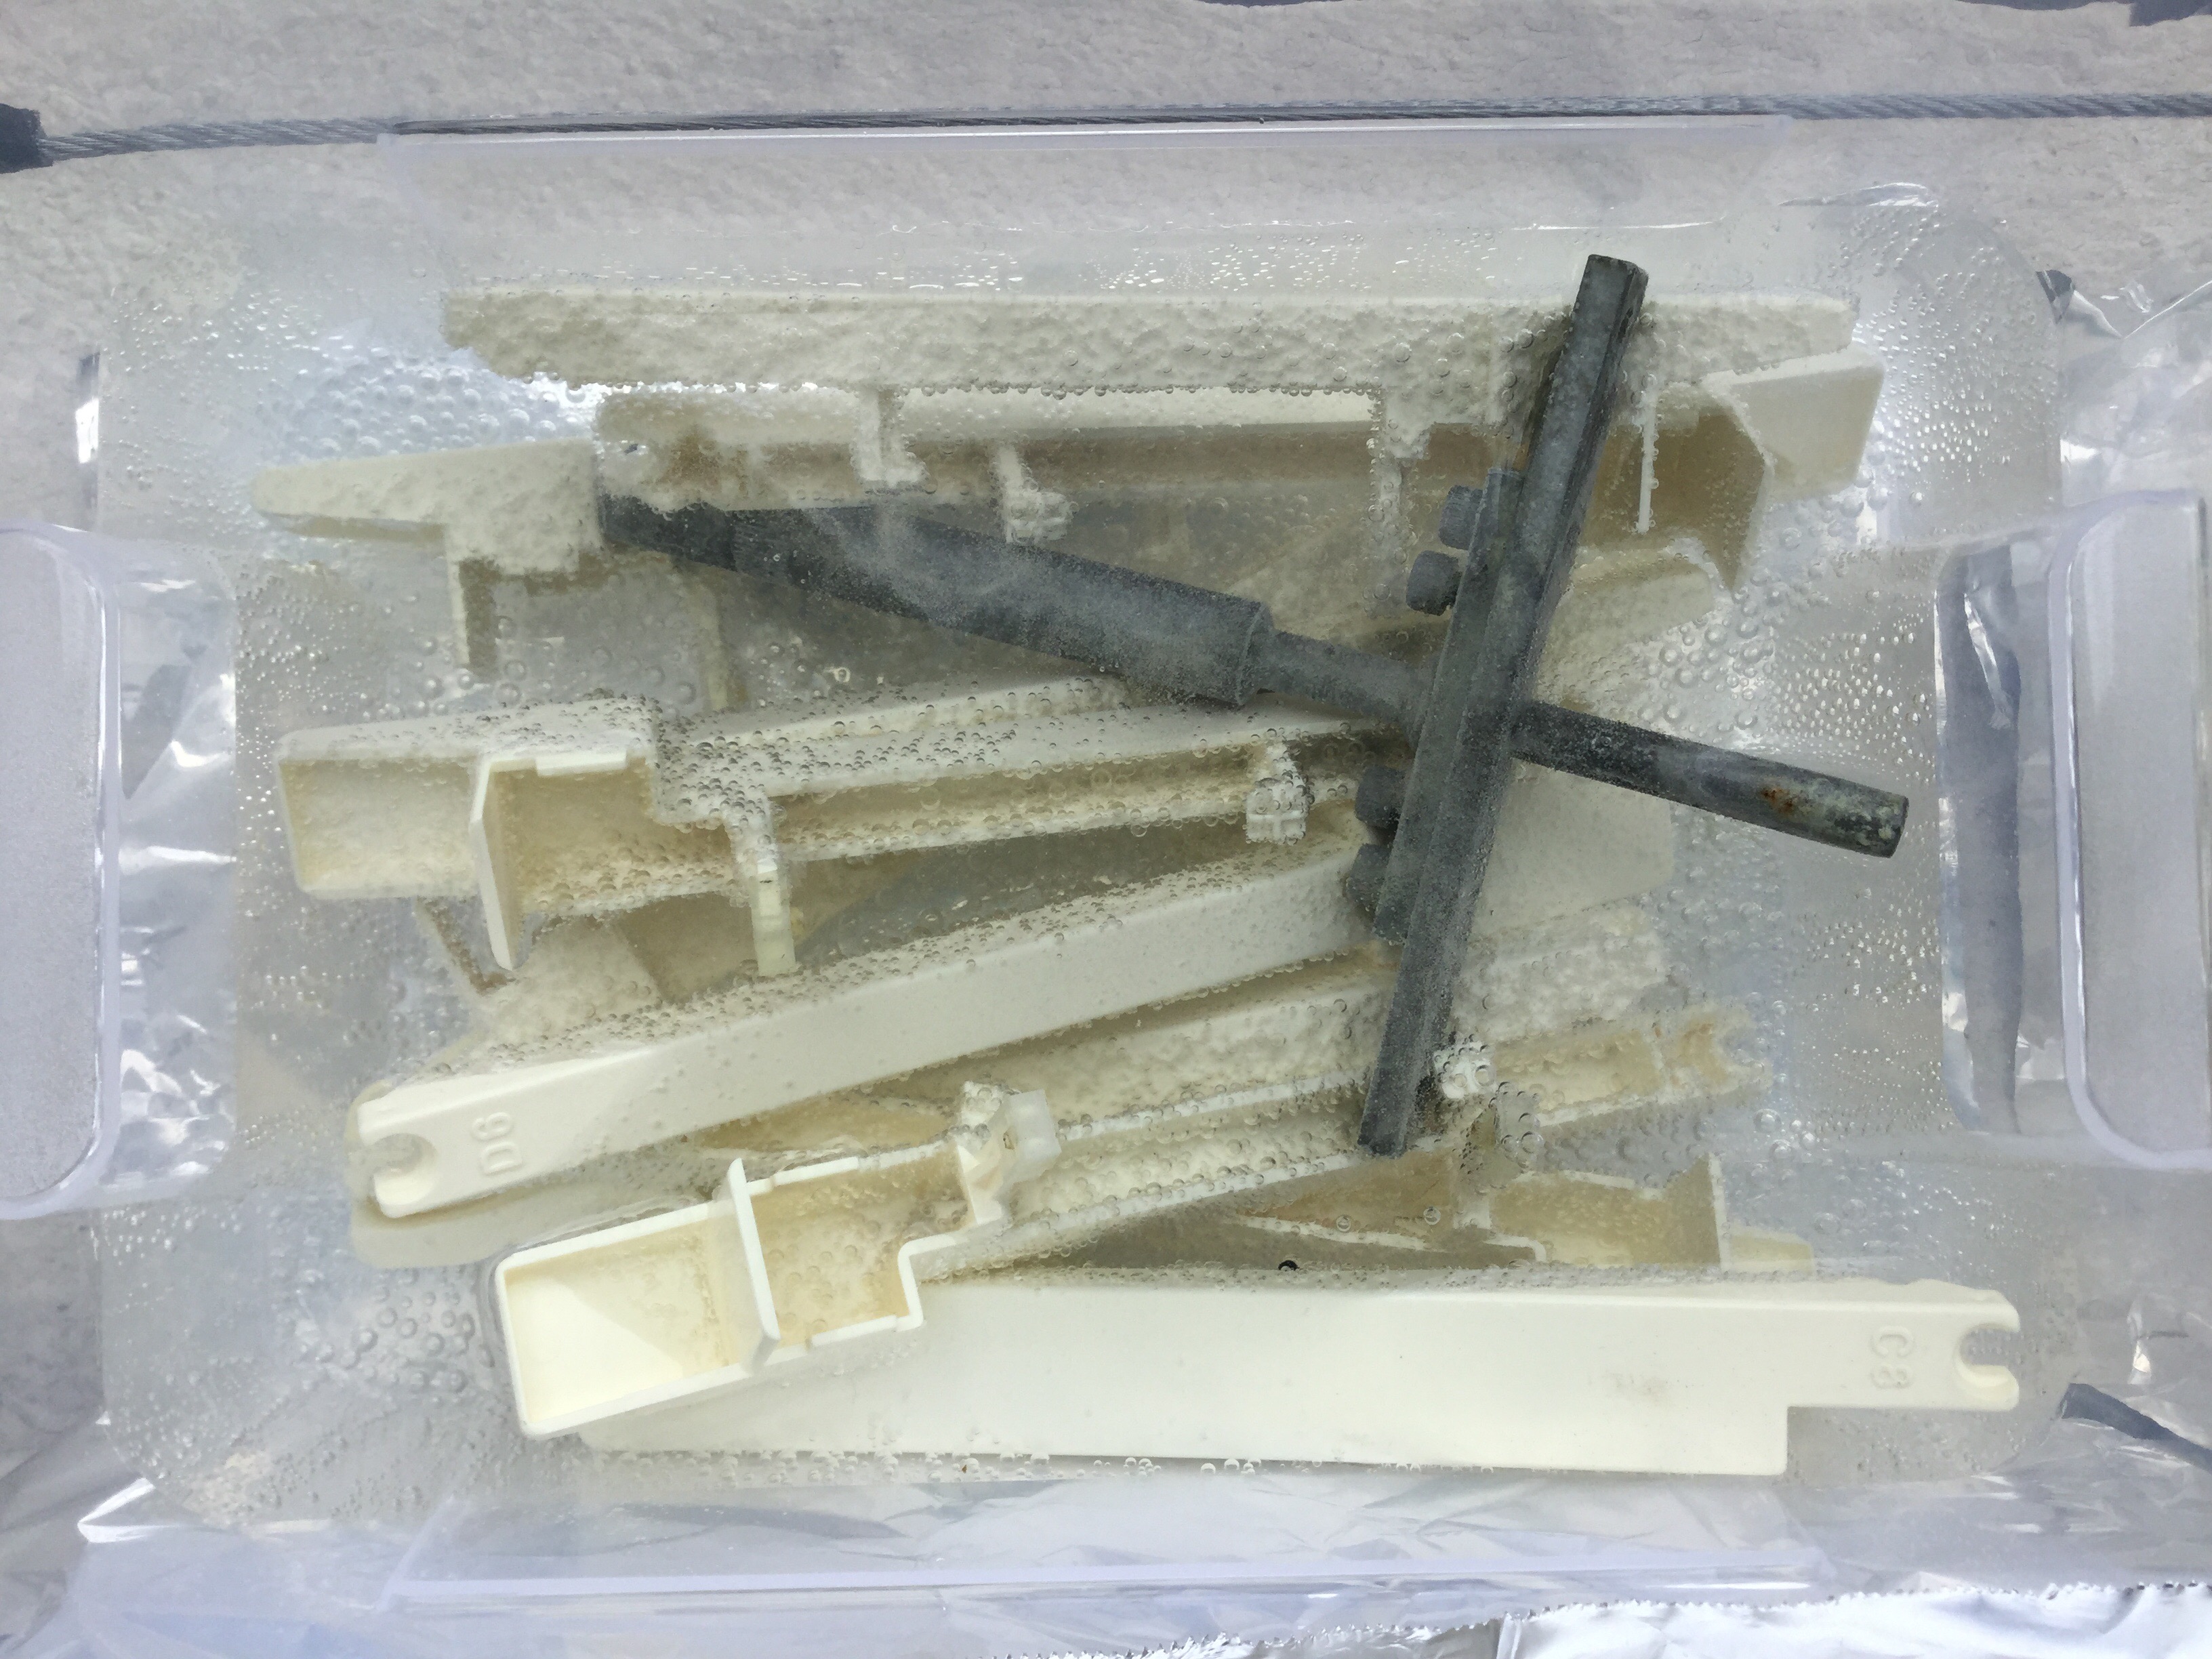
After about 20 hours in the bleach – you can see that the weight to keep the keys under clearly gets oxidised, the steel is no longer stainless. The keys? Less so. Bad luck with the weather. But if – if! – the sun comes out, you can see oxygen bubbles forming in the water.
Evaluation: Little success with the 12-percent solution
Unfortunately, even three mildly sunny day did not yield satisfying results. So I reassembled Jenny, feeling beaten. Breaking a contact in the process; fortunately, it could easily be fixed.
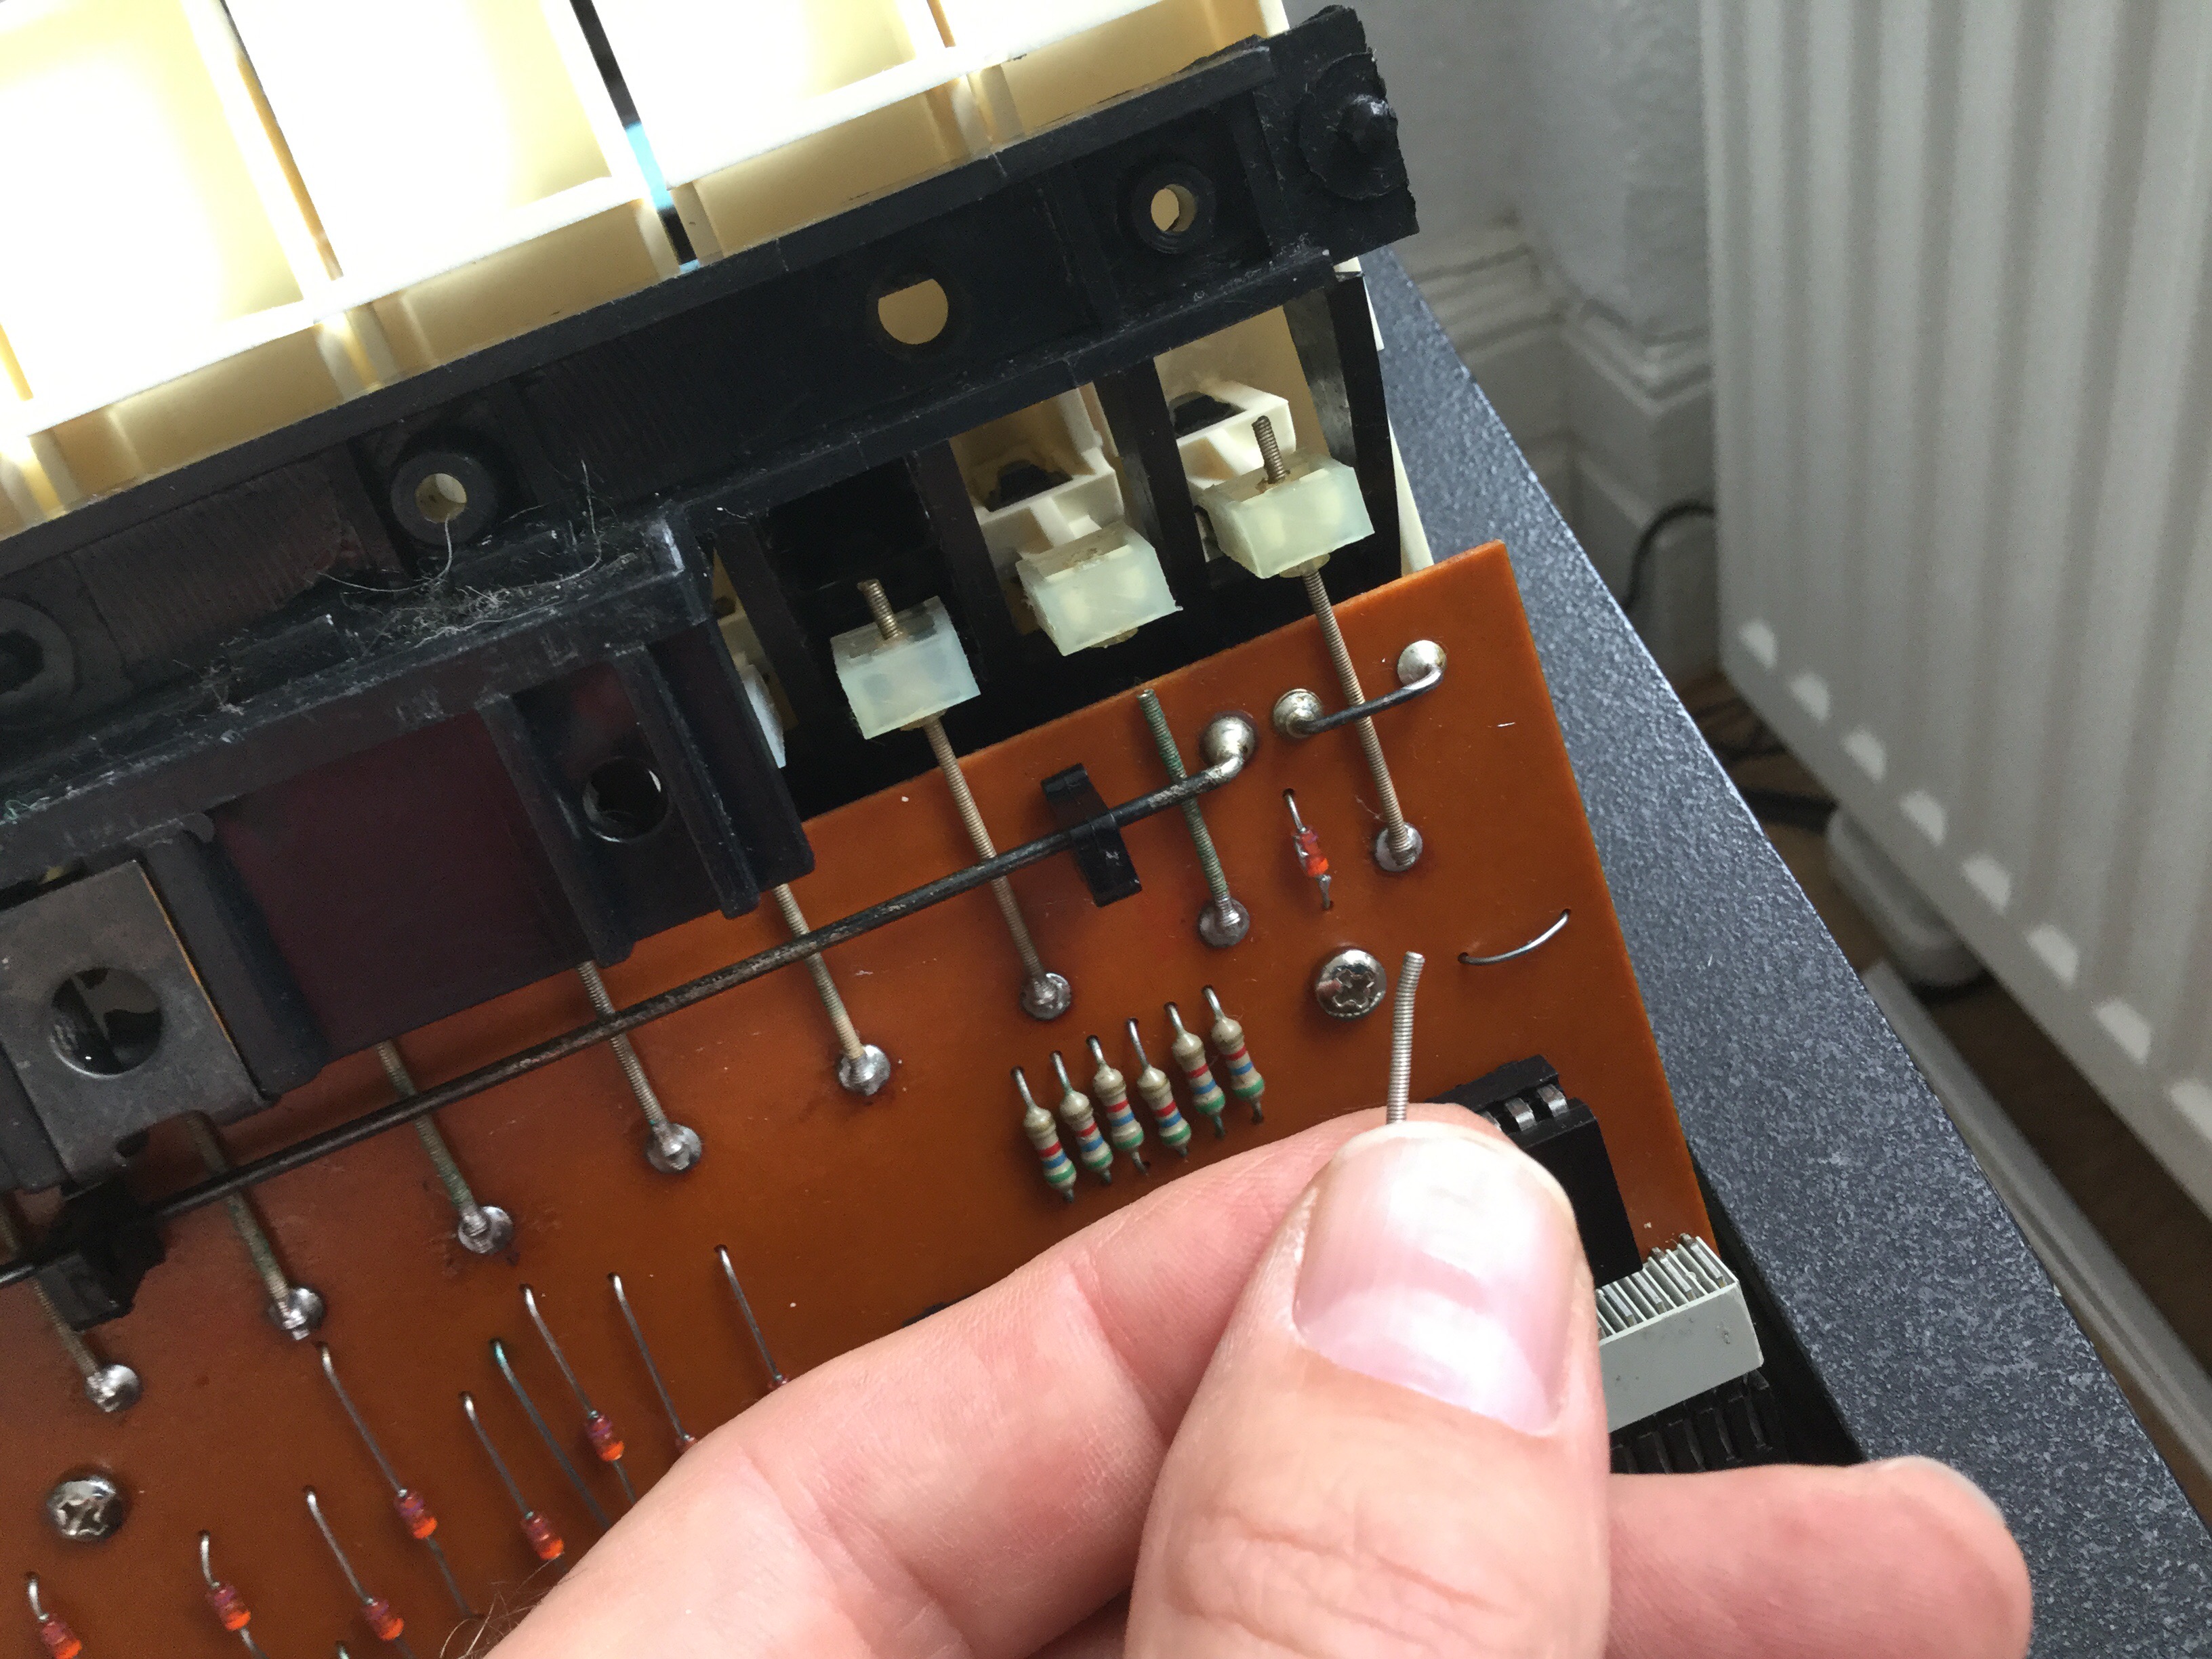
The keys are still notably yellowed.
A friend asks me to consider whether the keys may have been slightly yellow in the first place – organ keys tend to have that vintage ivory tone, maybe Jenny’s parents thought this would suit her as well – and although this is a possibility, I concluded that my experiment had failed, and went back to research.
Which made me stumble onto this site (in German). It takes a theoretical as well as an experimental approach to the problem of bleaching old, yellowed plastics, and thus seems to be a good lead for another attempt. Main takeaways:
- No need for stronger hydrogen peroxide. The H2O2 concentration does not matter as much as I would have thought – the 12-percent solution is more than sufficient.
- A gel is better than a bath. Instead of submerging the plastics in the solution, as I did, the experimenter manufactured a gel to cover the surface with. Much easier to handle, much better results.
- No need for additional bleaching agents. Some recipes advise to add laundry bleaching powder but it does not seem to improve the bleaching process.
- Pick a really sunny week – or get a bloody UV lamp. I’ll stick to the former.
A refined attempt: Using a self-manufactured bleaching gel
Using Torsten’s Retr0bright recipe from the website mentioned above, I manufactured a bleaching gel:
- 250ml of the12-percent hydrogen solution
- 10mg Xanthan, a food thickening agent,
- 100ml Glycerine, as a moisturizer keeping the gel from drying up in place
As mentioned above, some people add washing bleach powder. Torsten has experimented and thinks it’s not worth it, I did not try. Being a tinkerer with absolutely no grasp of chemistry, I would theorize that washing powder, or bleach, may be a way to add blue colour. (A bit of blue colour is the secret trick to pearly-white sheets.) I doubt that it helps, so I left it out.

Stir and give the Xanthan some time to dissolve. If you compare with the original recipe, you may notice that I used LOTS of the thicking agent, otherwise the gel would not stick to the surface Jennys wonderfully smooth keys.
I coated the keys with the gel and put them into boxes on the window sill. Tinfoil below serves as a reflector.
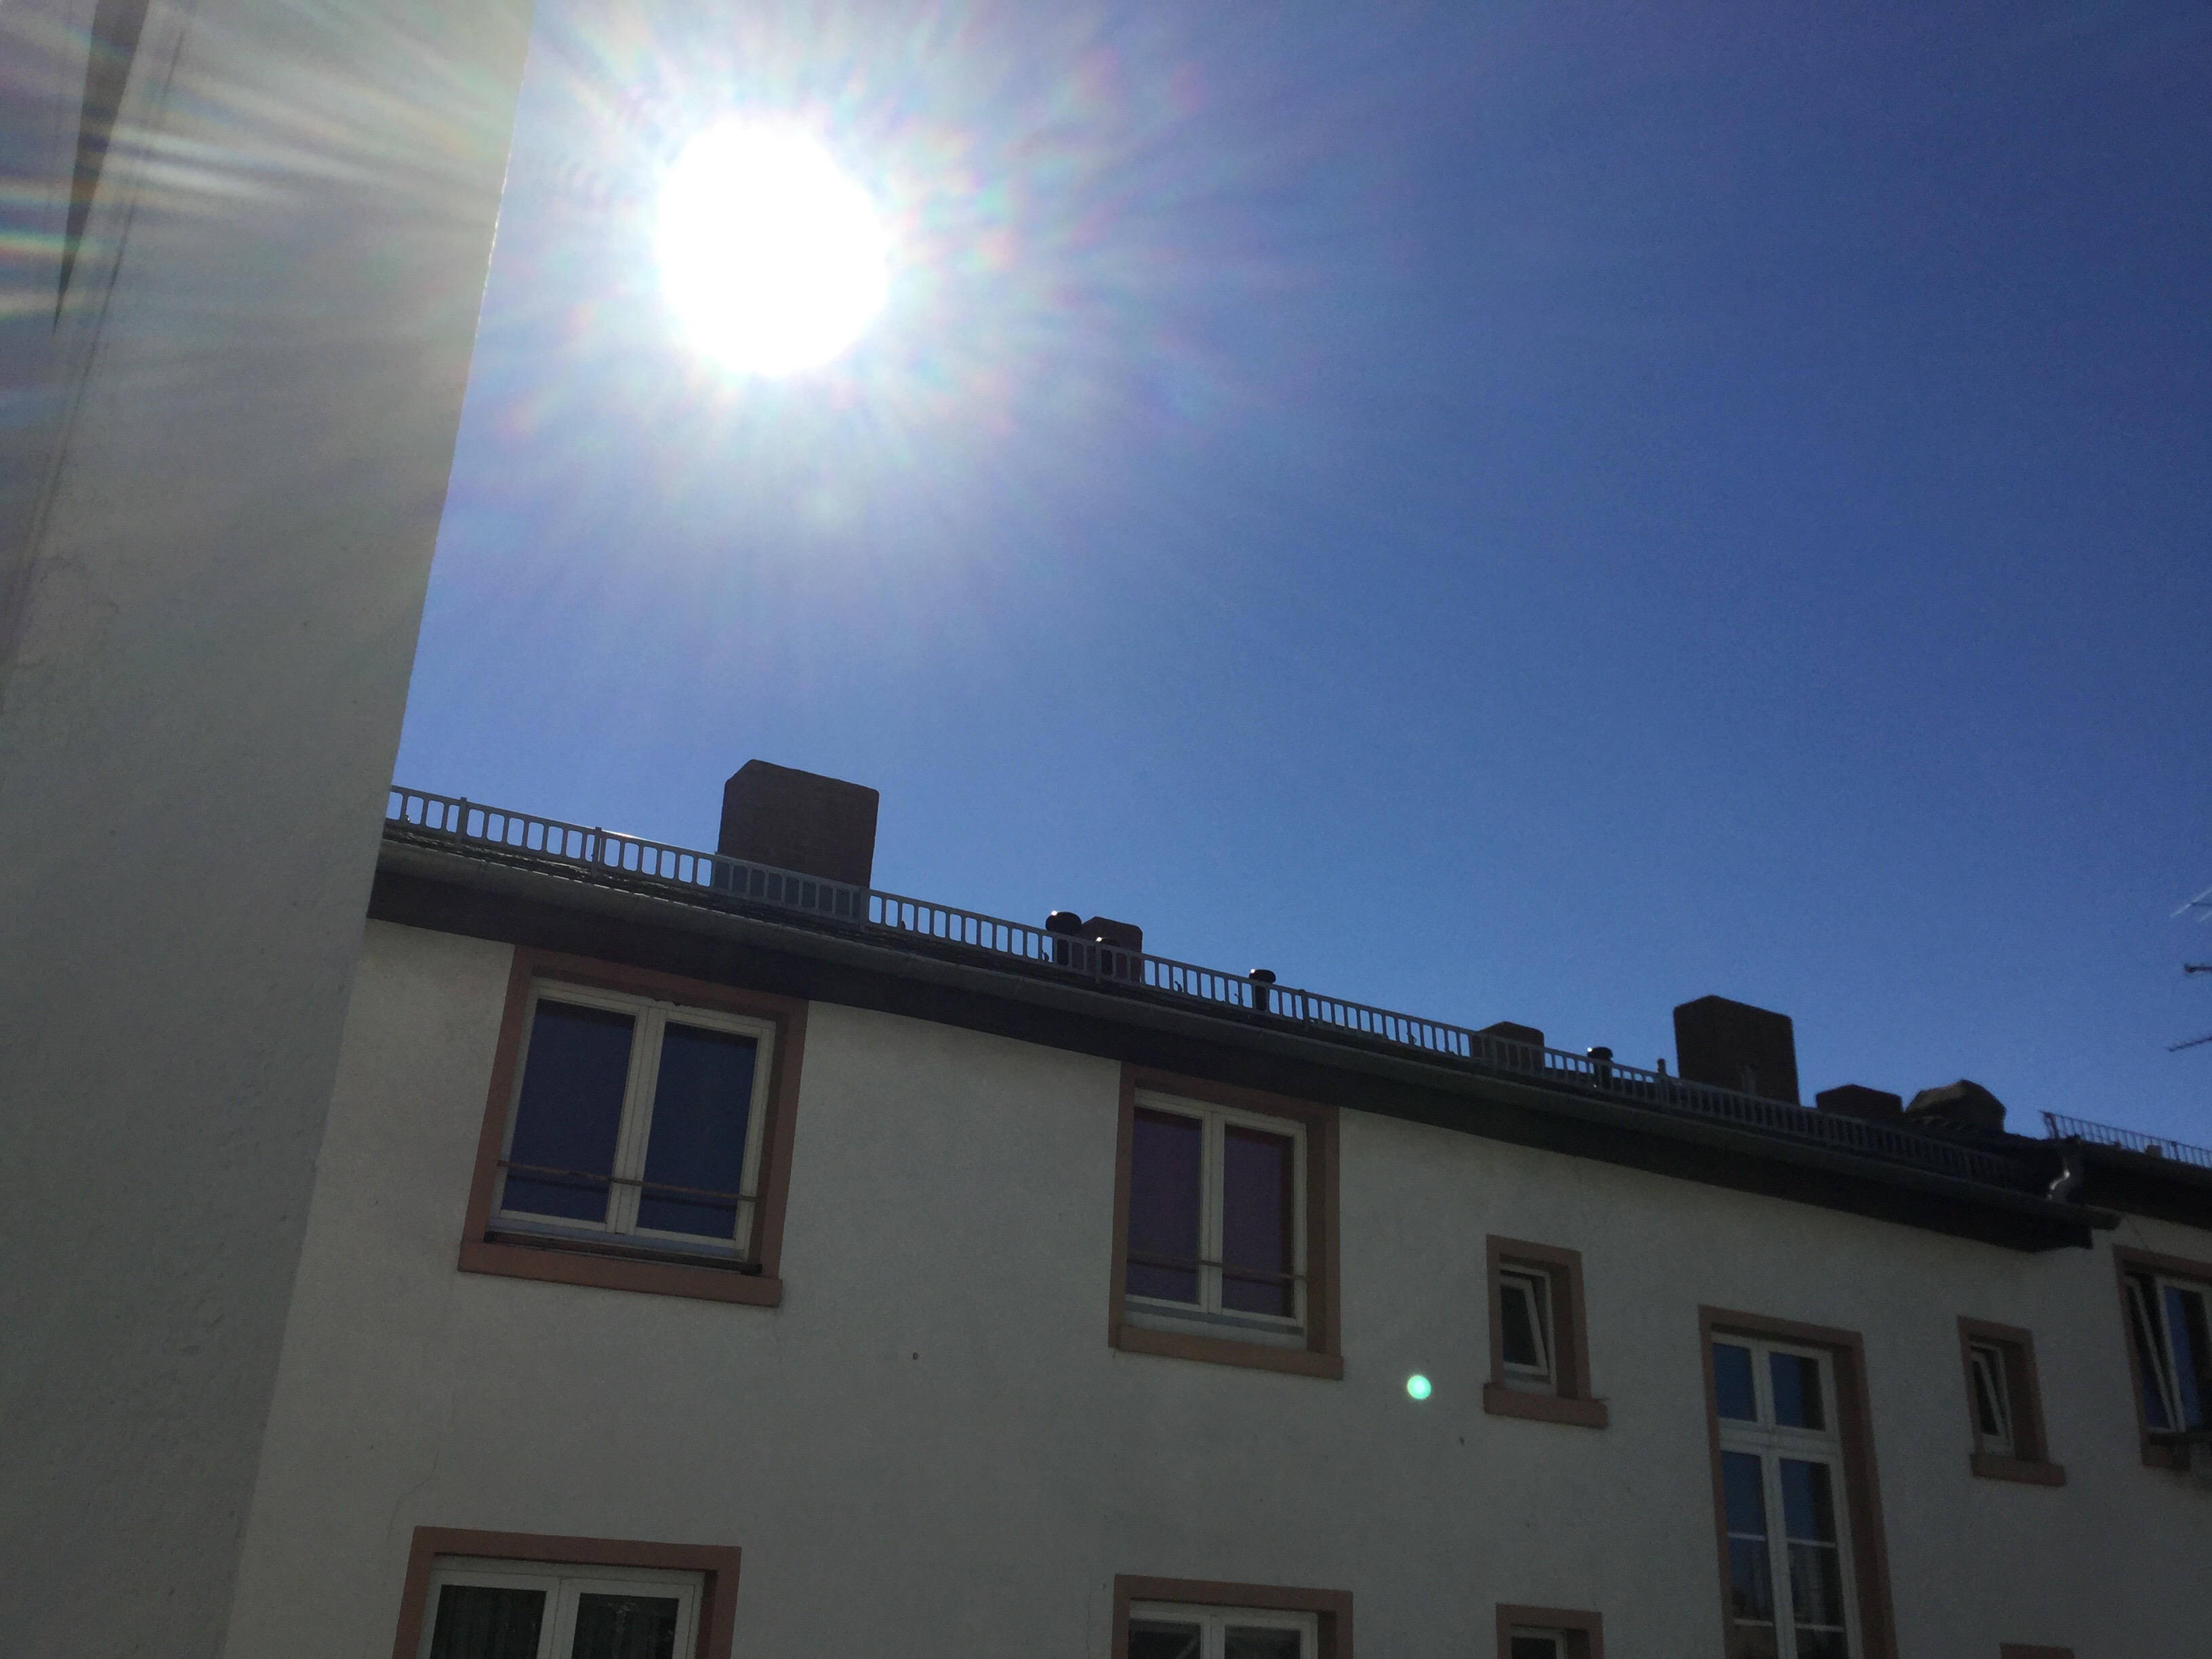
This time, two proper summer days. No clouds, hard UV radiation guaranteed.

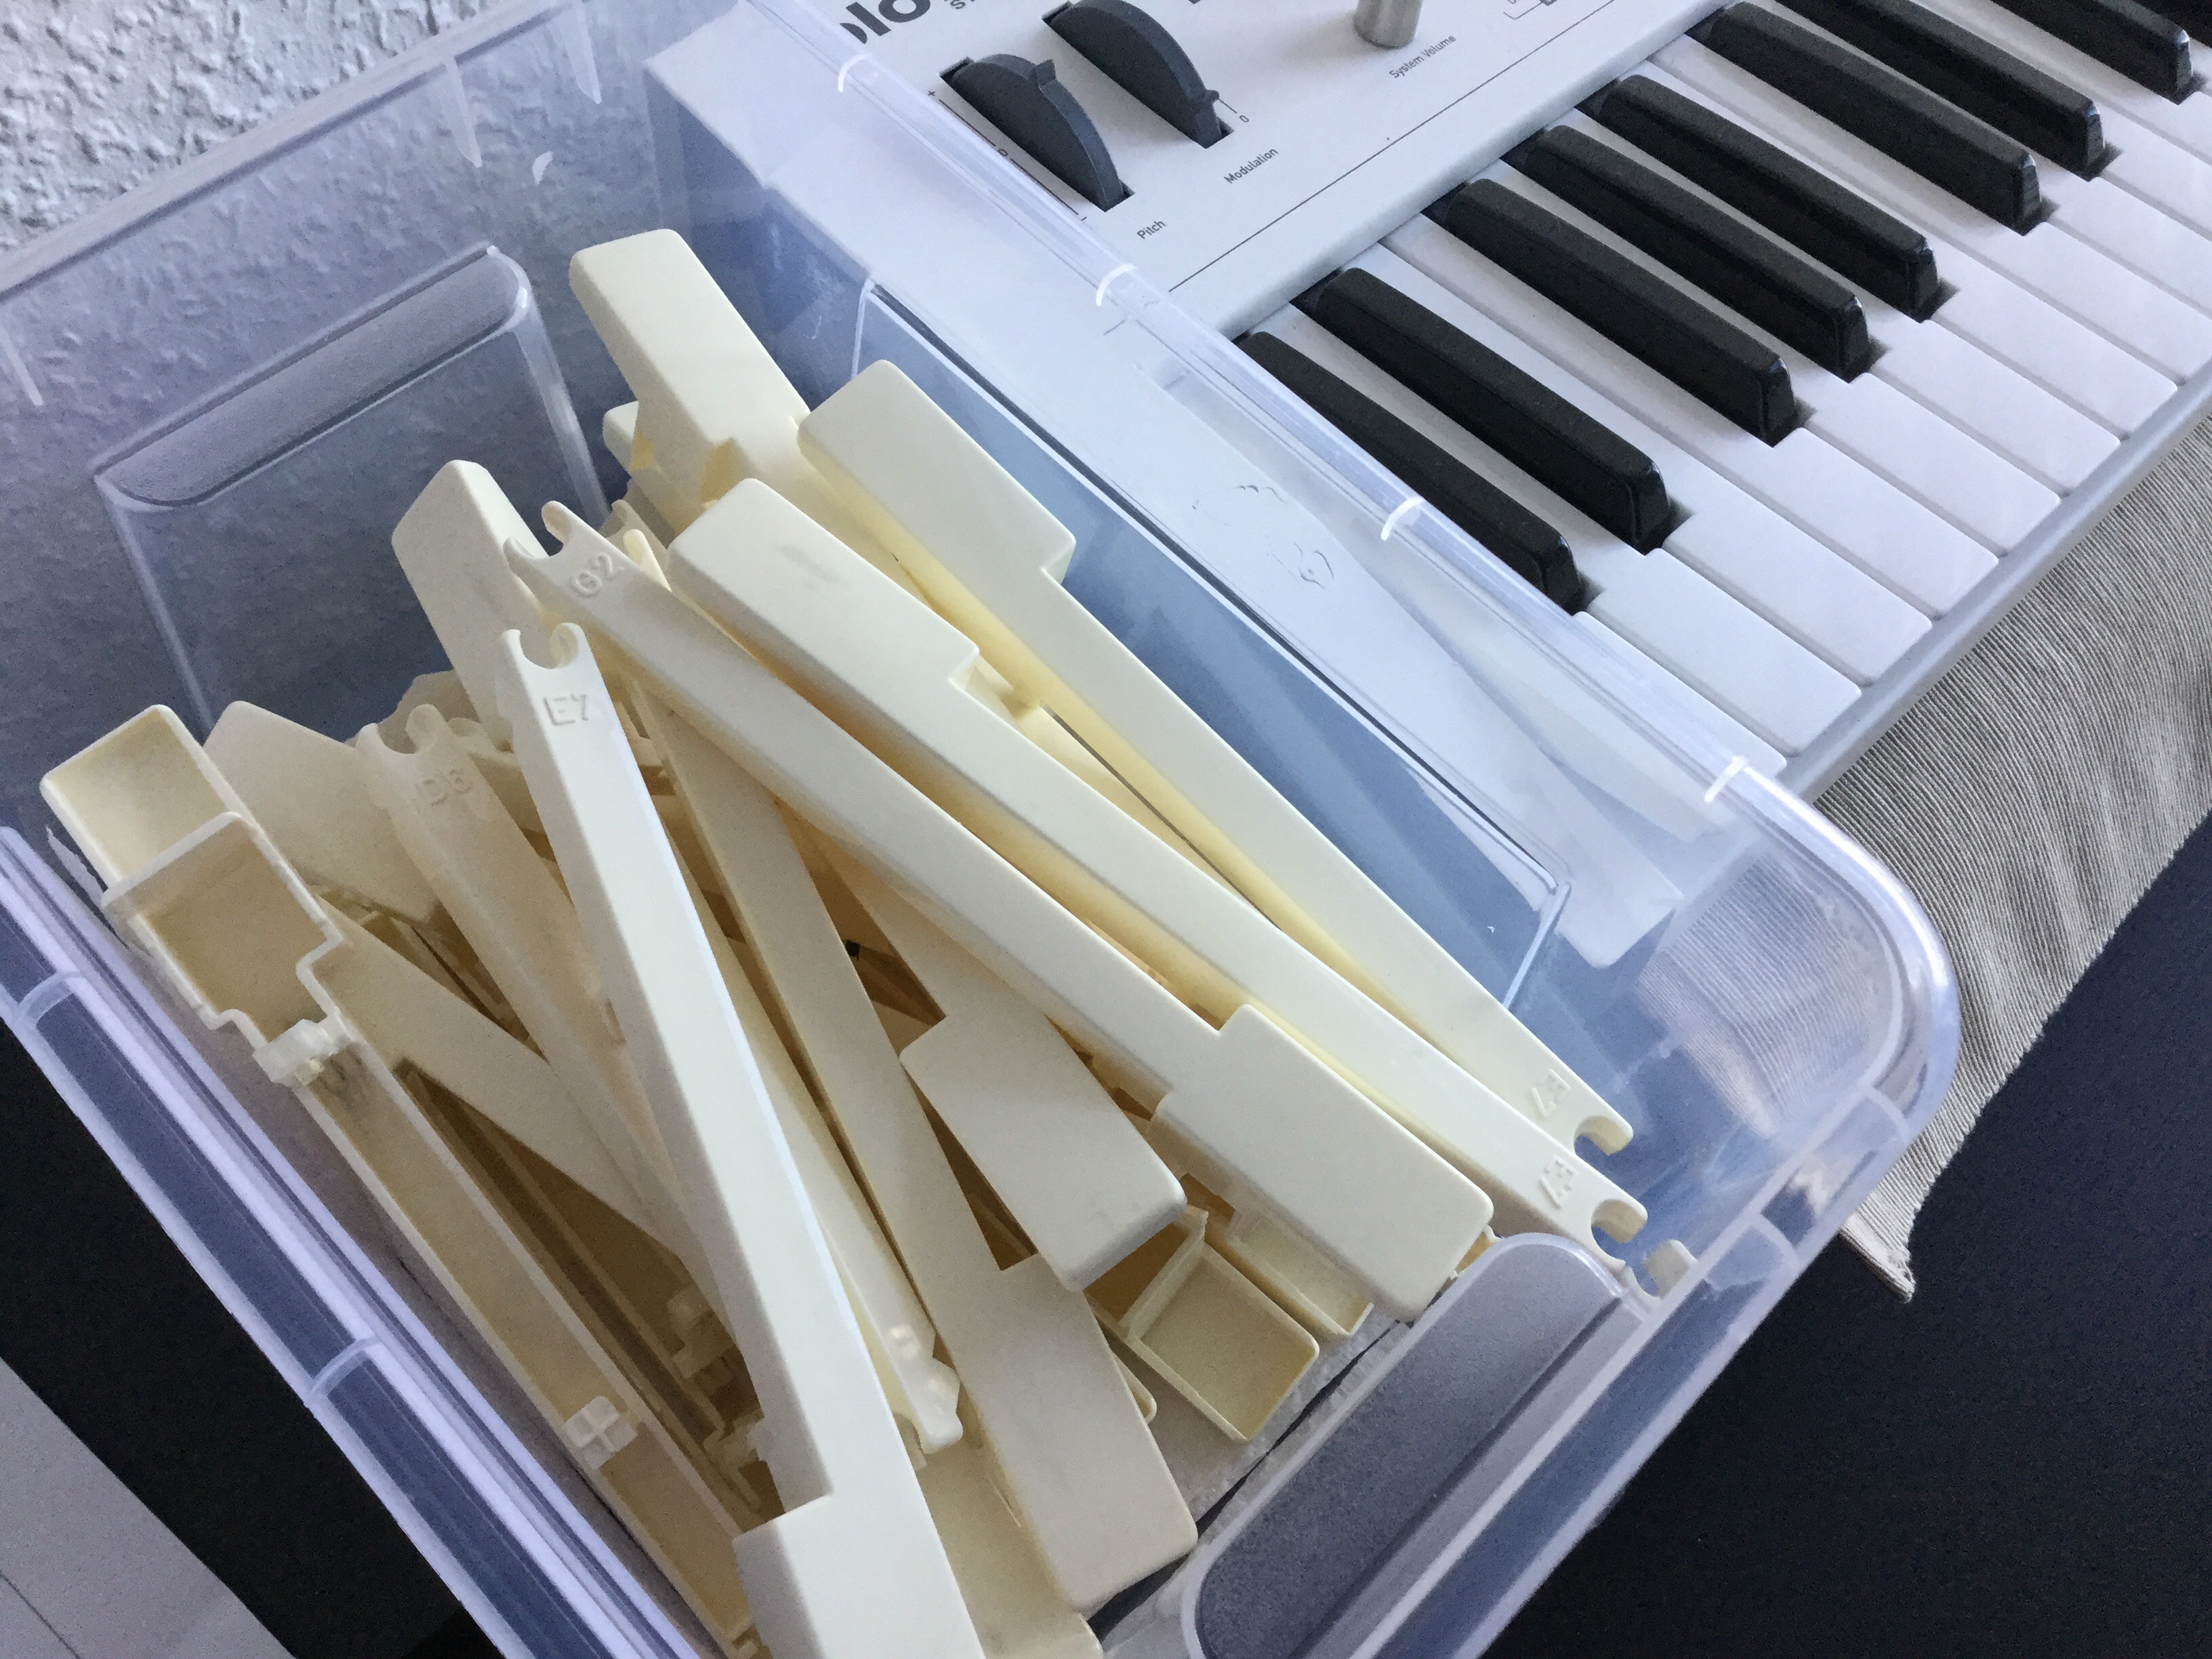
AfterI took out the keys, and had washed and scrubbed them to remove all the remaining Retr0bright gel, I had a look and thought: Wow, it worked! Just look how the (treated) surface of the key looks compared to the (untreated) underside of the others. But in the light of the next day, rather than under artificial light, and compared to my snow-white Blofeld, the result was far from convincing.
So I guess that JEN-SX keys are, after all, supposed to be, ahem, ivory-toned. So be it.