Actually, this is not about kittens. It’s about renewing the display backlight of an E-MU ESI-32 sampler. Which is quite easy to do if you beware… nah. It is actually quite easy.
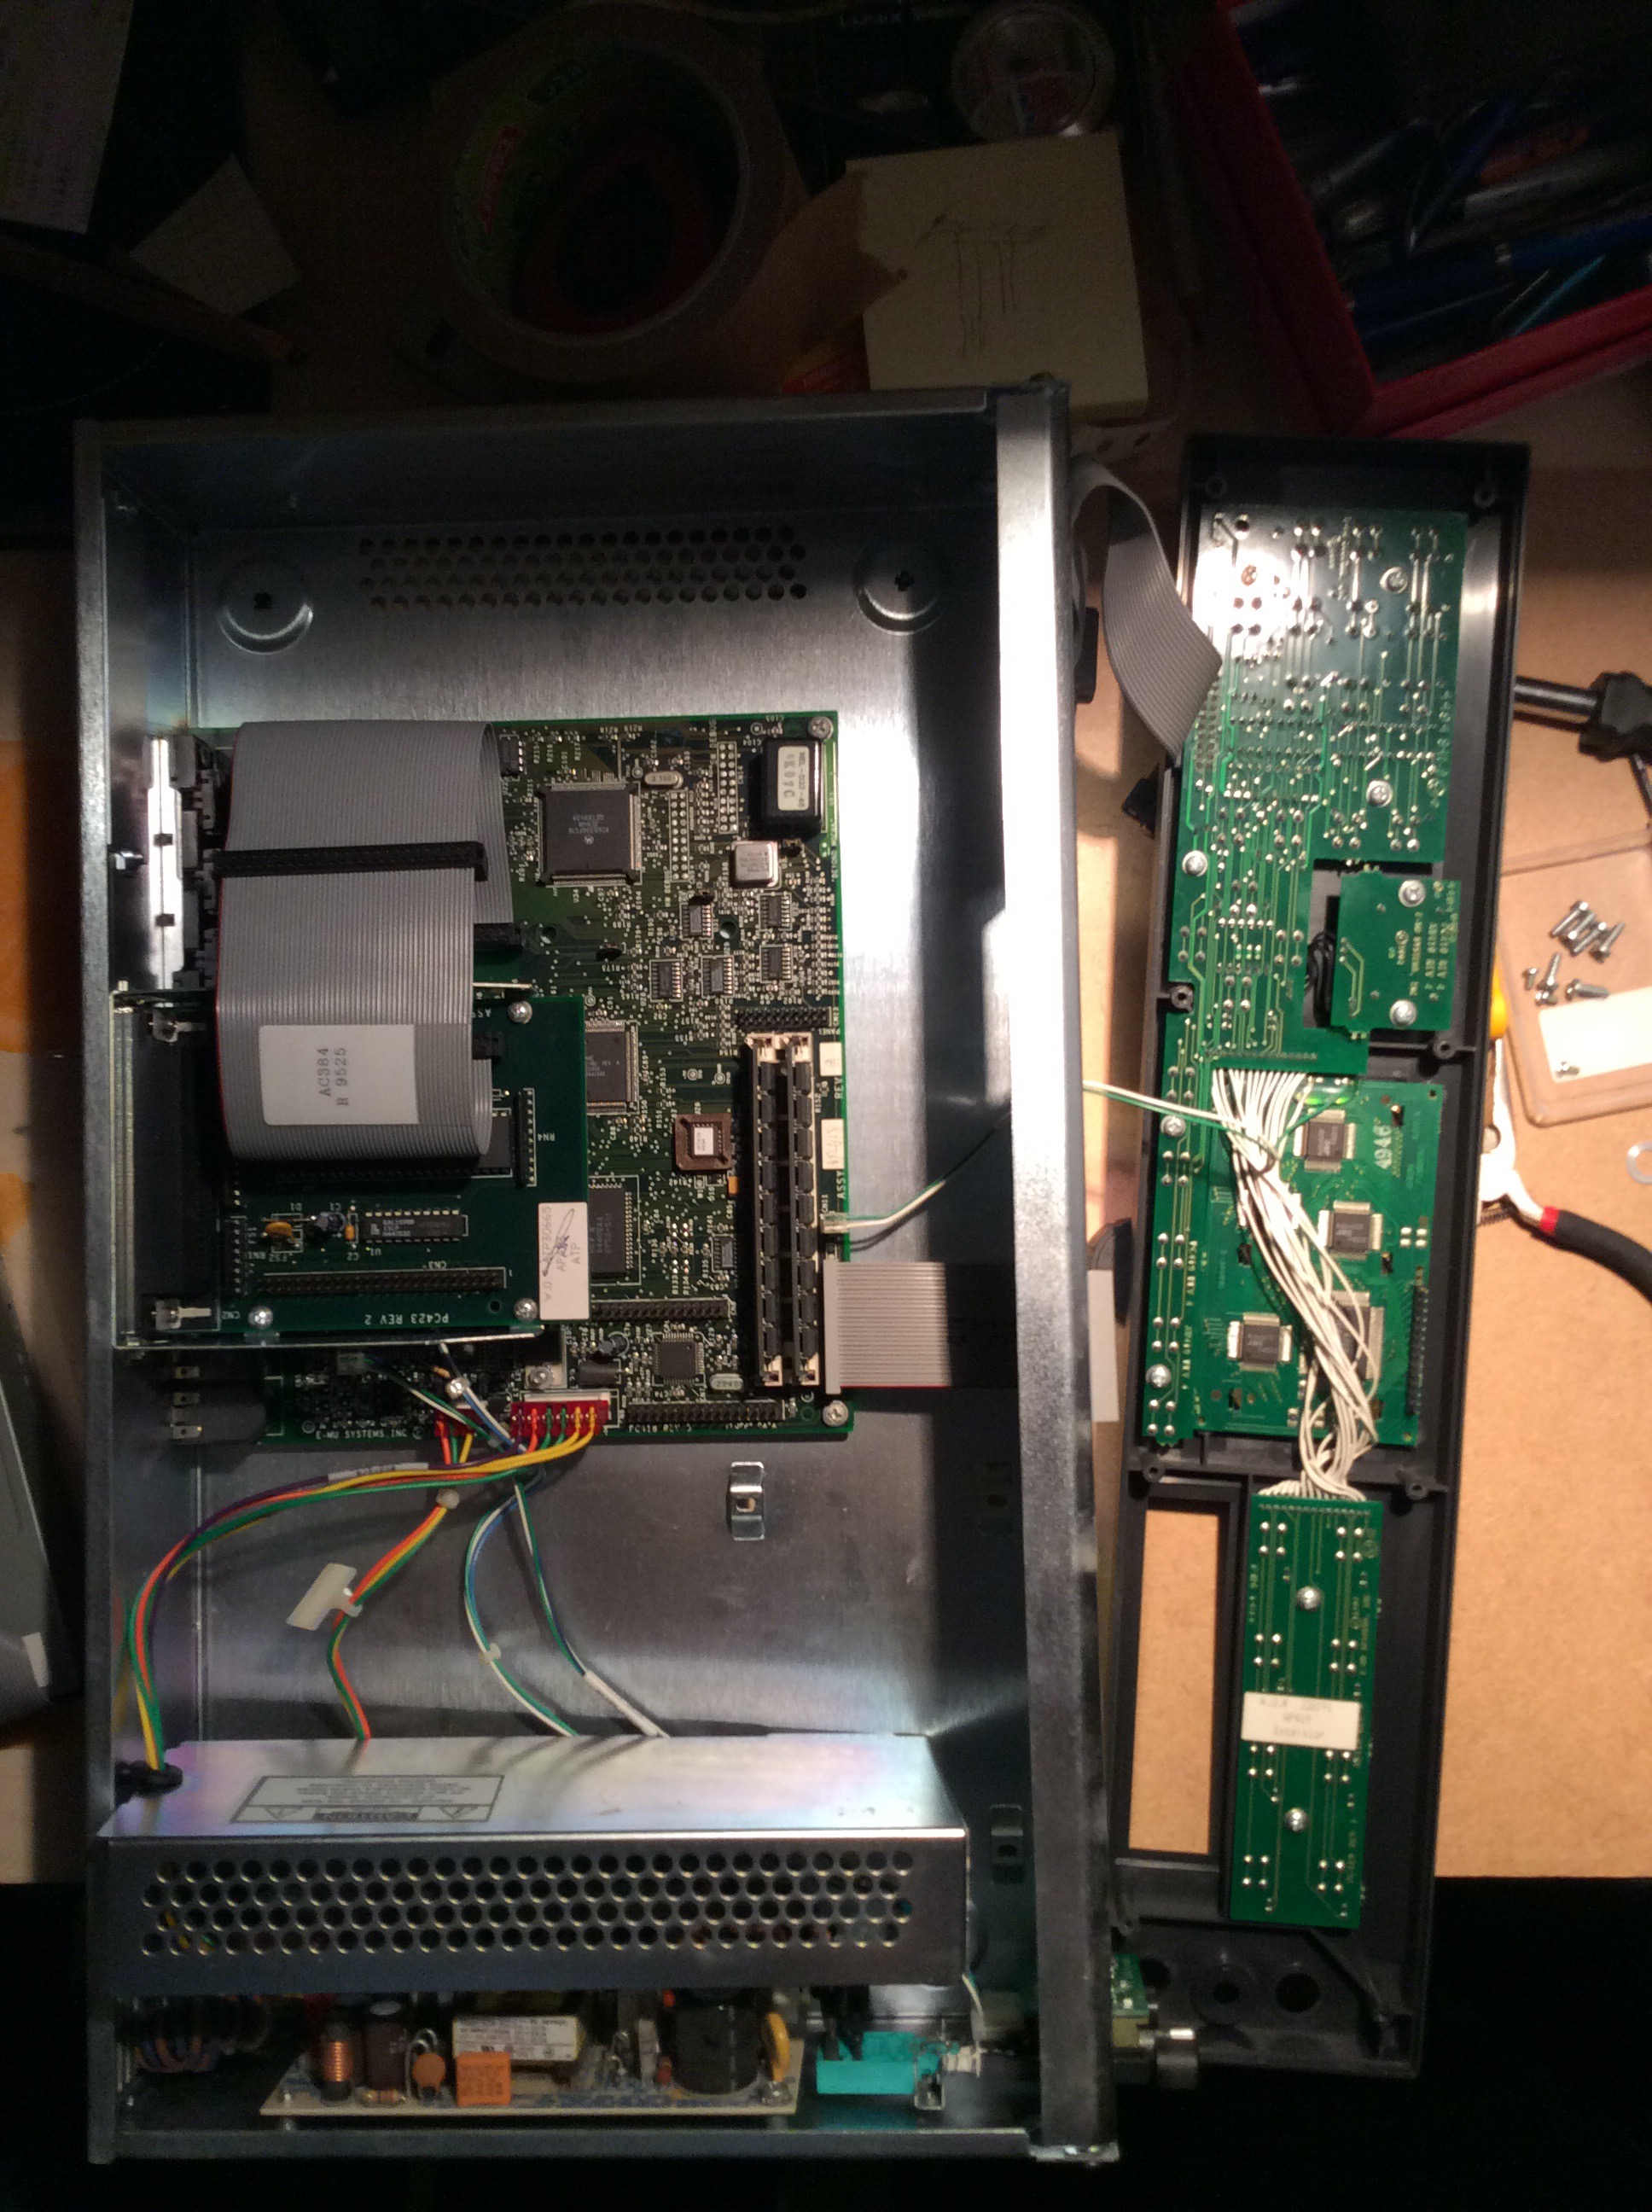
The ESI-32, a 16-bit, 32-voice stereo sampler, is from a cache of music machines stored away in a basement for more than 12 years and which I am helping to restore. I used to own an ESI-4000, so I already knew about its internals. This one suffered from a half-dead display backlight so I decided to replace it.
I must say that the build quality of the ESI is excellent. I must also say that I came close to wanting to kill the bastards at E-MU. This sampler is definitely bulletproof, and the metal plate carrying the front panel is definitely not meant to be removed. So I had to remove disk drive and power supply casing to unscrew the front panel screws from the inside (8 screws holding the plastic front.)
-
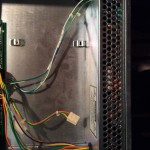
- Good to know: Slide the whole housing for the power supply towards the front panel to remove it after removing the screw in the back.
-
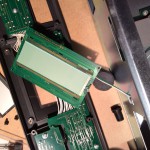
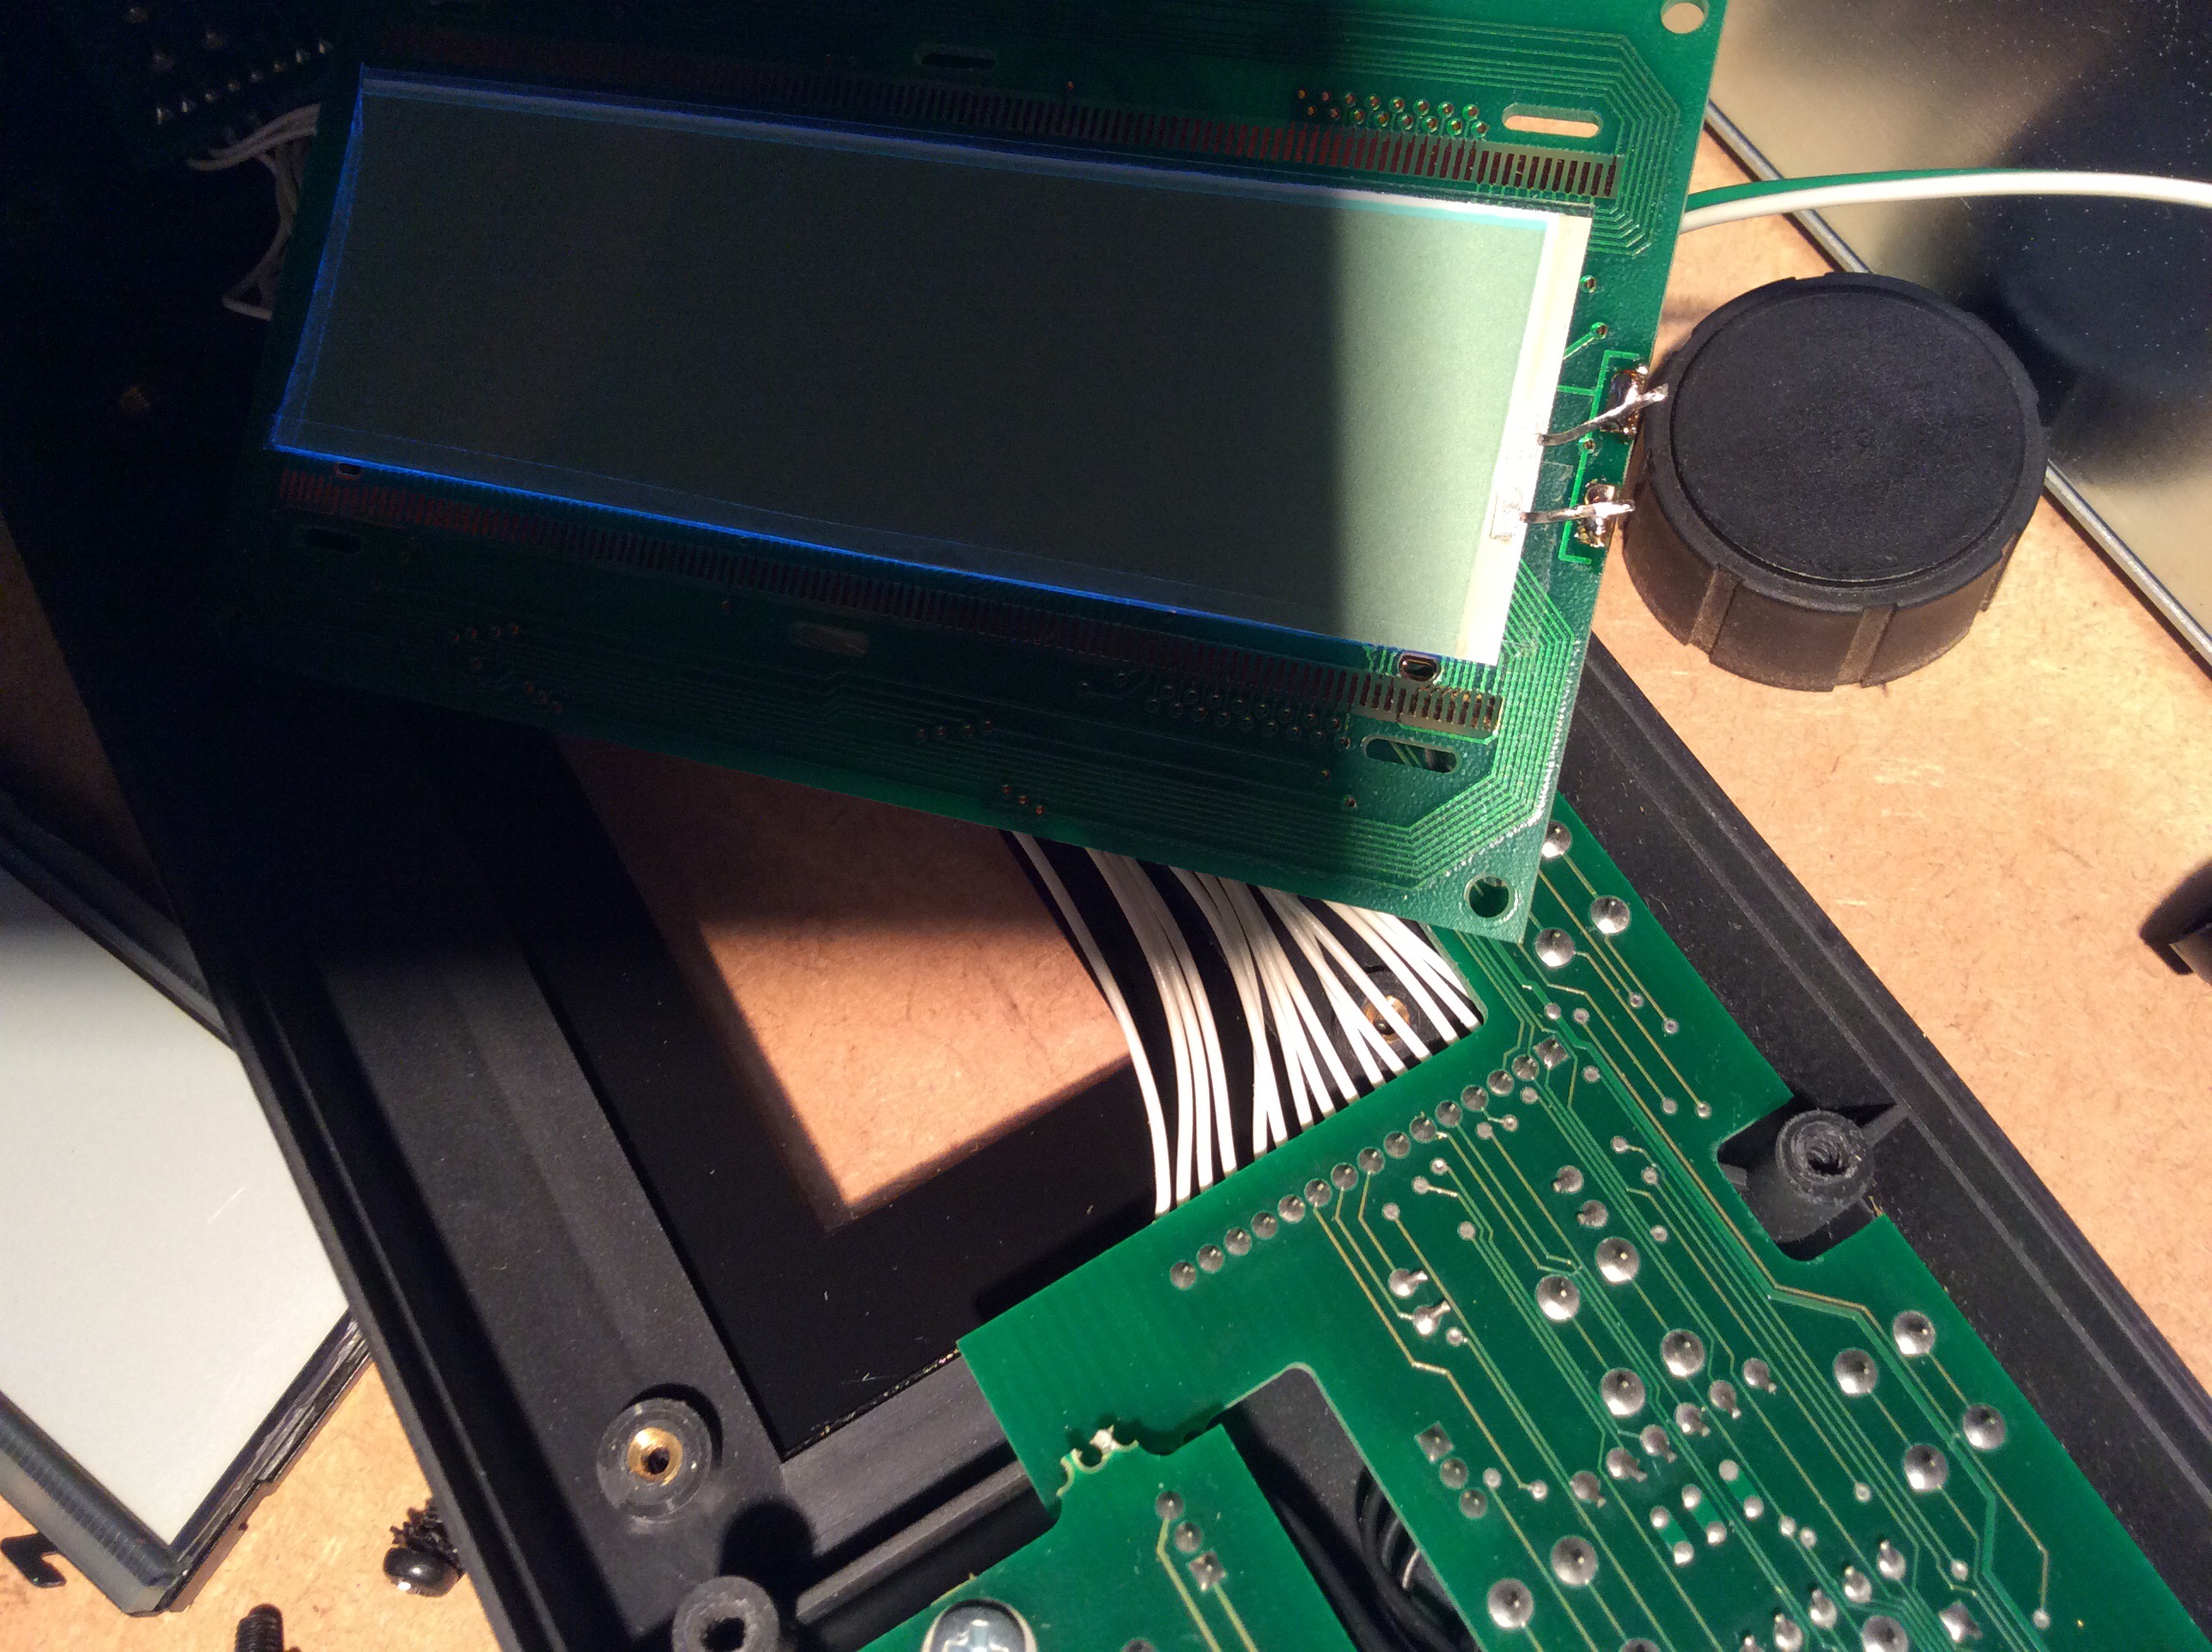
- ESI display dismounted, EL foil laid bare – the actual display is held in place by a black tin frame that is held in place by little latches. The LCD display is the top layer, put it aside and be careful not to lose the rubber contact pads.
After that, piece of cake. If anybody is looking for an 1:1 replacement of the EL backlight: it has a lighting field of 87x27mm and blue-green light. The one I got hold of was slightly wider and a lot longer.
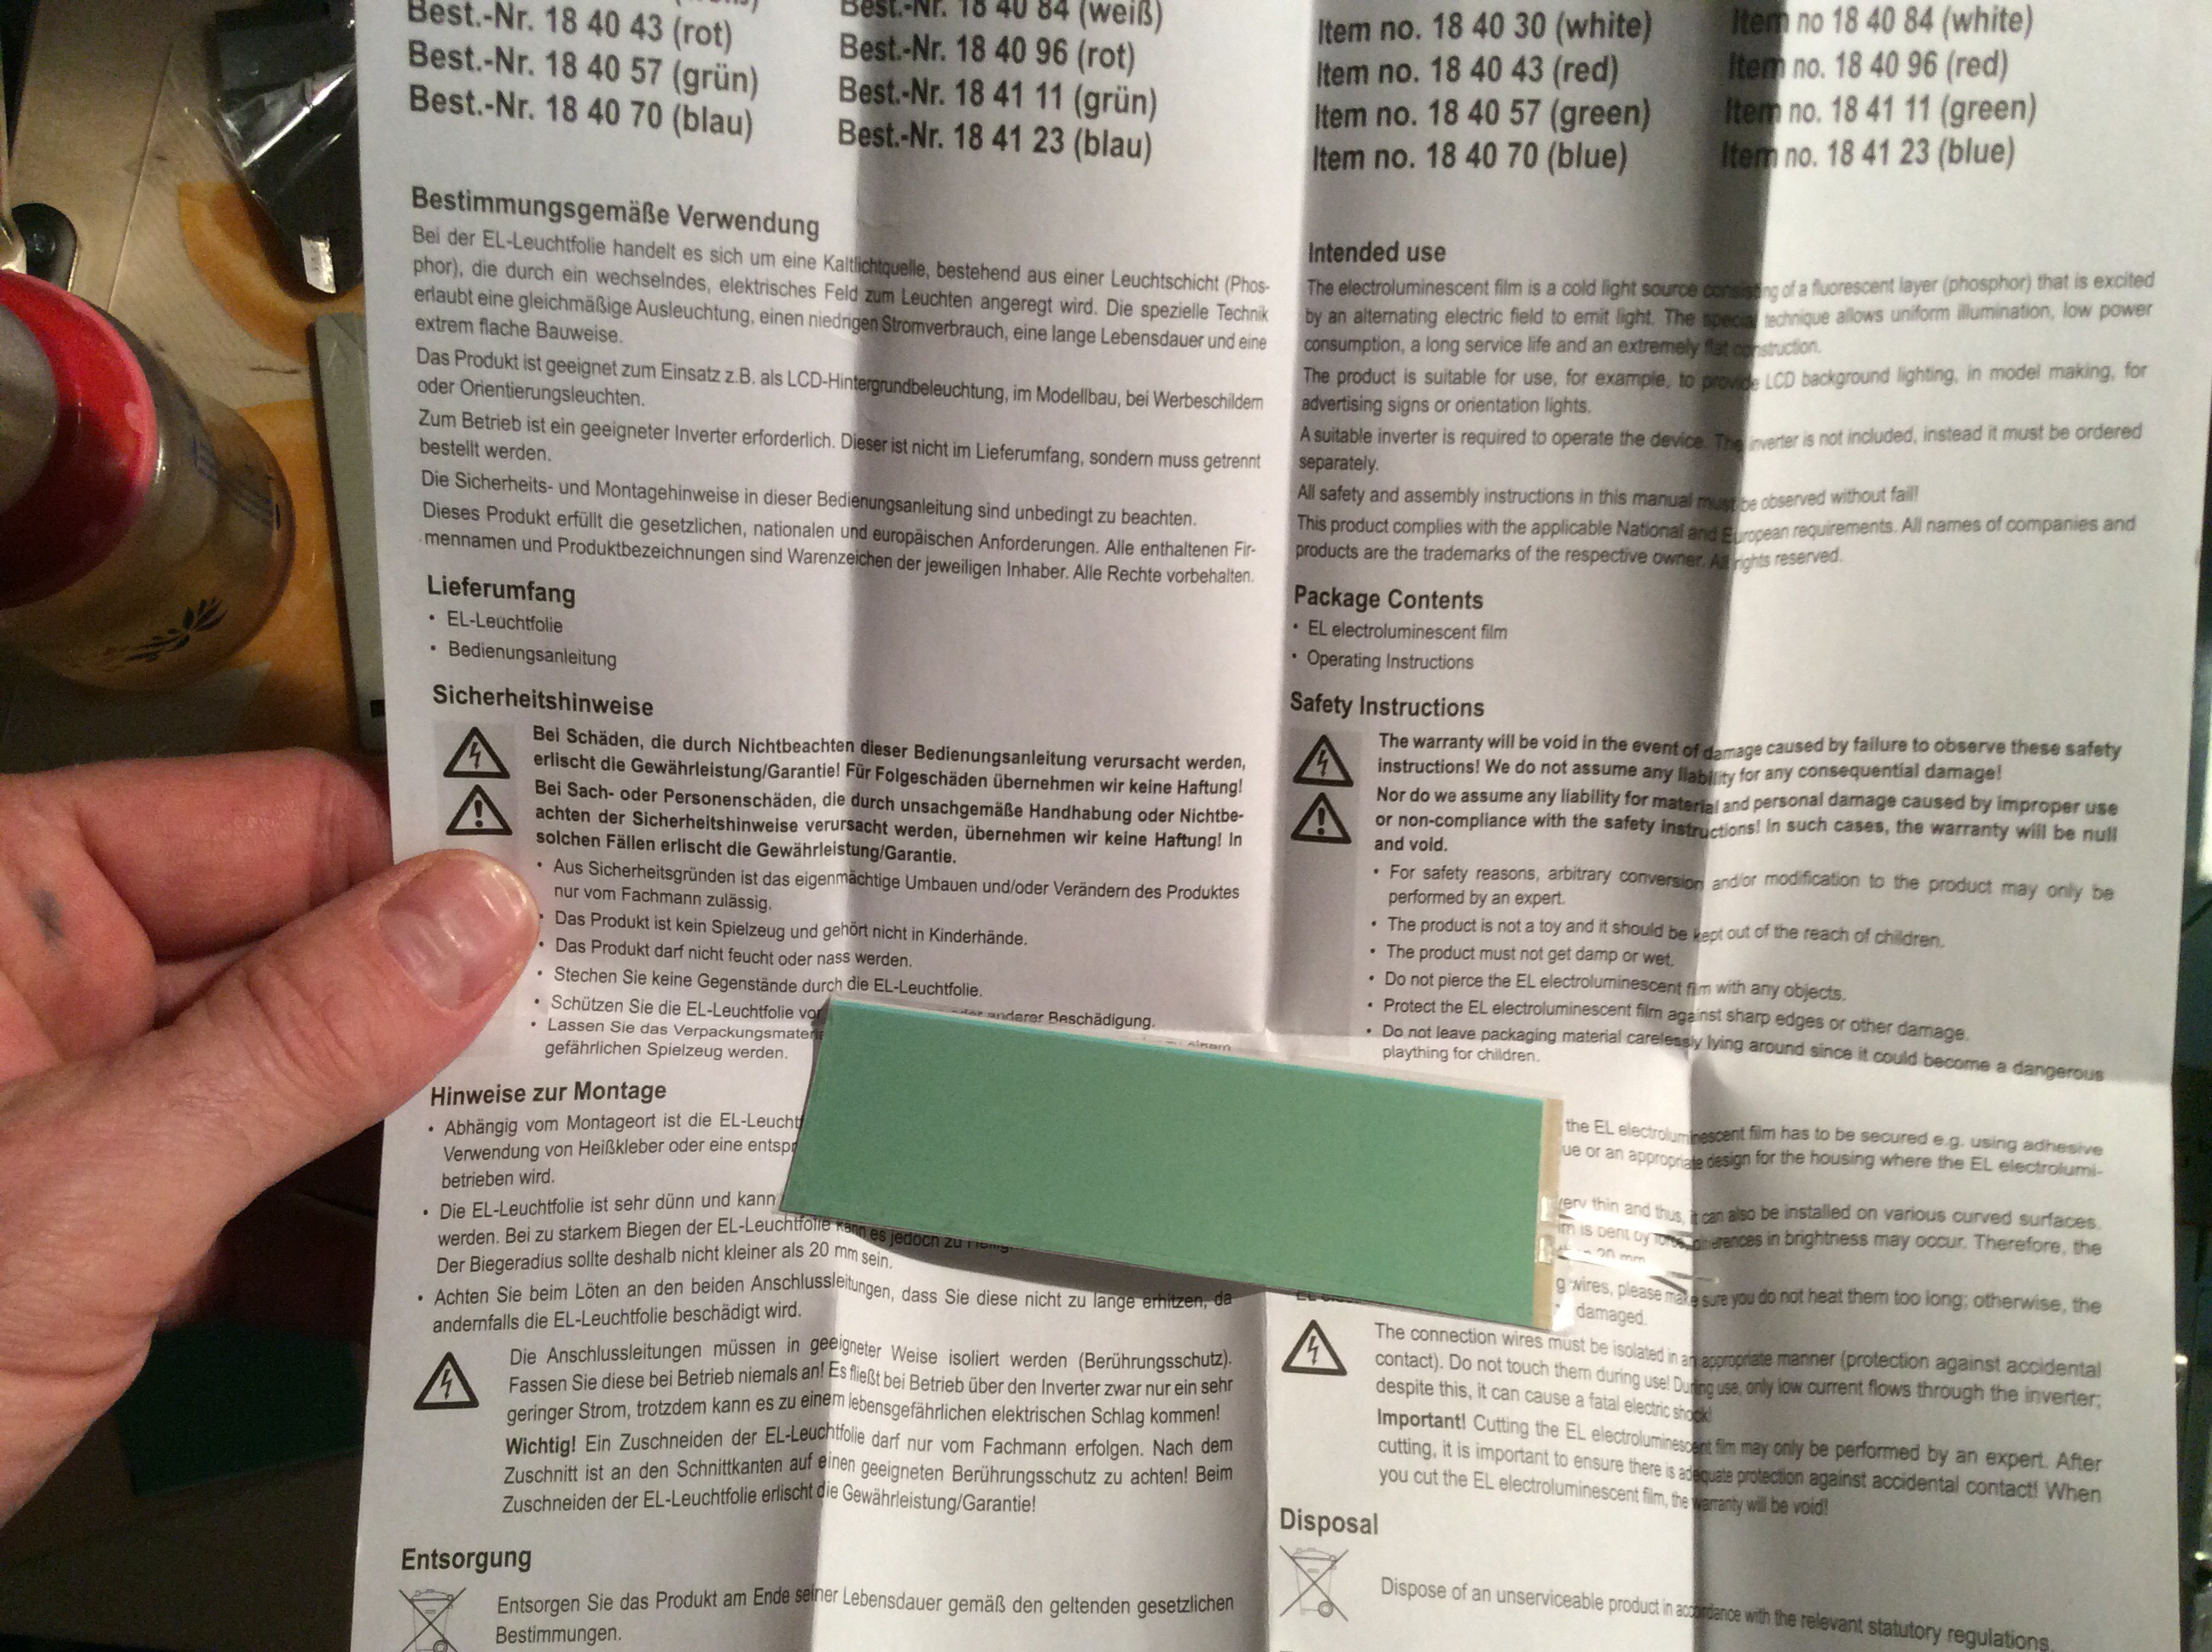
It came with another lovely bullshit warning: “Cutting the EL film may only be performed by experts.” I have been cutting things ever since I turned 3, so I consider myself to be quite an expert on cutting. – No magic involved: you can just cut the backlight foil to size with a pair of scissors. The thing you should care about is sealing the edges, as EL backlights are driven with nastily high AC voltages around 100V, so leaving the edges of the cut unsealed may cause short circuits, fry some circuitry, or just give you a shock. But it is easily and safely sealed with a strip of Tesa sticking tape. Put the new foil in place, preferrably secured with a drop of glue, solder in and…
…I discovered I had made wrong assumptions about the EL foil’s bright side. The greenish stuff is not it.
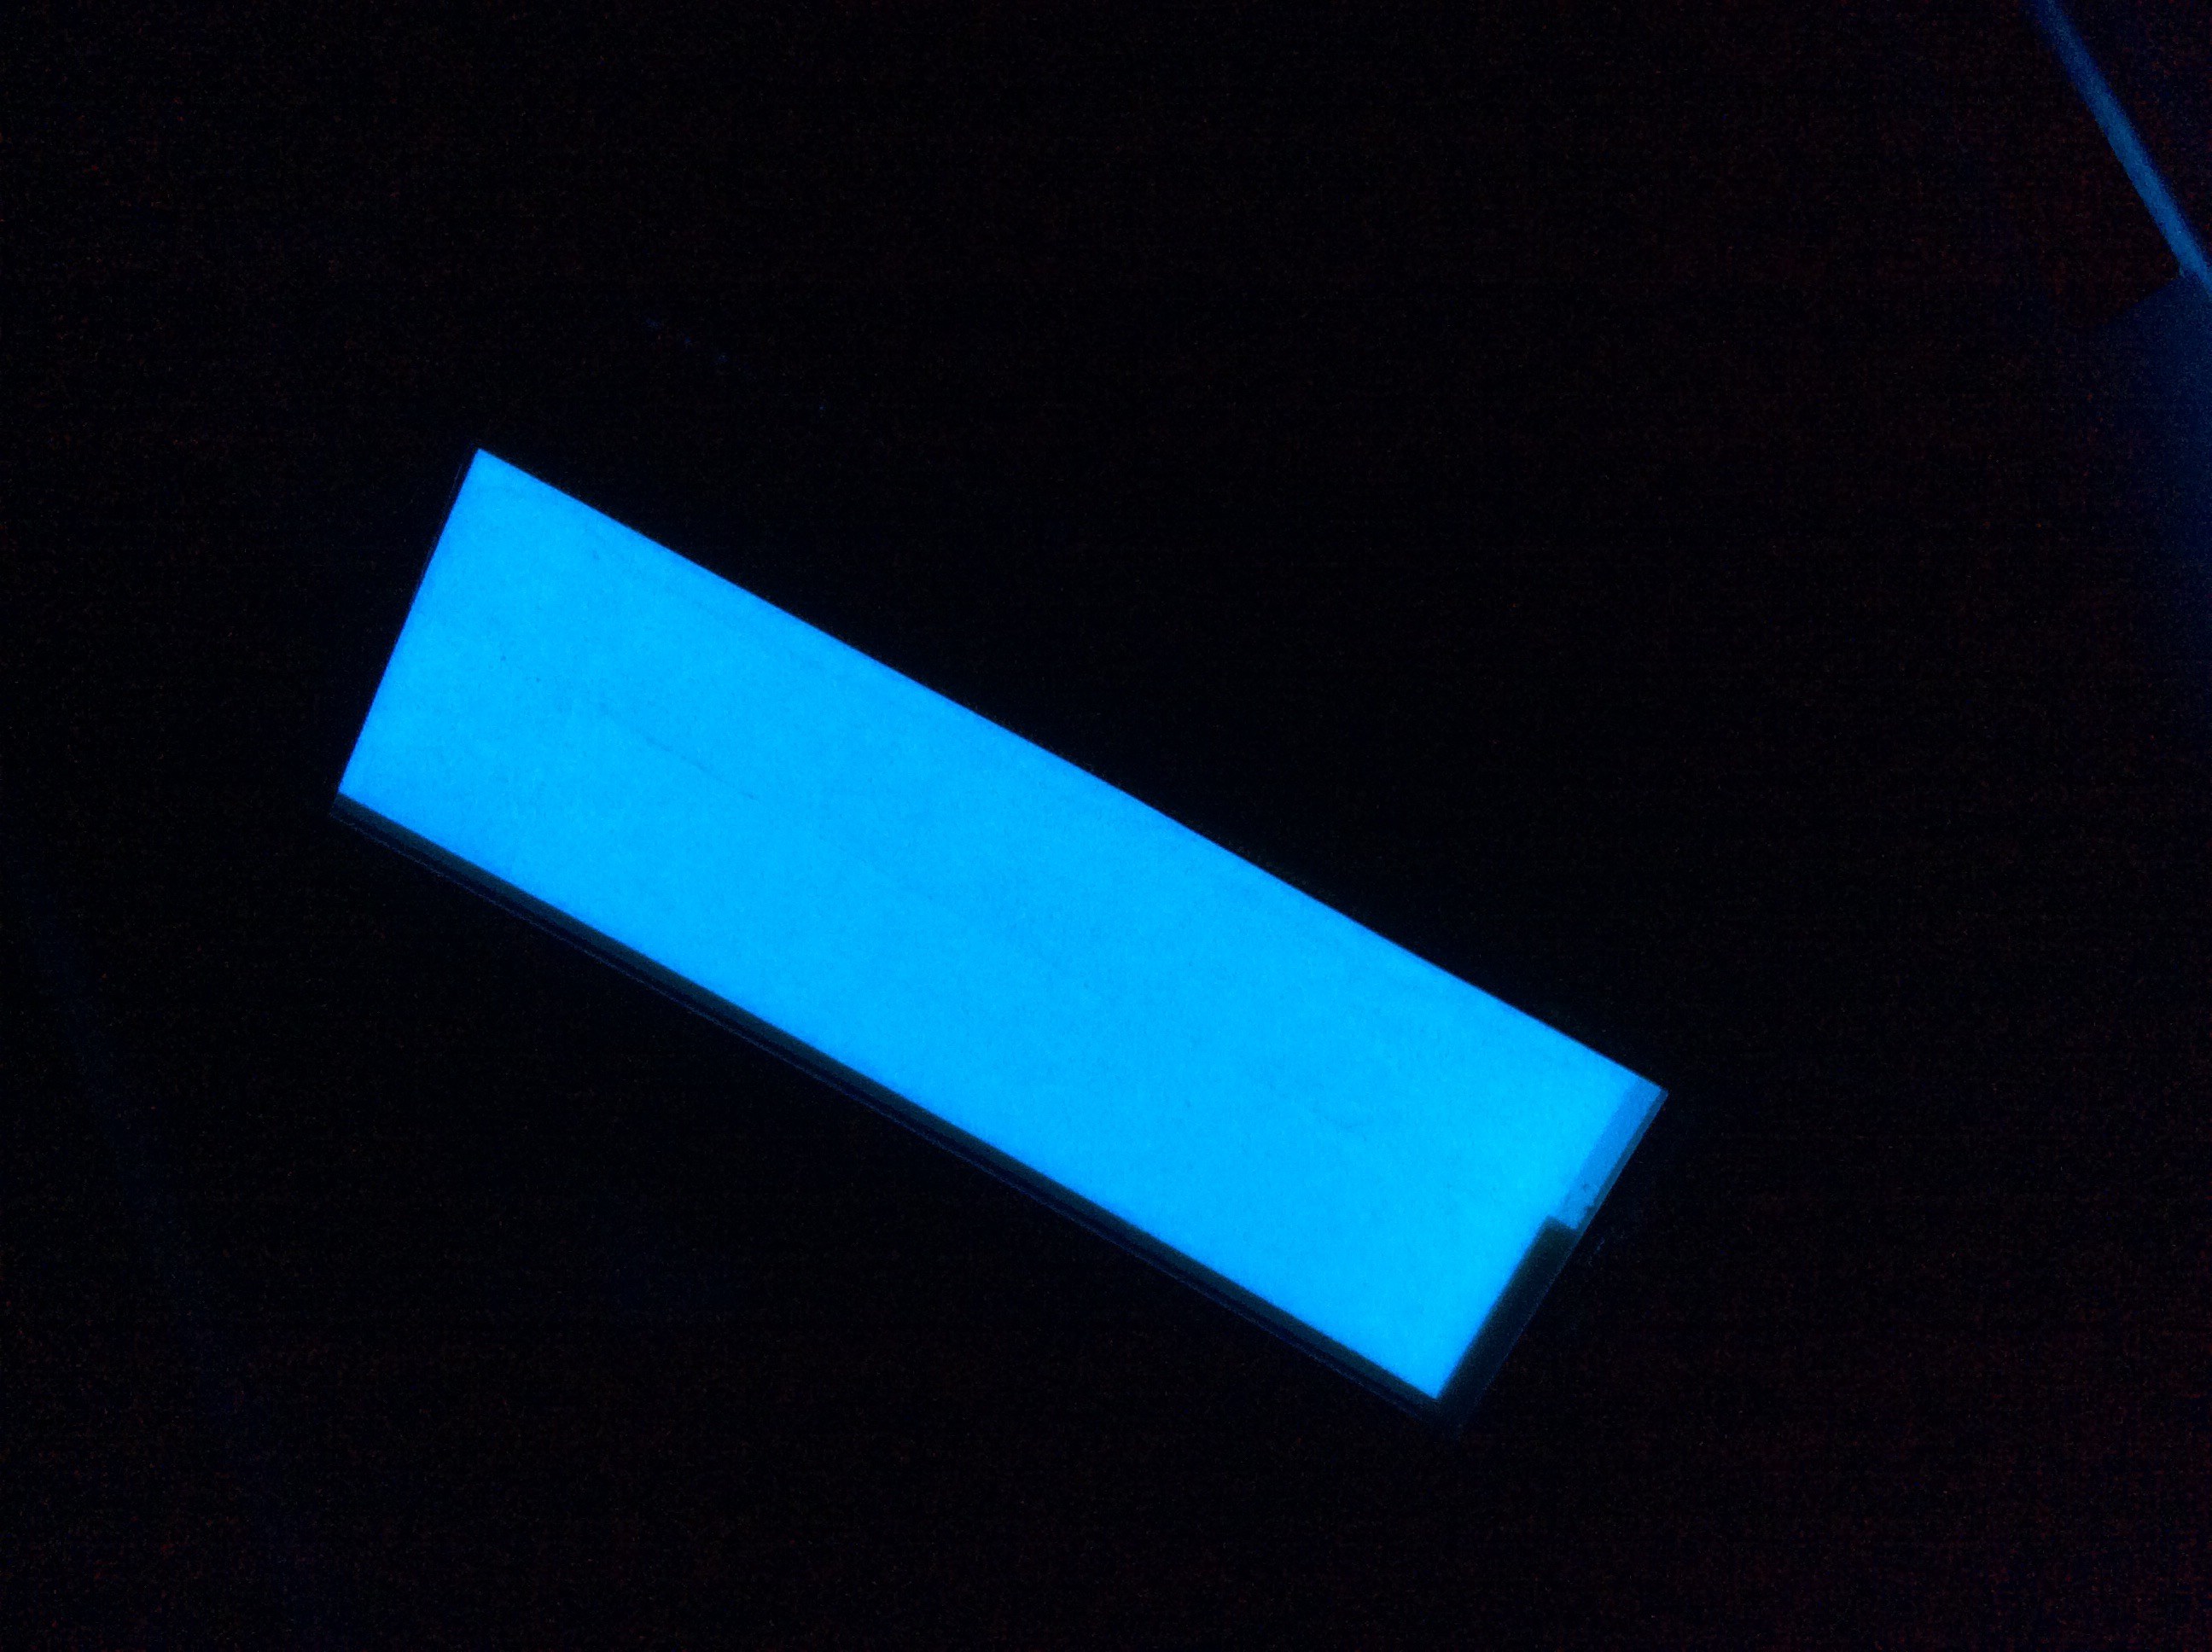
Much better!
Reattaching the display, building it all together again, works. Total time spent on the job, including blogging: 2 hours. (If you are a fast blogger, you may make it in one.)