Update, May 2014. I’ve put the unit on eBay. And I’ve summarised lessons learned from this hack here.
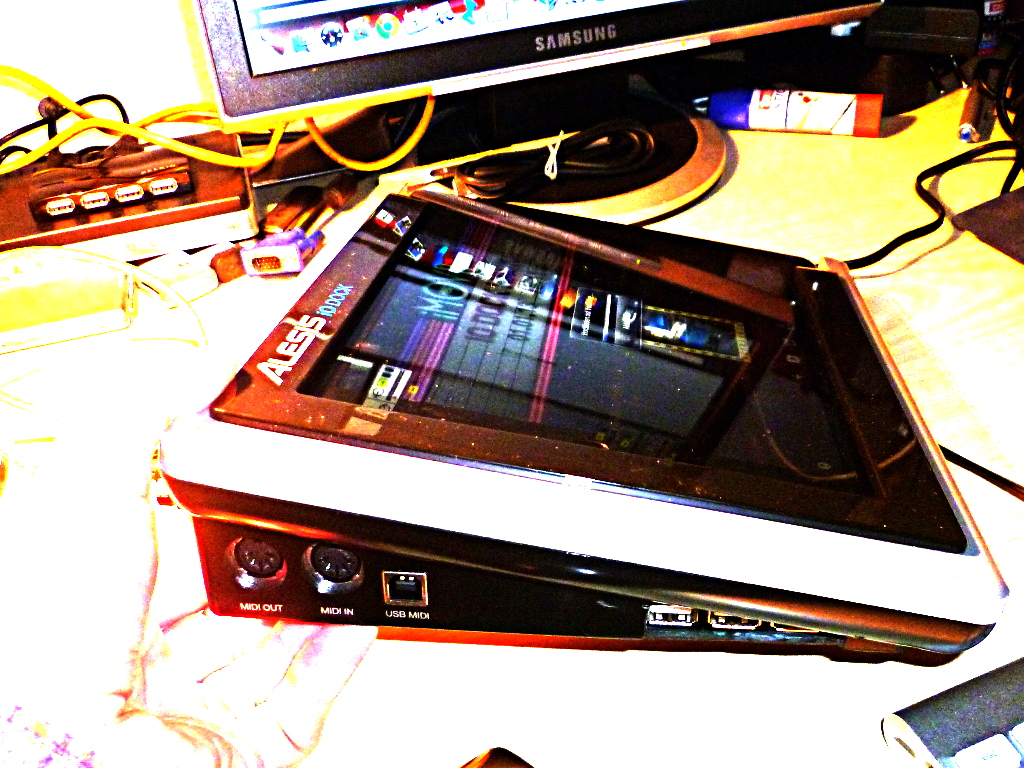
The Alesis IO Dock is a great product for iPad musicians – this small hack makes it even greater. It overcomes one limitation of the IO Dock: You can’t simply hook it to a USB hub. So I decided to build in an additional hub – which allows me to hook up additional class-compliant interfaces like my M-Audio Axiom master keyboard, and power them via the hub.
Yes, it works. No, it hasn’t been thoroughly tested yet. So try at your own risk.
The hack isn’t too sophisticated or demanding. Yet there are a couple of things we need to discuss before going to the step-by-step description. I’ve also tried to answer some questions that might arise in the FAQ.
What we’re doing:
We’re smuggling the USB hub into the connection between the iPad and the IO dock. (The video explains why.)
What you need:
- A USB hub. Edit, 4-Jan-2012: After giving it some more consideration I think that you might start with a normal hub rather than a powered one. (I used a powered hub Belkin F5U404.) This has certain limitations, though. Why? USB knows two basic types of port power – normal USB ports are supposed to deliver a 5V supply current of up to 100mA. That is enough to power simple interfaces and USB sticks. It is not enough to charge your phone, or to power a USB master keyboard. So using a hub without power supply would normally mean that the iPad is not properly charged – but the way the iPad charges is actually hard-wired in the IO Dock’s iPad connector, so the iPad will charge even without a powered hub. (It is connected to the USB port’s input rather than to its output anyway). IMPORTANT: As we will be using the IO Dock’s power supply, there are some limits to what we can drive with our hub. Please: See the FAQ. And I’ll have a more thorough look at the IO Dock’s power supply circuitry soon.
- The hub’s connector cable. These cables have a flat A-type USB plug to go into your computer, and usually a micro-USB B-type plug like the ones for charging your phone (if you don’t have an iPhone, that is). We are going to cut up this cable and configure it to supply and interface the hub within the IO dock.
- 2x
1.27mm2mm grid pinstripe connectors – one 6-pin male, one 6-pin female. If you can, get connector strips with turned sockets; you can use them as plug and as female connector, like these ones. The original connector is like this one: [sample]
EDIT, 19-Aug-13: Corrected the „these ones“ link to RS Components. Also see FAQ section. EDIT, 10-Sep-14: Modelmakers may look in their boxes for JST PH connectors (thanks Wolfgang!) - A small 100uF/6.3V capacitor – or something along these lines – as a buffer for the hub’s power supply. If you haven’t already, see the FAQ.
- Basic soldering tools and skills.
- A Dremel tool to cut out a hole for the additional USB ports in the IO Dock.
- Glue to fix the hub within the housing – I used a run-of-the-mill hot glue gun.
- A class-compliant USB device for testing. (What’s that? See the FAQ.)
- Approximately 2 hours to do it.

Not really a project for the aspiring Evil Mad Scientist – there’s hardly any rocket science involved – but especially the Dremel brought out my inner Walter White.
So let’s get started!