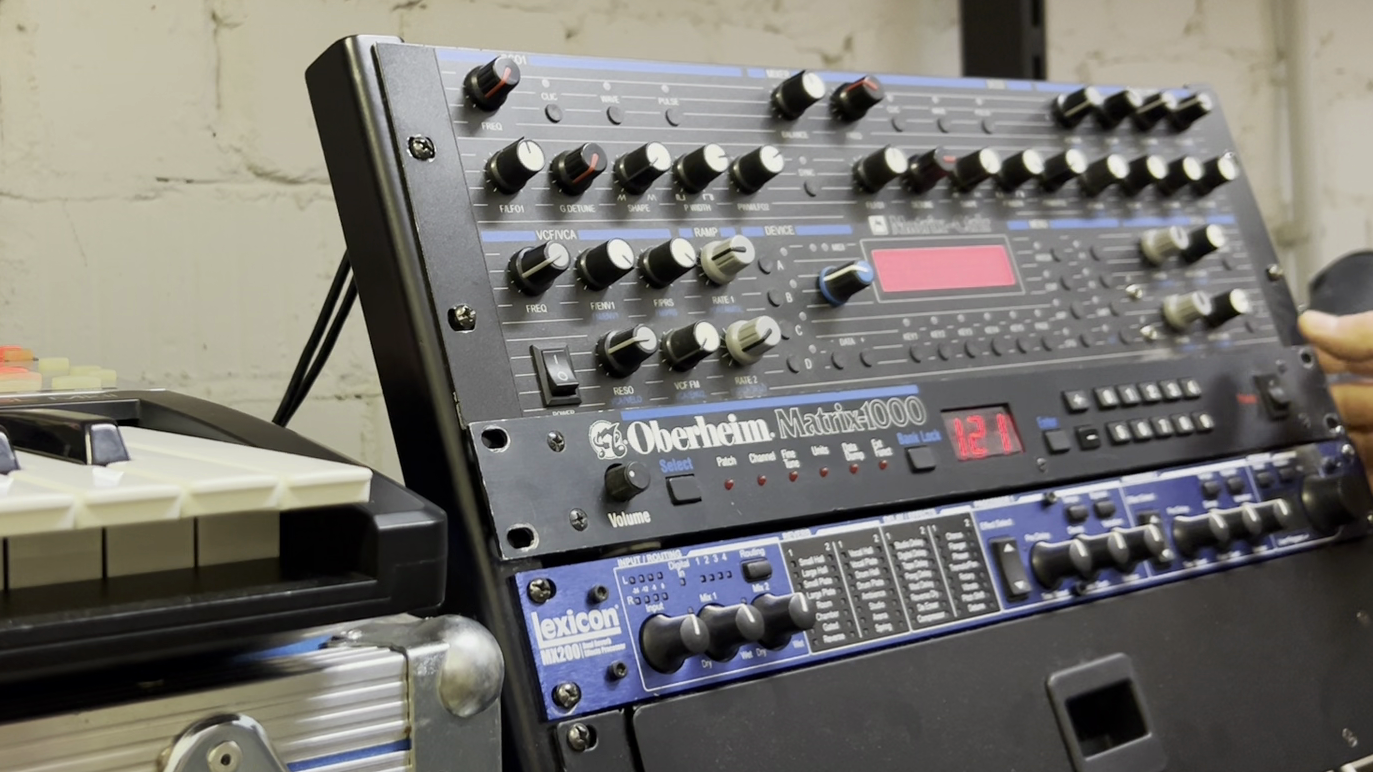
Forgive me for inserting a slice of analog synth porn here:
Although the Matrix-1000 is nearing 40, it’s very much alive and kicking. It’s an analog that you can still, kind of, afford – and, more important, that still works. The Matrix-1000 ROM is by far the most popular firmware of all the upgrades Bob Grieb ever designed; they must have sold loads of that synth. And they have survived to this day, the occasional battery failure or dying voice chip nonwithstanding.
The very quality that made it a cheap, second-rate option back then – its lack of immediate controllers – is no longer a problem. When I bought my Matrix around 1990, I was stuck to the presets; these days, MIDI controllers are easy to find.
As a couple of people have asked about recommendations for controllers, you will find a collection of options I came across. It is worth noting that most of them work with the earlier Matrix-6/6R version of the synth as well although it lacks the option to use NPRN as well as dedicated commands to control the modulation matrix. Weiterlesen →
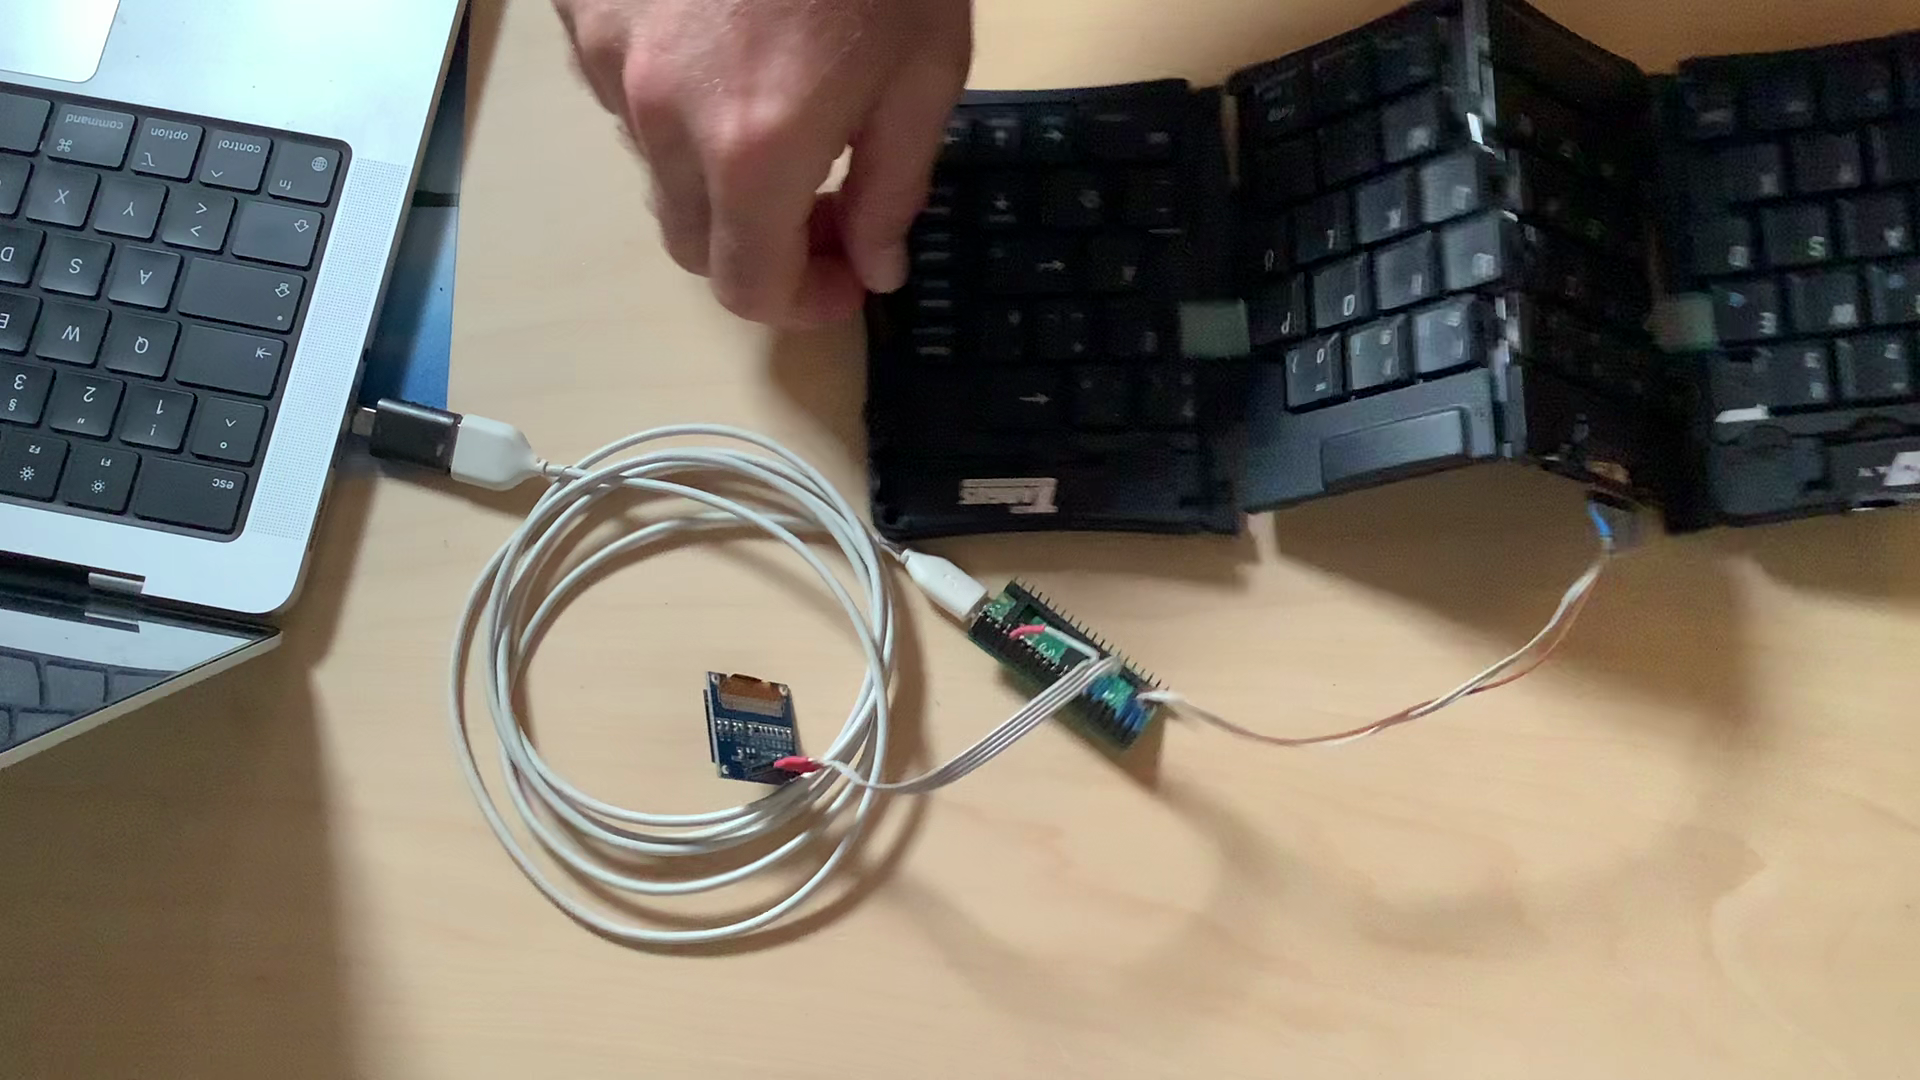
Ein kleines Projekt, das eine alte Stowaway-Handspring-Tastatur von Targus über einen Raspi Pico USB-fähig macht und Tasten auf einem kleinen Display anzeigt.
To start with the bad news: The answer is probably no. (Betteridge’s Law holds.) But it may be good to know that there are possible options for an internal upgrade of the Reface speakers, and that the Reface speakers aren’t really that bad (albeit tiny). So please stay with me.
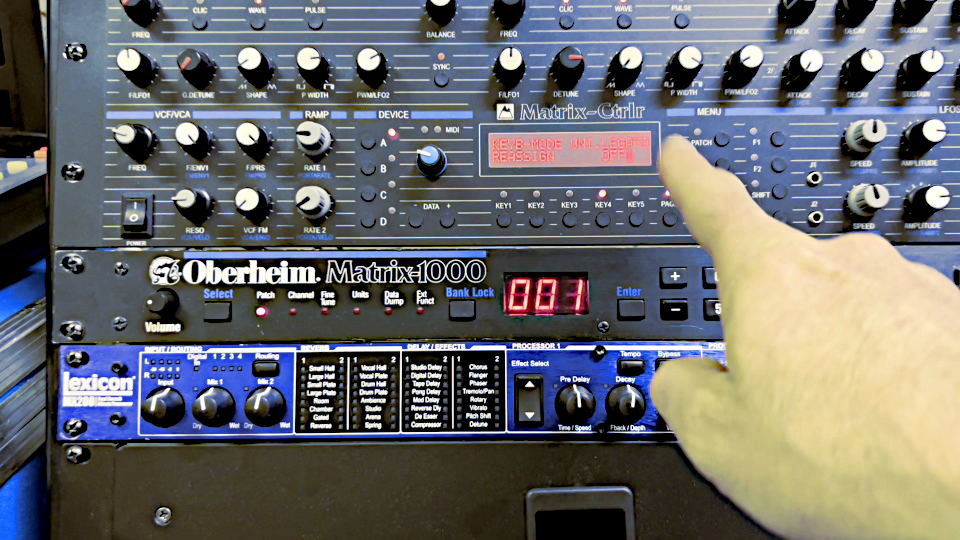
Eine Einstellung für die Stimmenzuweisung im Matrix hat einfach nie funktioniert – und irgendwie scheint es bis jetzt keinem aufgefallen zu sein. Aber jetzt gibt’s da was.
„Hey, ich will das haben! Ich habe schließlich schon ein V1.20-ROM!“ — BITTE HIER WEITERLESEN
Vor ein paar Tagen hat Bob Grieb – der Ingenieur, der das Matrix-1000-Update entworfen und programmiert hat – eine Mail bekommen. Da schrieb ihm Tim, ein Matrix-Besitzer und Nutzer des V1.20-Updates. Die Mail merkte höflich an, dass die „Reassign/Rob“-Einstellung für die Stimmenzusweisung anscheinend nicht funktionierte, und fragte, ob es da womöglich ein Problem mit der V1.20-Firmware gäbe. Bob hat zwar keinen M1000 mehr, aber hatte sich damals eine Verilog-Simulation gebaut, um die Firmware umzuschreiben. Mit der Simulation fand er schnell heraus: Tim hatte Recht – die „Reassign/Rob“-Einstellung des Parameters 48 (0x30h) funktionierte nicht. Und das schon in V1.13, einem sehr frühen Patch der letzten Original-Firmware – der Fehler war anscheinend immer schon da gewesen.
Und scheinbar hat es niemand bemerkt. Oder hielt es zumindest für wichtig genug, einen Patch zu scheiben.
Wozu „Reassign/Rob“ gut ist – und warum dir das nie aufgefallen ist
Der Matrix-1000 hat sechs Stimmen. Wenn er sechs Noten gleichzeitig spielt, ignoriert er alle neue Noten, bis man wieder eine der Stimmen freigibt. Das ist die Voreinstellung, die es in zwei Varianten gibt: „Rotate“ – die normale Stimmenvergabe – und „Reassign“ – Noten, die noch einmal gespielt werden, werden erneut getriggert.
Das sind die Werte 0 und 1 für den Parameter 48. Dann gibt es noch 2 – Unisono, alle Stimmen werden parallel gespielt – und die 3 für „Reassign/Rob“.
„Reassign/Rob“ soll voice stealing aktivieren —wenn eine neue Note kommt, wird eine von den gerade gespielten beendet und der neuen Note zugewiesen. Wodurch meist ein Loch in der Fläche entsteht, das es extrem offensichtlich macht, dass die Ressourcen deines Synthesizers sehr begrenzt sind. Das fällt uns eher auf, wenn Noten plötzlich verschwinden, als wenn sie überhaupt gar nicht erst gespielt werden.
Also wenn ich ehrlich bin: ich hab’s nie bemerkt. (Wobei man ja auch immer erst einen Editor/Controller an den Matrix-1000 hängen muss, anders als beim Vorgänger Matrix-6.)
Bob hatte die Ursache schnell gefunden: Der Code für die Stimmenzuweisung hat einen Sicherheitscheck, der die möglichen Werte nach oben begrenzt – aber auf 2, nicht auf 3, weshalb der Aktivierungs-Code für den „Reassign/Rob“-Modus nie übertragen werden konnte. Gerade mal ein Byte muss geändert werden — nein, tatsächlich nur ein Bit, Egal, welches ROM du hast: du könntest nach der Folge 0x81 0x02 0x22 0x02 suchen und sie ändern in 0x81 0x03 0x22 0x02; so einfach ist es. Und das nennen wir jetzt Matrix-1000-Firmware V1.21.
V1.21 is displayed on powering up
Und wie bekomme ich V1.21 jetzt?
Leider bedeutet das, dass wir alle V1.20-ROMs wegwerfen müssen; man kann sie nicht korrigieren. Das eine Bit kann nicht einfach nachprogrammiert werden. Und wenn man von 1.20 auf V1.21 updaten will, muss man ohnehin den ROM-Chip austauschen; das muss wie gesagt ein neu hergestellter sein.
Und deshalb können wir das nicht einfach als kostenloses Update anbieten; der Chip muss erst gekauft und gebrannt und verpackt werden. Die Kosten fürs Update umfassen im Prinzip gerade mal das, und einen Euro für Bob (der, das kommt ja hinzu, überhaupt kein bisschen in der Pflicht ist, einen Bug zu korrigieren, der immer schon da war und für den er nichts kann). So ein ähnliches Angebot hatten wir schon bei der Version V2.14 für den Matrix-6, in der auch ein Legacy-Bug gefunden wurde; das Angebot geht aber nur an Leute, die einen V1.20-Chip aus einer Quelle besitzen, von der Bob was hat — also: gekauft bei ihm selbst, hier bei mir oder bei Alpes Machines, der den wunderbaren Controller im Video gebaut hat.
Ein letzter Gedanke: Man sollte sich fragen, ob es das eigentlich universell verhasste Voice Stealing wert ist, den Aufwand für ein Update zu treiben. Ich bin der Letzte, dem man erklären müsste, dass man auch nach der jeweils neuesten upgedateten Software GASsen kann, aber: wenn der Bug dir bisher nicht aufgefallen ist, brauchst du wahrscheinlich auch das Update nicht.
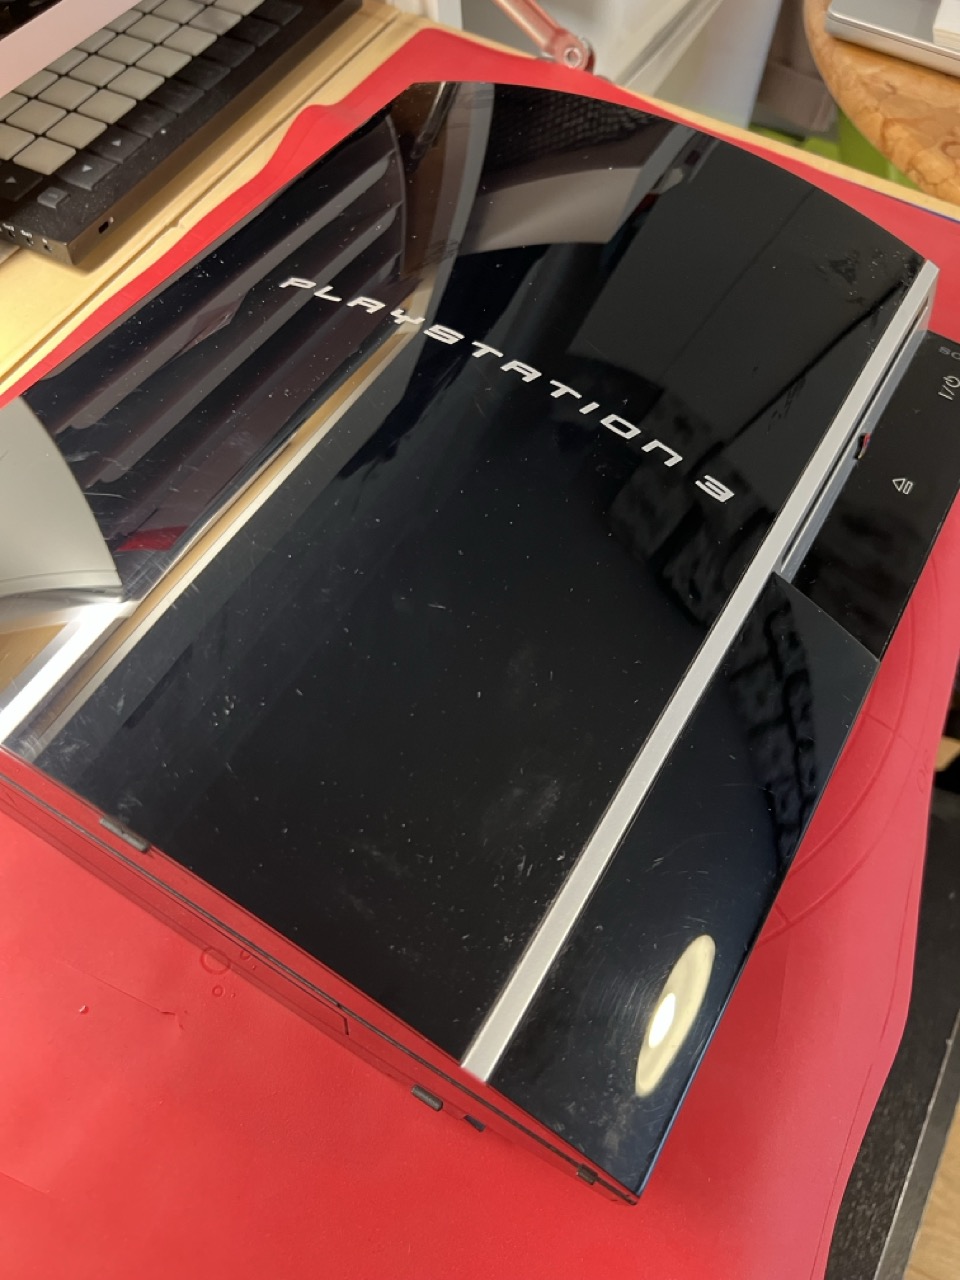
The PS3 is amazing – I got it 16 years ago, and it’s still running, working as a Blu-Ray player, and for the occasional round of Little Big Planet with the kids. And Sony still sends updates! But I noticed the fan has been getting rather loud, so I guessed it was time to clean the cooling paths.
In the end, it took me about 30 minutes to take it apart and put it back together again, due to Sony’s service-friendly design. And it wasn’t quite as bady in need of some cleaning as I feared.
The Waldorf Iridium is, amongst many other things, a sampler. And so many instruments have already been sampled – you will just have to load the samples to the Iridium, and place them in a patch.
This post will try to create a patch with the sounds of a Yamaha CP70 electro-acoustic piano, and have a small script do most of the work. If you are kind of lost here, read the „Not-so-grand-piano“ post first.
Der Iridium ist ein großartiger Synthesizer — und unter vielen anderen Dingen auch ein Sampler. Dies ist ein Tutorial, wie man aus den Fabriks-Samples einen Piano-Sound konstruiert und sich dabei die meiste Arbeit von einem Computer abnehmen lässt.
Looking at the analytics, I have noted that my reminiscence to/analysis of the Keytek CTS-2000 synth has been found by a number of people that surprises me, given that it is an article about a truly horrible, obscure late-80s hybrid synth in a rather niche blog. Given that, I would like to share some proof that I actually played that thing, and on stage, too. And though it is hard to date the old photographs, I would estimate that I held onto it for quite some time.
So I guess at least the CTS-2000’s keyboard was really decent.
The band, by the way, was named „Voice of the Alien“. You won’t find anything Googling it.
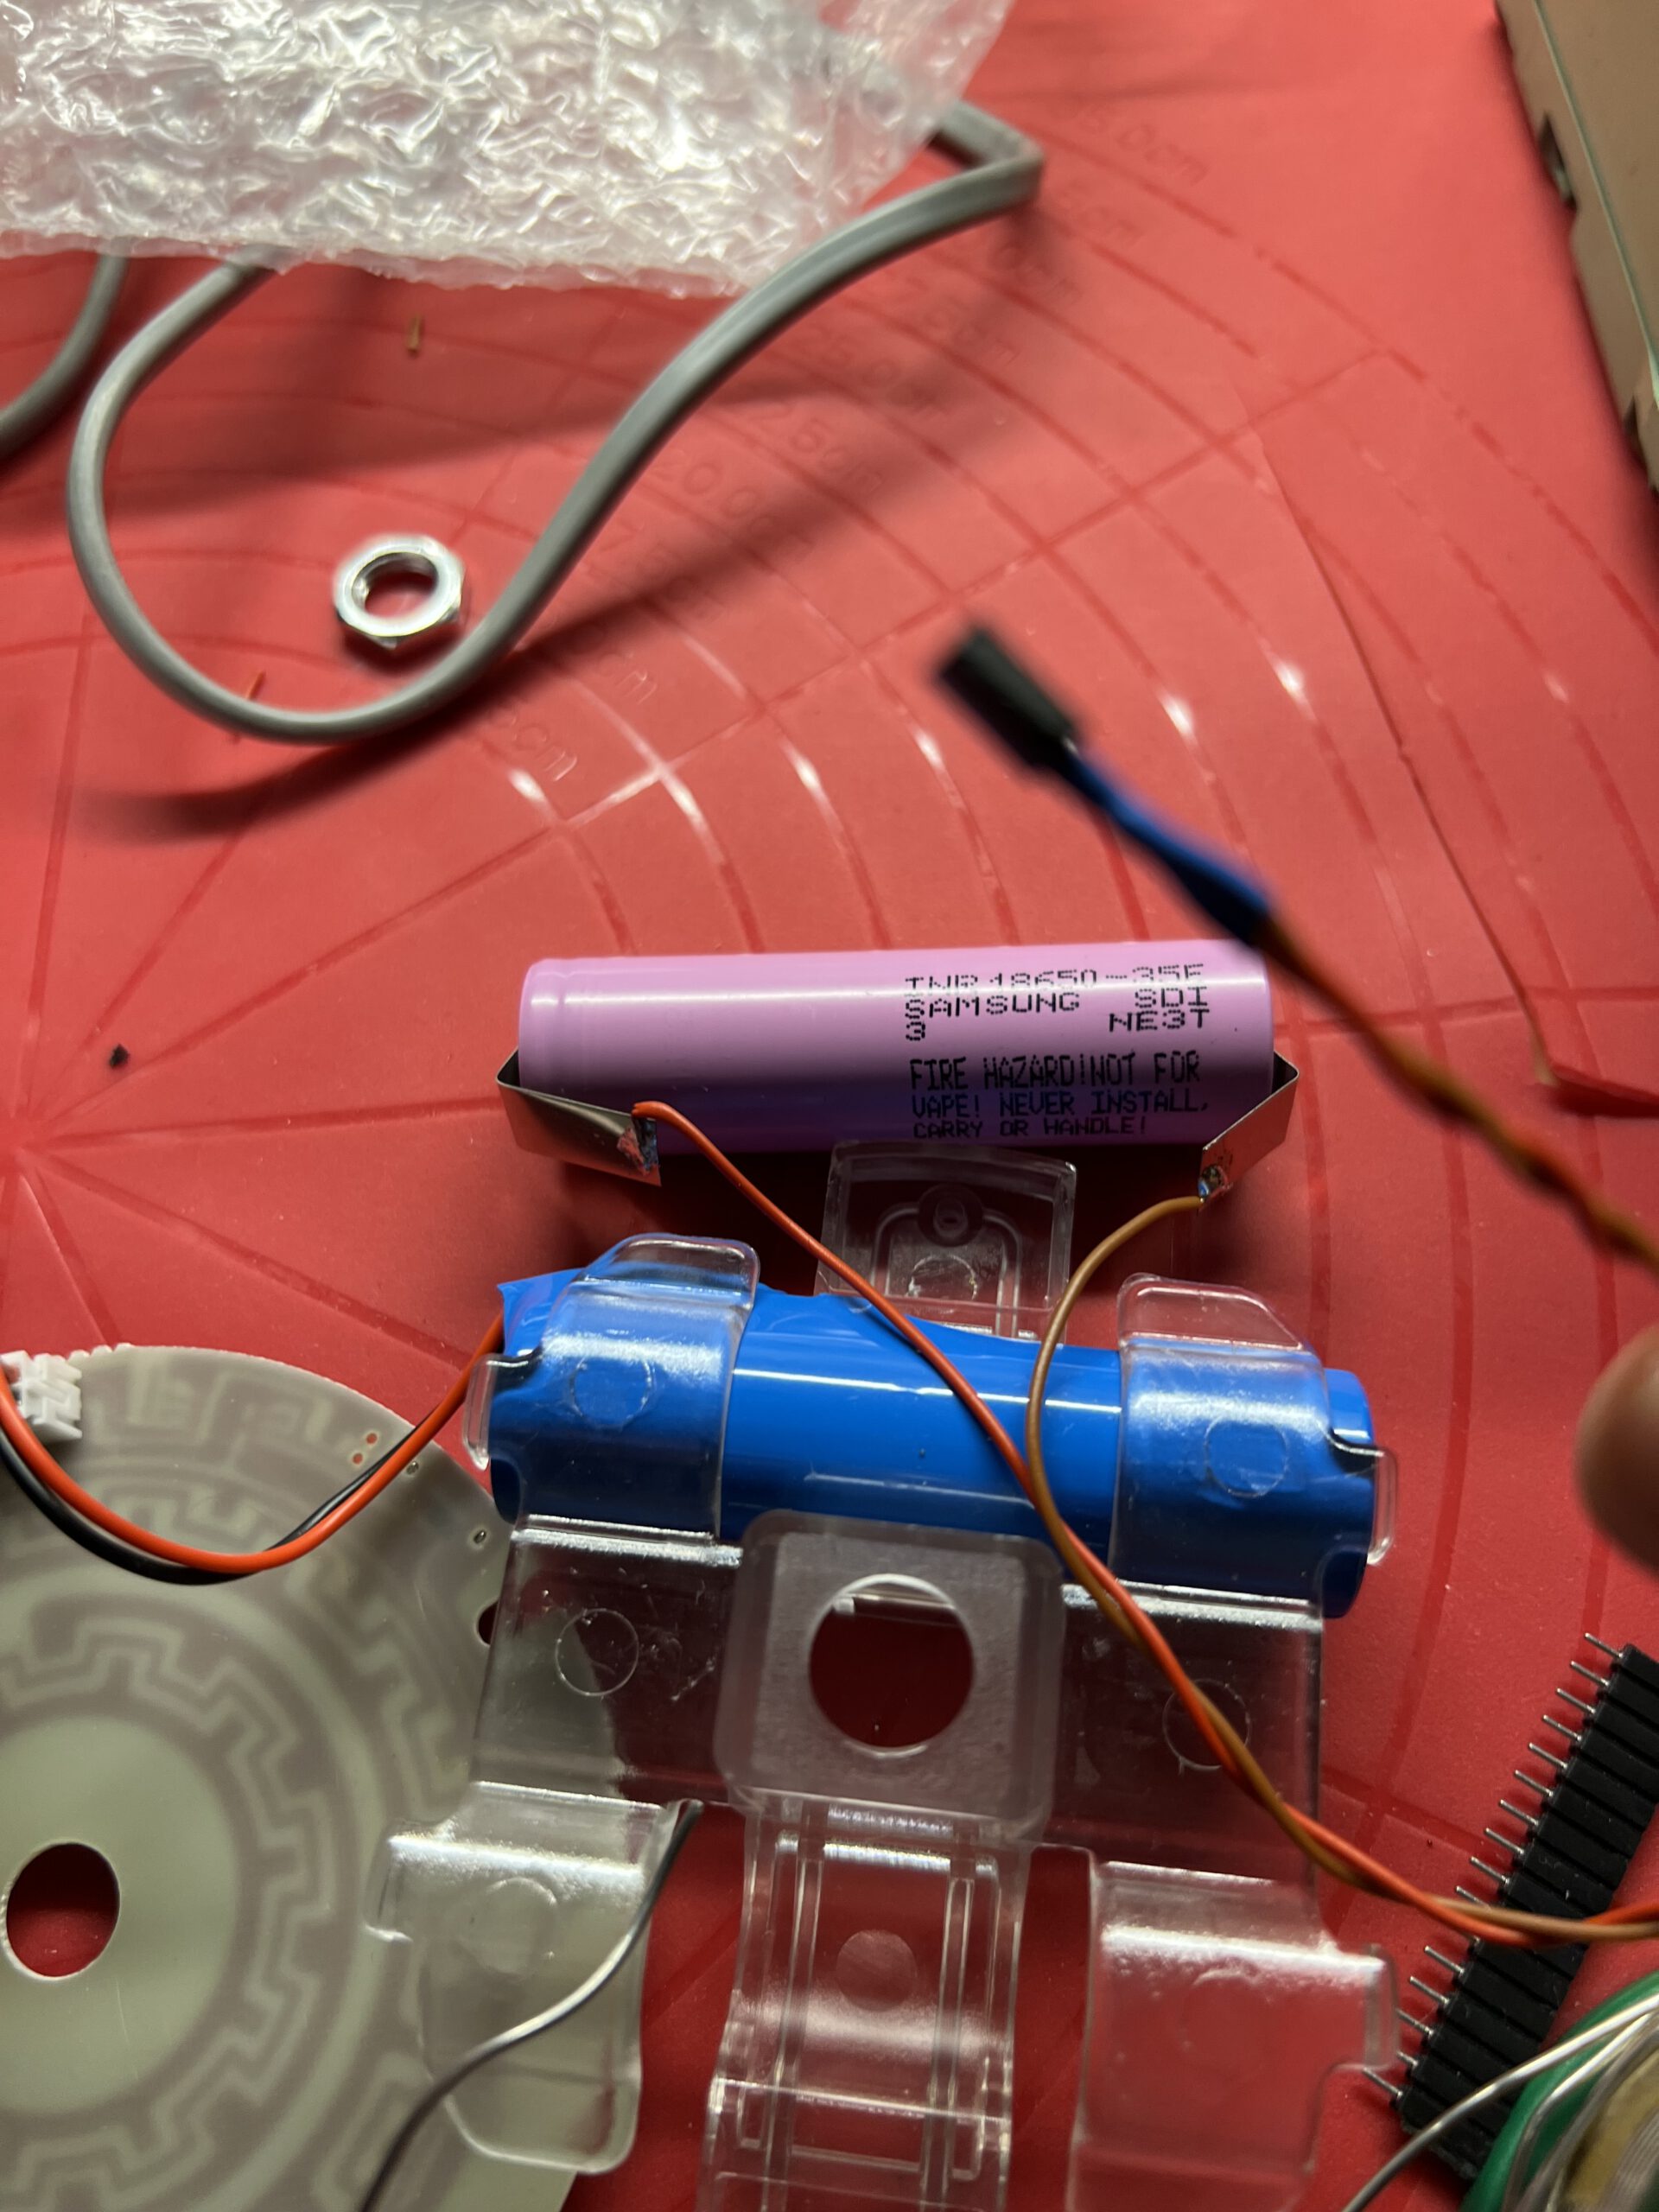
Diese kleinen LED-Tischleuchten sind wirklich nett. Schade, dass sie nicht länger durchhalten. Aber dafür kann man selber sorgen – einfach einen zweiten Akku einbauen.
Diese Lampen bekommt man aus zahllosen chinesischen Quellen, einige nur mit warmweißen LED; einige mit einer zweiten LED-Farbe für andere Lichttemperaturen. Sie haben alle einen Berührungsschalter auf der Oberseite, sind alle 40cm hoch, werden alle über USB-C geladen.
Und zumindest alle, die ich aufgemacht habe, haben Platz für einen zweiten Akku!
Viel einfacher wird’s nicht: Akku bestellen, Stecker anlöten, reinsetzen…
Einige haben sogar einen Anschluss für eine zweite Batterie an der Ladeelektronik. Wie die, die ich im Video umgebaut habe. Andere haben das nicht, je nach Grad der Beherztheit lötet man also den zweiten Akku parallel zum ersten oder tauscht den ersten gegen den größeren neuen aus.
Die Lampen verwenden Standard-18650-LiIon-Zellen, mit 3,7V Zellspannung und in der Regel 2400mAh Kapazität. Es gibt aber bezahlbare größere: Ich habe diese Samsung INR18650 mit Lötfahnen genommen (kein Affilliate-Link, gern irgendwo bestellen). Und weil ich demnächst noch meinen neuen Digitakt aufrüsten will, hab ich gleich ein paar mehr besorgt; kosten 7-8 Euro pro Stück.
Also: Batterie auspacken, vorsichtig Kabel und Stecker anlöten – da sind die Lötfahnen echt gut, wenn man die Batterie nicht überhitzen will – erste Batterie abstöpseln, neue anstöpseln, Lampe testen, alten Akku dazustöpseln, wieder zusammenbauen – viel einfacher wird’s nicht.
…und ich hatte ja nicht kapiert, dass man sie auch dimmen kann!
Bisschen peinlich, aber da musste mich erst meine kluge Tochter drauf bringen: Wenn man den Finger auf dem Sensorschalter lässt, wird die Lampe auf- bzw. abgedimmt.
This website uses cookies to improve your experience. We'll assume you're ok with this, but you can opt-out if you wish.AcceptRead More
Privacy & Cookies Policy
Privacy Overview
This website uses cookies to improve your experience while you navigate through the website. Out of these, the cookies that are categorized as necessary are stored on your browser as they are essential for the working of basic functionalities of the website. We also use third-party cookies that help us analyze and understand how you use this website. These cookies will be stored in your browser only with your consent. You also have the option to opt-out of these cookies. But opting out of some of these cookies may affect your browsing experience.
Necessary cookies are absolutely essential for the website to function properly. This category only includes cookies that ensures basic functionalities and security features of the website. These cookies do not store any personal information.
Any cookies that may not be particularly necessary for the website to function and is used specifically to collect user personal data via analytics, ads, other embedded contents are termed as non-necessary cookies. It is mandatory to procure user consent prior to running these cookies on your website.